Arno 5200 Steam Iron Motor Stall Repair Guide
Introduction
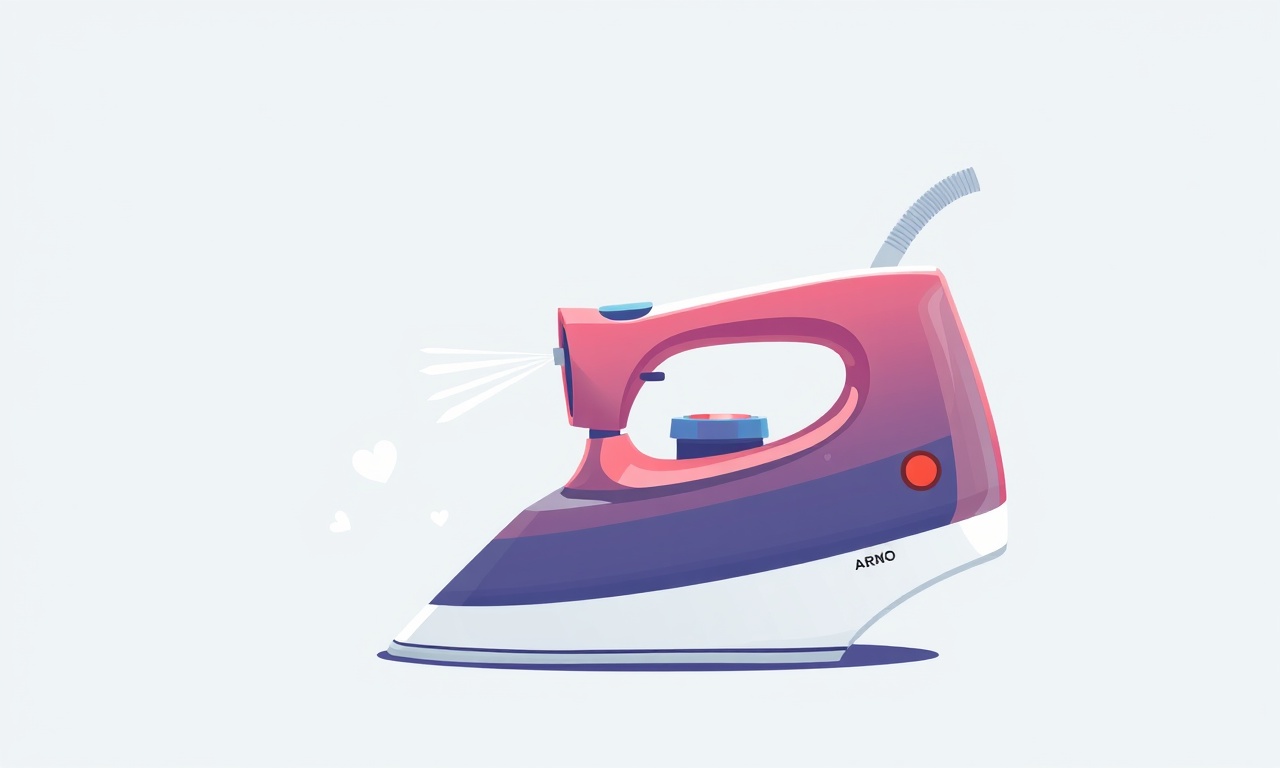
The Arno 5200 is a popular home steam iron known for its powerful motor and smooth steam delivery. Over time, the motor can develop a stall condition—where it ceases to spin under load—causing the iron to lose power and efficiency. While many users opt for a new appliance, a stall can often be cured with a methodical repair. This guide walks you through every stage, from safety precautions to final testing, so you can restore your iron’s performance without costly professional help.
Safety First
Before you open any appliance, it is essential to reduce risks:
- Unplug the iron from the mains and wait at least five minutes to allow any stored electrical charge to dissipate.
- Place the iron on a stable, heat‑resistant surface. Avoid placing it near liquids or flammable materials.
- Keep children and pets away from the work area.
- Use insulated tools when working on electrical components.
Failure to observe these precautions can lead to electric shock or fire.
Understanding Motor Stall
A motor stall occurs when the motor windings cannot develop enough torque to overcome resistance. In the Arno 5200, common causes include:
- Worn or seized bearings – The motor shaft may be locked in place by degraded bearings.
- Accumulated debris – Dust, lint, and rust can jam the internal mechanisms.
- Shorted windings – Electrical insulation failure can create a direct path for current, causing the motor to draw excessive current and stall.
- Missing or damaged brushes – If the iron uses a brushed DC motor, worn brushes may prevent current from reaching the armature.
Diagnosing the exact cause will save you time and parts.
Tools Required
You won’t need a large toolkit, but having the right items on hand speeds the process:
- Philips and flat‑head screwdrivers
- Small open‑end and needle‑point pliers
- Adjustable wrench
- Soft‑bristle brush
- Isopropyl alcohol (90 % or higher)
- Clean lint‑free cloths
- New set of bearings (compatible with Arno 5200)
- Replacement brushes (if applicable)
- Electrical contact cleaner
- Small brush or cotton swab for winding cleaning
- Thermal grease (optional, for bearing lubrication)
- Protective gloves and safety glasses
Diagnosing the Issue
-
Visual Inspection
Open the iron’s casing as described below. Look for obvious signs of wear: darkened or cracked plastic, melted components, or a buildup of lint and rust. -
Manual Rotation Test
Rotate the motor shaft by hand. If it moves freely, bearings are likely fine; if it feels gritty or locks, bearings are the culprit. Use a wrench to apply slight force to the shaft—any resistance indicates mechanical blockage. -
Electrical Test
With a multimeter set to the lowest ohms setting, check the continuity between the motor terminals. A reading of zero indicates a shorted winding, whereas an infinite resistance points to an open circuit. If the reading is somewhere between, the winding may be partially damaged. -
Brush Check
If the iron’s motor uses carbon brushes, pull them out gently and examine them. They should be soft, slightly spongy, and not show excessive wear or corrosion.
If the visual and mechanical tests reveal no obvious issues, proceed with cleaning and lubrication before deciding to replace any parts.
Preparation and Disassembly
-
Remove the Power Cord
Detach the cord from the iron’s plug. This reduces the risk of accidental re‑connectivity. -
Remove the Bottom Plate
Flip the iron upside down. Using the screwdriver, loosen and remove the screws holding the bottom plate. Keep track of all screws and washers; a small screw can be lost easily. -
Expose the Motor Housing
The motor is typically mounted under a plastic frame. Gently pry the motor housing apart with the flat‑head screwdriver, taking care not to crack the housing. Some models have a removable motor cover secured by a clip or a few screws—remove these accordingly. -
Take Out the Motor
The motor is usually held in place by a few screws and a shaft collar. Unbolt these fasteners and carefully lift the motor out. Note the orientation of any connectors or cables that will need to be re‑connected later.
Cleaning the Motor
A clean motor is the foundation of a reliable repair. Follow these steps:
-
Dust Removal
Use a soft‑bristle brush to sweep out loose dust from the motor casing, shaft, and surrounding area. Avoid using compressed air, as the fine dust can become airborne and cause breathing hazards. -
Debris and Lint
Gently wipe the motor with a lint‑free cloth dampened with isopropyl alcohol. Pay particular attention to the shaft bearings and the winding terminals. The alcohol evaporates quickly and leaves no residue. -
Bearing Inspection
Remove the bearings from the motor shaft. Inspect the inner and outer races for scoring, pitting, or corrosion. A clean bearing should have smooth, unblemished surfaces. If the bearing shows any damage, replace it with a new one. -
Winding Cleaning
Using a cotton swab or a small brush, lightly dab the winding area with isopropyl alcohol. Be sure to avoid leaving liquid on the electrical insulation, as it could cause shorts when the iron is re‑assembled.
Replacing Bearings
-
Align the New Bearings
Place the new bearing onto the shaft. The bearing’s inner diameter should match the shaft’s outer diameter. If the shaft has a flange, position the bearing to sit snugly against it. -
Secure with a Lock Nut
Most Arno 5200 motors use a lock nut to keep the bearing in place. Slide the lock nut onto the shaft, then tighten it with the adjustable wrench until the bearing is firmly seated but not overtightened. Over‑tightening can damage the shaft or the bearing. -
Lubrication (Optional)
If the motor design allows, apply a light layer of thermal grease to the bearing’s inner surface before seating it. This reduces friction and extends bearing life.
Replacing Brushes (If Needed)
If you discovered worn brushes during the diagnostic phase:
-
Remove Old Brushes
Use needle‑point pliers to grip and pull the brush holder out of the motor housing. Take the old brush out carefully, noting its orientation. -
Insert New Brush
Place the new brush into the holder. If the brush has a protective sleeve, ensure it fits snugly. Insert the holder back into the motor housing and secure it with the existing screw. -
Test the Contact
With the iron still powered off, gently press the brush against the armature to confirm that it makes contact without excessive resistance.
Rebuilding the Motor
If a shorted winding or an open circuit was found:
-
Resoldering (Advanced)
- If you are comfortable with electronics, you can carefully desolder the damaged connections and resolder with fresh wire.
- Use a high‑temperature soldering iron and ensure the joint is clean and free of flux residue.
- Verify continuity with a multimeter before proceeding.
-
Replacement Winding
- In most consumer models, replacing a winding is impractical; instead, consider swapping the entire motor for a new one.
- New motors can be purchased from specialized appliance parts suppliers or directly from the manufacturer’s spare‑parts catalog.
Reassembly
-
Mount the Motor
Place the motor back into its housing, aligning all screws and connectors. Ensure that the shaft is properly seated on the bearing collar. -
Secure the Motor Housing
Tighten all fasteners but avoid over‑tightening, which can crack plastic or damage internal components. -
Reattach the Bottom Plate
Slide the bottom plate back over the motor housing and secure it with the previously removed screws. Replace any washers if necessary. -
Reconnect the Power Cord
Plug the power cord back into the iron’s terminal. Verify that the connection is snug and the plug is not loose.
Testing and Troubleshooting
-
Initial Test
Plug the iron into a grounded outlet. Turn it on and observe the motor. A properly functioning motor will spin smoothly and produce steam. -
Check for Noise
Listen for unusual sounds—grinding, clicking, or whining. Persistent noise may indicate that the bearings are still misaligned or that debris remains inside the motor. -
Monitor Temperature
Allow the iron to reach operating temperature. If the iron fails to heat or the temperature rises too quickly, check for shorted windings or faulty thermostats. -
Verify Steam Output
Press the steam button and observe the output. Adequate steam flow confirms that the motor, heating element, and steam delivery system are all functioning correctly.
If any issues persist after this first test, repeat the disassembly process and double‑check every step. Often, a small oversight—such as an improperly seated bearing or a loose screw—can cause a stall to recur.
Preventive Maintenance
Maintaining your Arno 5200 will reduce the likelihood of future stalls:
-
Clean Regularly
Wipe the iron’s exterior with a damp cloth after each use. Avoid letting lint accumulate inside the steam vent. -
Use De‑mineralized Water
Mineral buildup can clog the steam system and add mechanical resistance. Use distilled or de‑mineralized water whenever possible. -
Inspect Bearings Annually
Periodically remove the iron’s casing and check the bearings for wear. Replace them before they become a source of motor stall. -
Check Electrical Connections
Ensure all internal wires are free from corrosion and have solid contacts. Tighten any loose terminal screws. -
Store Properly
Keep the iron unplugged when not in use, and store it in a dry, dust‑free environment.
Conclusion
Repairing a motor stall on an Arno 5200 steam iron is a feasible task for a diligent homeowner equipped with basic tools and patience. By carefully diagnosing the root cause—whether it be seized bearings, dirty windings, or worn brushes—and following the step‑by‑step restoration procedures outlined above, you can revive your iron’s performance and extend its useful life. Always prioritize safety, use the right tools, and perform regular maintenance to keep the motor running smoothly.
Discussion (9)
Join the Discussion
Your comment has been submitted for moderation.
Random Posts

Rebooting Google Nest Hub (3rd Gen) to Resolve App Sync Glitches
Stuck with delayed notifications, unresponsive tiles, or stale smart, home data? A simple reboot of your Nest Hub 3rd Gen clears cache, resets processes, and restores smooth app sync.
3 months ago

Fixing Bluetooth Signal Drops on Apple AirPods Pro
Tired of AirPods Pro disconnecting during walks or workouts? Learn why Bluetooth drops happen, how to spot them, and quick fixes - no coding required - to keep audio flowing.
11 months ago

Fixing the Duplexer Failure on a Brother MFC‑J805DW
Learn how to diagnose and replace a faulty duplexer on your Brother MFC, J805DW, restoring double, sided printing with step, by, step instructions for tech, savvy users.
10 months ago

Solving Apple iPhone 13 Pro Camera Rolling Shutter With External Lens
Stop the slanted look from rolling shutter when adding external lenses to your iPhone 13 Pro by tweaking camera settings, choosing the right lens, and using proper stabilization.
9 months ago

Restoring Bandwidth on Amazon Eero Mesh 6 Pro After a Firmware Update
After an Eero Mesh 6 Pro firmware update, bandwidth often drops. This guide explains why the change occurs and walks you through quick steps to restore full speed and a stable connection for work and play.
8 months ago
Latest Posts

Fixing the Eufy RoboVac 15C Battery Drain Post Firmware Update
Fix the Eufy RoboVac 15C battery drain after firmware update with our quick guide: understand the changes, identify the cause, and follow step by step fixes to restore full runtime.
5 days ago

Solve Reolink Argus 3 Battery Drain When Using PIR Motion Sensor
Learn why the Argus 3 battery drains fast with the PIR sensor on and follow simple steps to fix it, extend runtime, and keep your camera ready without sacrificing motion detection.
5 days ago

Resolving Sound Distortion on Beats Studio3 Wireless Headphones
Learn how to pinpoint and fix common distortion in Beats Studio3 headphones from source issues to Bluetooth glitches so you can enjoy clear audio again.
6 days ago