Bionaire B-400 Condensation Pool Accumulation Issue Solution
Introduction
Living in a climate where humidity levels fluctuate can make a humidifier an essential part of your home. The Bionaire B‑400 is designed to maintain a comfortable indoor environment by adding moisture to dry air. However, users sometimes encounter an issue where condensation forms and pools inside the unit’s reservoir or drip tray. This can lead to unpleasant odors, reduced performance, and potential water damage. The following guide explains why this happens and provides a clear, step‑by‑step solution to eliminate condensation buildup, ensuring your B‑400 works efficiently for years.
Understanding the Condensation Problem
Why Does Condensation Accumulate?
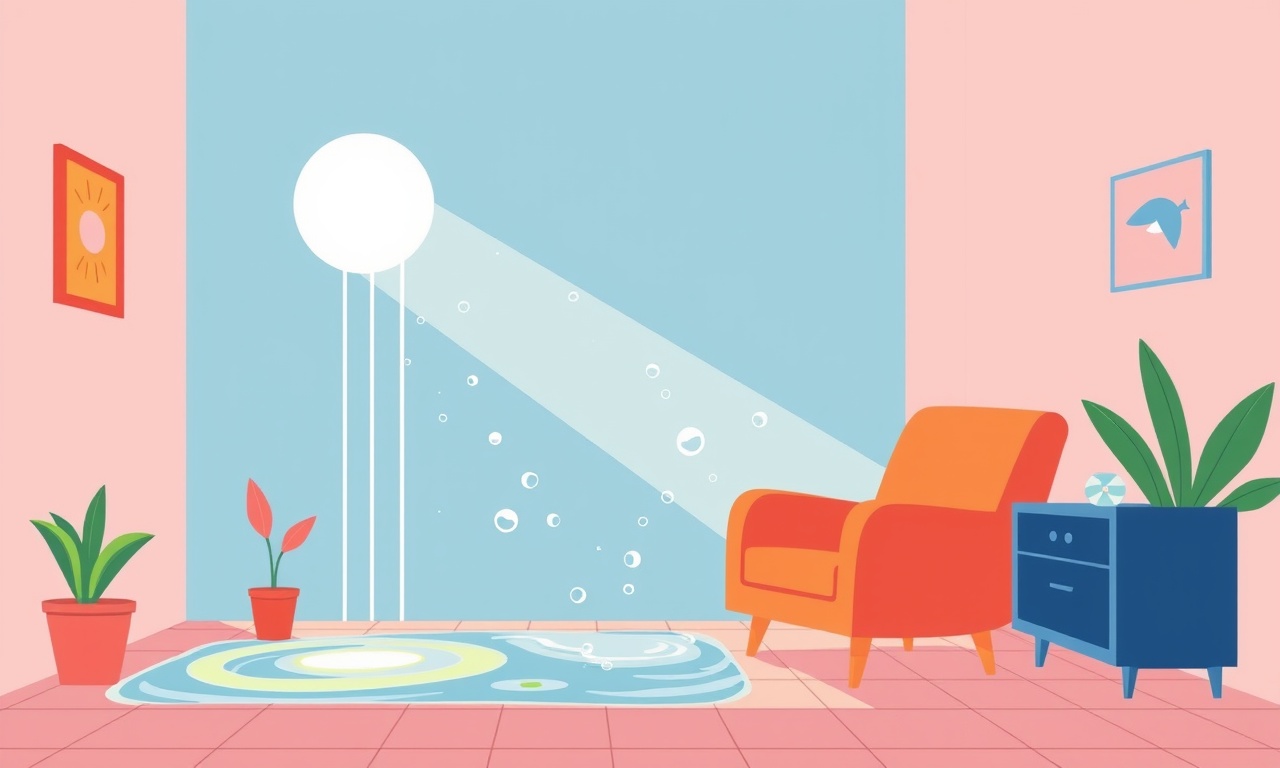
When the humidifier heats water or creates mist, the surrounding air inside the cabinet can become saturated. If the unit’s temperature regulation or drainage system is not functioning perfectly, moisture may condense on cooler surfaces. This condensed water can collect in the reservoir or drip tray, creating visible pools. Common triggers include:
- High ambient humidity: In humid environments, the unit may reach saturation quickly.
- Temperature differences: Cold surfaces inside the cabinet (especially in winter) can cause moisture to condense.
- Blockage in drainage: A clogged or misaligned drip tray can trap water.
- Faulty sensor or thermostat: If the humidity sensor misreads levels, the unit may over‑operate, producing excess mist.
Consequences of Ignoring the Issue
Leaving condensation unchecked can lead to several problems:
- Mold and mildew growth on internal surfaces.
- Reduced humidity output, causing discomfort.
- Potential corrosion of metal parts.
- Water damage to the surrounding floor or furniture if the unit leaks.
Preparation Before You Start
Before beginning the cleanup and maintenance process, gather the following items:
- Soft microfiber cloth
- Mild dish soap or a non‑abrasive cleaning solution
- Warm water
- Clean, dry towels
- A small funnel
- Needle‑pointed cleaning brush (optional)
- Replacement filter (if needed)
Make sure the unit is powered off and unplugged. Allow the reservoir and drip tray to cool completely to avoid burns.
Step‑by‑Step Solution
1. Power Down and Disconnect
- Turn the B‑400 off by pressing the power button.
- Unplug the unit from the wall outlet to eliminate any risk of electrical shock.
2. Remove the Reservoir and Drip Tray
- Gently lift the reservoir from its slot. If it feels stuck, twist it slightly to release the latch.
- Lift the drip tray or overflow container. Some models allow the tray to slide out, while others may require a small pull.
3. Empty All Water
- Pour out any water remaining in the reservoir and tray into a sink or bucket.
- If the water appears discolored or contains debris, discard it safely.
4. Clean the Reservoir
- Fill a basin with warm water and add a few drops of mild dish soap.
- Place the reservoir in the solution and let it soak for 10–15 minutes.
- Using a soft cloth, gently scrub the inside and outside surfaces, focusing on corners where residue may accumulate.
- Rinse thoroughly with clean water to remove all soap.
- Dry the reservoir with a towel, then leave it to air‑dry completely.
5. Clean the Drip Tray
- Repeat the same soap‑water routine for the drip tray.
- If the tray has a rubber gasket or seal, inspect it for cracks or wear. Replace if damaged.
6. Inspect and Clean the Drainage Pathway
- Locate the drainage nozzle or pipe that channels excess water from the reservoir to the tray.
- Use a needle‑pointed brush or a flexible cleaning tube to clear any mineral buildup or debris. Push gently; avoid scratching surfaces.
- Verify that water flows smoothly from the reservoir into the tray without obstruction.
7. Check the Humidity Sensor and Thermostat
- Inspect the humidity sensor located near the reservoir. If it’s covered in dust or mineral deposits, wipe it gently with a dry cloth.
- Ensure the thermostat (if external) is not set to an excessively low level, which can cause the unit to run continuously.
8. Replace the Water Filter (If Applicable)
- The B‑400 often includes a built‑in filter that can trap minerals and contaminants.
- Check the filter’s expiration indicator or visual cues for blockage. Replace according to the manufacturer’s schedule, typically every 30–60 days depending on usage.
9. Reassemble the Unit
- Slide the reservoir back into its slot, aligning it with the latch. Secure it gently.
- Place the drip tray back into its position, ensuring it sits flush.
10. Test the Unit
- Plug the unit back into the wall outlet.
- Turn the power on and let the B‑400 run for a few minutes.
- Observe the reservoir and tray. A clear, steady mist should appear, and no water should pool inside the reservoir.
- Monitor for a short period (15–20 minutes) to confirm no condensation forms.
11. Optional: Install a Condensation Prevention Add‑on
- Some users add a small, non‑metallic block to the bottom of the reservoir to elevate it slightly, reducing direct contact with cooler cabinet surfaces.
- Place the block carefully to avoid interfering with the airflow or drainage.
Maintenance Tips for Long‑Term Prevention
- Use filtered or distilled water to reduce mineral deposits that contribute to condensation.
- Clean the unit every 4–6 weeks during heavy use periods, especially in humid climates.
- Keep the surrounding area dry: Avoid placing the humidifier on damp flooring or near windows that let in cold air.
- Check the ambient temperature: If you live in a very cold climate, consider moving the unit slightly away from drafts to reduce temperature gradients.
- Regularly inspect the sensor and filter: Replace filters per the user manual and clean sensors quarterly.
Troubleshooting Common Scenarios
| Symptom | Likely Cause | Quick Fix |
|---|---|---|
| Persistent pooling even after cleaning | Blocked drainage or faulty sensor | Re‑clean drainage; recalibrate sensor or contact support |
| Unit stops working after a few cycles | Over‑saturation or thermostat fault | Check thermostat settings; reset the unit |
| Odor in the room after humidifier use | Mold growth inside reservoir | Deep clean reservoir with vinegar solution; replace filter |
When to Contact Professional Support
If you have followed all steps above and the condensation issue persists, it may be time to reach out to Bionaire customer service. Possible reasons include:
- Defective internal components (e.g., faulty sensor, worn out seals).
- Electrical problems that require inspection by a qualified technician.
- Complex drainage or heating element issues beyond simple cleaning.
Keep your unit’s serial number and purchase details handy when calling for assistance.
Conclusion
Condensation pooling in the Bionaire B‑400 can be a nuisance, but with regular cleaning, proper maintenance, and a few simple adjustments, you can keep your humidifier running smoothly. By following the steps outlined above, you’ll not only eliminate excess moisture but also protect your home from potential water damage. Regular attention to the reservoir, tray, and drainage system will ensure consistent humidity levels, improved indoor air quality, and a longer lifespan for your appliance. Happy humidifying!
Discussion (8)
Join the Discussion
Your comment has been submitted for moderation.
Random Posts

Reassessing the Audio Jack Dropout on LG Velvet 2
Explore why the LG Velvet 2's 3.5mm jack glitches, what triggers audio dropouts, user fixes, and LG's stance: essential insight for current and future Android phones.
1 year ago

Philips HP700 Fan Stalls Quietly Even At Low Speed Why This Happens And What To Do
Discover why your Philips HP700 quietly stalls at low speed, spot early signs, and fix the issue to keep steady airflow.
2 weeks ago

How to Stop Sharp LC-40M from Producing Audio Sync Issues While Gaming
Fix your Sharp LC-40M so game audio stays in sync. Learn quick settings tweaks, cable checks, and audio-output fixes that keep sound matching action for a flawless gaming experience.
6 months ago

Solve Arlo Pro 4 Wireless Connection Problems
Discover quick fixes for offline Arlo Pro 4 cameras. Check power, Wi, Fi, firmware, reset steps, and more get your live feed back up fast.
4 months ago

Panasonic D45 Dryer Timer Skips Final Drying Cycle
Discover why your Panasonic D45 dryer skips its final cycle, learn the symptoms, root causes, and easy fixes to keep clothes dry, save energy, and avoid extra runs.
5 months ago
Latest Posts

Fixing the Eufy RoboVac 15C Battery Drain Post Firmware Update
Fix the Eufy RoboVac 15C battery drain after firmware update with our quick guide: understand the changes, identify the cause, and follow step by step fixes to restore full runtime.
5 days ago

Solve Reolink Argus 3 Battery Drain When Using PIR Motion Sensor
Learn why the Argus 3 battery drains fast with the PIR sensor on and follow simple steps to fix it, extend runtime, and keep your camera ready without sacrificing motion detection.
5 days ago

Resolving Sound Distortion on Beats Studio3 Wireless Headphones
Learn how to pinpoint and fix common distortion in Beats Studio3 headphones from source issues to Bluetooth glitches so you can enjoy clear audio again.
6 days ago