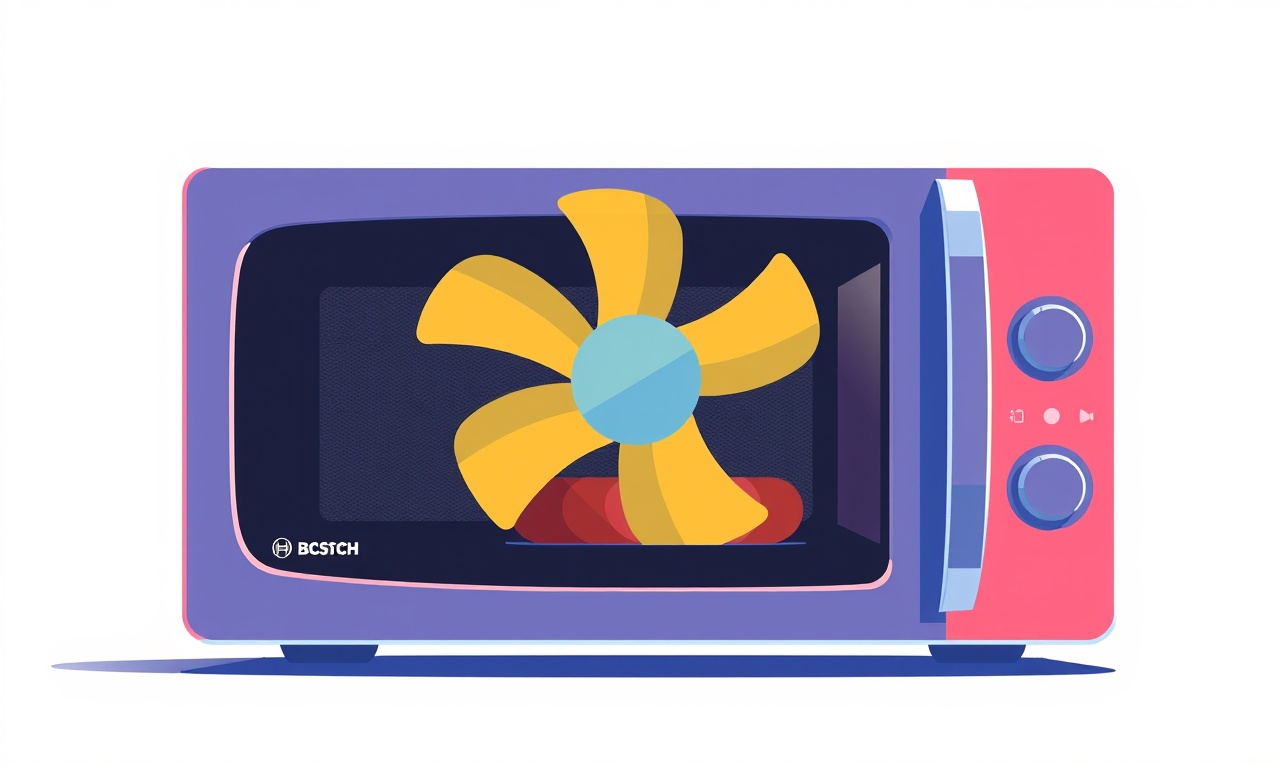
Bosch HMG6200UC Microwave Fan Not Spinning After Power Surge
Introduction
When a power surge hits your kitchen, even a well‑designed appliance like the Bosch HMG6200UC microwave can suffer hidden damage. One common symptom after such an event is a fan that simply refuses to spin. The fan is essential for keeping the internal components cool; without it, the microwave may overheat, shut down, or even pose a safety risk.
In this guide we walk you through a systematic approach to diagnosing and repairing a non‑spinning fan on the Bosch HMG6200UC after a power surge. Whether you prefer a DIY fix or simply want to understand why the fan stopped, the information below covers every step from safety precautions to preventive measures.
Understanding the Fan Issue
The internal fan on the Bosch HMG6200UC is a small DC motor that pulls air across the transformer and the heating element. Its operation is governed by a capacitor and a set of control logic circuits. A power surge can damage any of these components, causing the fan to stall or stop altogether.
Key points to know:
- The fan is located behind the metal grille and beneath the interior cavity.
- It draws a modest amount of current (≈0.1 A) but relies on a properly charged capacitor.
- A stalled fan often indicates either a blown capacitor, a shorted motor windings, or damaged control logic.
Safety First
Before you begin, make sure you observe these safety steps:
- Unplug the microwave from the electrical outlet. Never work on a live appliance.
- Allow time for capacitors to discharge. The motor capacitor can hold a charge for minutes after unplugging. Use a short‑circuiting tool or a resistor (10 kΩ, 5 W) to safely discharge it.
- Wear safety glasses to protect your eyes from metal shavings or sparks.
- Work on a dry, insulated surface. Use a rubber mat if possible.
If you are uncertain about any of these steps or do not feel comfortable working with electrical components, it is best to contact a qualified technician.
Signs of Power Surge Damage
Not all fan problems are due to surges, but certain symptoms strongly point to electrical damage:
| Symptom | Possible Cause |
|---|---|
| Fan does not spin at all | Blown capacitor, shorted motor, control board failure |
| Fan spins slowly or intermittently | Partial capacitor discharge, motor winding damage |
| Microwave emits a burning smell | Overheating due to lack of airflow |
| No power after surge (but door still lights) | Main control board fried |
If your microwave displays a “power” or “ready” light but the fan is silent, a surge‑related fault is likely.
Step‑by‑Step Diagnosis
1. Visual Inspection
Open the microwave housing following the service manual instructions. Look for:
- Burn marks or melted plastic near the fan housing.
- Loose or missing components such as the capacitor or fan blades.
- Damaged wiring that looks frayed or discolored.
If you see obvious damage, note it for later reference.
2. Test the Motor
- Remove the fan assembly gently.
- Connect a portable power supply (12 V DC, adjustable).
- Touch the terminals with a multimeter probe or a small test lead.
- Observe the motor: it should spin smoothly when powered.
If it spins slowly, the motor is likely fine. If it does not spin, the motor windings are probably shorted or open.
3. Check the Capacitor
The fan capacitor is typically a small ceramic or electrolytic part on the control board or directly attached to the fan. Use a multimeter set to DC capacitance mode:
- Measure the capacitance. A healthy capacitor for this model usually reads between 5 µF and 15 µF.
- If the reading is zero or infinite, the capacitor is dead.
- A significantly lower value suggests a partially degraded capacitor that may still work intermittently.
4. Inspect the Control Board
If the motor and capacitor test fine, the issue may lie in the control logic:
- Look for burnt or melted traces on the PCB.
- Check the microcontroller or driver ICs for visible damage.
- Use a continuity test across the fan driver pins to confirm proper signal routing.
Common Causes and Their Fixes
| Cause | Fix |
|---|---|
| Blown capacitor | Replace the capacitor with a matched replacement (same voltage and capacitance). |
| Shorted motor windings | Replace the fan motor. Usually inexpensive and readily available. |
| Damaged driver IC | Replace the entire control board or just the damaged IC if possible. |
| Faulty relay or transistor | Identify the specific component on the board and replace it. |
| Loose connection | Re‑solder or secure any loose wires or pins. |
Replacement Part Details
- Capacitor: 10 µF, 25 V, radial lead, ceramic type.
- Fan motor: 12 V DC, 30 rpm, 50 mm diameter, standard Bosch part number.
- Control board: Bosch model “HMG6200UC‑PCB‑01”.
- Driver IC: MOSFET or H‑bridge (e.g., IRF540N) depending on the circuit.
Always source parts from reputable suppliers to avoid counterfeit components.
How to Fix a Fan That Won’t Spin
A. Replacing the Capacitor
- Identify the capacitor: Usually located on the main control board or directly on the fan housing.
- Desolder the old capacitor carefully using a soldering iron and a desoldering pump or wick.
- Install the new capacitor: Solder it in place, ensuring correct polarity if it’s electrolytic.
- Check for correct orientation: The negative side should align with the board markings.
- Secure the capacitor with a heat‑shrink sleeve or tape.
B. Replacing the Fan Motor
- Remove the fan housing: Unscrew the screws that hold the fan assembly in place.
- Disconnect the motor leads: Note their orientation for re‑installation.
- Take the new motor out of its packaging and match the leads.
- Attach the motor to the housing, secure it with screws.
- Reconnect the leads and ensure no shorting of adjacent pins.
C. Replacing or Repairing the Control Board
- Remove the board from its socket or mounting location.
- Inspect for visible damage: Burnt traces, cracked PCB.
- If only one component is damaged, you can replace it individually.
- If the board is severely damaged, replace the entire board.
- Reinstall the board and reconnect all traces and power connections.
Testing After Repairs
- Reassemble the microwave: Screw back the fan housing, the door latch, and the outer panels.
- Plug in a small appliance to a surge‑protected outlet.
- Power on the microwave and let it run for a minute.
- Listen for fan noise: The fan should hum steadily.
- Check the temperature: The internal components should not feel hot after a few minutes.
- Perform a short cycle: Run a 30‑second heating mode and observe the fan’s operation.
If the fan spins and the microwave operates normally, the issue is resolved. If not, revisit the diagnosis steps, as a hidden fault may still exist.
When to Call a Professional
Even if you’re comfortable working with electronics, certain scenarios warrant professional help:
- High voltage components: Some microwave parts run at 240 V.
- Complex PCB issues: Multi‑layer boards can be hard to rework.
- Persistent failures: After multiple repairs the problem reappears.
- Safety concerns: If you’re unsure about any step, err on the side of caution.
Certified appliance technicians have the right tools, experience, and access to OEM parts to handle more complex faults.
Preventive Measures
Avoid future fan failures by implementing these precautions:
- Use surge protectors: Install a high‑quality surge protector that can clamp voltage spikes.
- Maintain regular inspections: Check the fan, capacitor, and control board annually.
- Keep the interior clean: Dust can obstruct airflow and strain the fan.
- Replace aging components proactively: If the capacitor is 5 years old, consider swapping it out before it fails.
A small investment in preventive care can save you from costly repairs later.
Frequently Asked Questions
Does a failed capacitor always cause the fan to stop?
Not always. A blown capacitor typically stops the fan from spinning. However, if the capacitor is partially damaged, the fan might spin intermittently or at reduced speed.
Can I bypass the capacitor to get the fan working again?
Bypassing a capacitor is risky and can damage other components. It’s best to replace it rather than attempt a workaround.
How long does it take to replace the fan motor?
If you have all the right tools and the parts on hand, it usually takes less than 30 minutes.
Will the microwave still work if the fan is off?
The microwave may still operate, but it will overheat and potentially trigger safety shut‑off mechanisms. Continuous operation without a functioning fan is not recommended.
Final Thoughts
A Bosch HMG6200UC microwave fan that stops spinning after a power surge can seem daunting, but with a systematic approach you can diagnose and often fix the problem yourself. Start with safety, then move through visual inspection, motor testing, and capacitor measurement. Replace the faulty part—whether it’s the capacitor, the fan motor, or a damaged control board—and test thoroughly.
If at any point the process feels beyond your comfort level, remember that a qualified technician is just a phone call away. And most importantly, protect your appliance with surge protection and regular maintenance to keep your kitchen running smoothly for years to come.
Discussion (6)
Join the Discussion
Your comment has been submitted for moderation.
Random Posts

Maytag M2011 Microwave Error Code 12, Troubleshooting Tips
Error Code 12 on a Maytag M2011 signals a power or high voltage fault. Follow a step by step guide to inspect the transformer, diode, and connections, and restore your microwave without costly repairs.
4 weeks ago

Strategy to Avoid Unresponsive Power Button on Sonoff Smart Plug S40
Keep your Sonoff S40 button responsive by learning why it fails and how to prevent it with simple care, firmware updates, and smart habits.
1 year ago

AVer CAM3400 Microphone Silences Voice When Using Zoom
Find out why your AVer CAM3400 mic cuts out on Zoom, learn step-by-step fixes, and know when to call a pro to keep your audio loud and clear.
9 months ago

Correcting a Fan Speed Oscillation on the Lasko LS7500 Tower Heater
Learn how to stop the Lasko LS7500 fan from wavering by clearing dust, checking bearings and tightening connections, simple steps that restore steady heat and prolong your heater’s life.
9 months ago

Fix Sony SmartCam Indoor Noise Interference
Discover why your Sony SmartCam hisses, crackles, or distorts indoors, learn to spot power, cord and wireless culprits, and fix the noise with simple, lasting solutions.
3 weeks ago
Latest Posts

Fixing the Eufy RoboVac 15C Battery Drain Post Firmware Update
Fix the Eufy RoboVac 15C battery drain after firmware update with our quick guide: understand the changes, identify the cause, and follow step by step fixes to restore full runtime.
5 days ago

Solve Reolink Argus 3 Battery Drain When Using PIR Motion Sensor
Learn why the Argus 3 battery drains fast with the PIR sensor on and follow simple steps to fix it, extend runtime, and keep your camera ready without sacrificing motion detection.
5 days ago

Resolving Sound Distortion on Beats Studio3 Wireless Headphones
Learn how to pinpoint and fix common distortion in Beats Studio3 headphones from source issues to Bluetooth glitches so you can enjoy clear audio again.
6 days ago