Correcting Apple iPhone 14 Pro Battery Life Degradation When Using Low Power Mode
Introduction
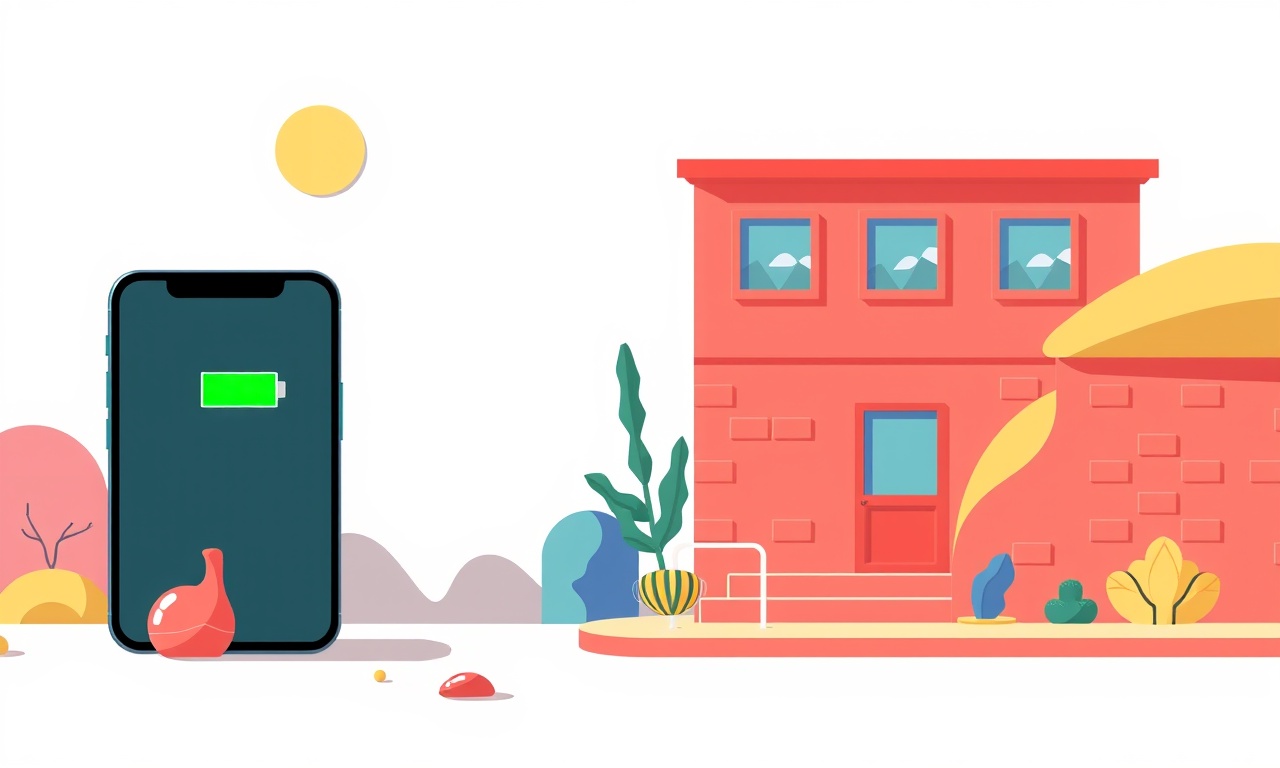
The iPhone 14 Pro is a marvel of design and technology, yet many users notice that the battery life that once seemed endless now shrinks over time. Even when Low Power Mode is enabled, the phone may still feel like it drains faster than expected. This guide explains why battery degradation occurs, how Low Power Mode interacts with it, and step‑by‑step instructions for diagnosing and correcting battery performance issues on an iPhone 14 Pro.
The Science of Battery Life
An iPhone’s battery is a lithium‑ion cell that loses capacity as it undergoes charge‑discharge cycles. Each cycle slightly weakens the cell, reducing the maximum charge it can hold. Modern iPhones manage battery health through software that monitors temperature, charging patterns, and usage to prolong longevity. However, when battery health falls below a certain threshold, even aggressive power‑saving settings cannot fully compensate.
Low Power Mode: What It Does
Low Power Mode reduces background activity, diminishes visual effects, lowers screen brightness, and throttles the processor. These changes cut power consumption, but the mode does not alter the battery’s underlying chemistry. Consequently, if the battery’s capacity has already diminished, Low Power Mode will only extend the remaining life proportionally.
Signs That Battery Health Is Degrading
- Rapid Drain: The battery percentage drops quickly, even when the phone is idle.
- Unexpected Restarts: The device shuts down abruptly when the battery reaches a high percentage.
- Heat Issues: The phone feels hot during normal use or while charging.
- Charging Anomalies: The phone takes unusually long to reach full charge or stops charging midway.
If you see one or more of these symptoms, it’s time to evaluate the battery health.
Checking Battery Health on iPhone 14 Pro
- Open Settings.
- Scroll down and tap Battery.
- Tap Battery Health.
- Review the Maximum Capacity percentage.
- 80 % or lower indicates significant degradation.
If your battery health falls below 80 %, consider replacing the battery or following the steps below to try and recover some performance.
Step 1: Calibrate Your Battery
A simple calibration can help the software more accurately read the battery’s charge level.
- Drain the battery until the phone powers off automatically.
- Leave it off for at least 15 minutes.
- Charge it uninterrupted to 100 %.
- Once full, leave the phone plugged in for an additional hour.
This process resets the battery gauge and can improve perceived battery life.
Step 2: Update iOS to the Latest Version
Apple frequently releases firmware updates that include battery optimizations.
- Go to Settings → General → Software Update.
- If an update is available, tap Download and Install.
Running the latest iOS ensures you have the most efficient power‑management algorithms.
Step 3: Disable Power‑Intensive Features
Even with Low Power Mode, certain features can drain the battery.
- Background App Refresh: Turn it off in Settings → General → Background App Refresh.
- Location Services: Restrict location access to “While Using the App” where possible.
- Automatic Downloads: Disable automatic updates in Settings → App Store.
Turning off or limiting these services reduces background load.
Step 4: Reset All Settings
If battery drain persists, a reset of all system settings may clear misconfigurations that affect power usage.
- Navigate to Settings → General → Transfer or Reset iPhone.
- Tap Reset → Reset All Settings.
- Confirm the action.
This action keeps personal data intact but restores default configurations.
Step 5: Use a Trusted Battery Replacement Service
If the battery health remains low after all software tweaks, the most reliable remedy is a hardware replacement.
- Visit an Apple Store or an authorized service provider.
- Request a battery replacement appointment.
- The technician will replace the battery with a genuine Apple part and calibrate it automatically.
A new battery restores the original performance level and ensures safety.
Step 6: Monitor Battery Usage Patterns
Keeping an eye on which apps consume the most power helps identify culprits.
- Open Settings → Battery.
- Tap Battery Usage to view daily consumption.
- Identify any apps that use an unusually high percentage.
- Consider uninstalling or restricting those apps.
Regular monitoring prevents surprises and keeps battery life predictable.
Step 7: Reduce Screen Brightness Manually
Low Power Mode automatically dims the screen, but you can lower brightness further for extra savings.
- Swipe up (or down on newer models) to access Control Center.
- Drag the brightness slider to the left.
Keep the screen at a level that still offers adequate visibility to maximize power savings.
Step 8: Keep the Phone Cool
Heat accelerates battery degradation.
- Avoid using the phone in direct sunlight.
- Remove phone cases that trap heat.
- When charging, place the device on a cool surface.
A cooler operating environment preserves battery chemistry.
Step 9: Turn Off Unnecessary Notifications
Each notification wakes the processor, causing power spikes.
- Go to Settings → Notifications.
- Disable alerts for non‑essential apps.
Reducing notification load keeps the CPU idle longer, extending battery life.
Step 10: Explore Accessibility Settings for Efficiency
Accessibility options can reduce processor load.
- Reduce Motion: Disable animations that consume GPU power.
- Increase Contrast: Some users find this visually less demanding and less taxing on the battery.
Find the balance that suits your visual preference while saving power.
Step 11: Enable Airplane Mode in Low‑Signal Areas
A weak signal forces the phone to hunt for connectivity, draining power rapidly.
- In low‑signal zones, toggle Airplane Mode on.
- Turn it off only when needed for calls or data.
This simple switch can prevent unnecessary power waste.
Step 12: Consider a Third‑Party Battery Monitoring App
While Apple’s built‑in battery usage data is helpful, third‑party apps can offer deeper insights.
- Apps like Battery Life or CoconutBattery (for Mac) can provide temperature readings and charge cycle counts.
- Use them to cross‑verify Apple’s reported health metrics.
Having multiple data points can guide decisions on replacement or further troubleshooting.
Step 13: Reset Network Settings
Network misconfigurations can cause constant reconnection attempts.
- Open Settings → General → Transfer or Reset iPhone.
- Tap Reset → Reset Network Settings.
- Re-enter Wi‑Fi passwords afterward.
A clean network stack reduces power consumption.
Step 14: Verify the Charger and Cable
Using a non‑Apple charger or a damaged cable can impair charging efficiency.
- Replace cables that show fraying or bent conductors.
- Use an Apple-certified charger with the appropriate wattage (20 W or higher for iPhone 14 Pro).
A proper charger ensures the battery charges quickly and safely.
Step 15: Keep Software Settings Minimal
Each active feature consumes a small amount of power.
- Disable Hey Siri if not used.
- Turn off Background App Refresh for all apps.
- Keep Auto‑Lock set to a short duration (e.g., 30 seconds).
Minimalism in settings reduces background processing.
Step 16: When All Else Fails, Seek Professional Diagnostics
If the battery still feels weak after following every step, schedule a diagnostic appointment.
- Apple technicians can run a full battery health test.
- They can check for hardware faults like a failing charging port or motherboard issues that affect power.
Professional diagnostics provide clarity on whether the battery or another component is at fault.
Conclusion
Battery life degradation on an iPhone 14 Pro is a natural part of lithium‑ion chemistry, but the impact can be mitigated with thoughtful software adjustments and proper care. Low Power Mode is an excellent starting point, but it works best when paired with calibrated charging, disciplined app usage, and a cool operating environment. If these strategies don’t bring the battery life back to acceptable levels, a battery replacement is the most reliable solution. By following the steps outlined above, you can prolong the life of your iPhone 14 Pro’s battery, keep your device running longer, and avoid the frustration of unexpected shutdowns.
Discussion (10)
Join the Discussion
Your comment has been submitted for moderation.
Random Posts

Maytag M2011 Microwave Error Code 12, Troubleshooting Tips
Error Code 12 on a Maytag M2011 signals a power or high voltage fault. Follow a step by step guide to inspect the transformer, diode, and connections, and restore your microwave without costly repairs.
4 weeks ago

Strategy to Avoid Unresponsive Power Button on Sonoff Smart Plug S40
Keep your Sonoff S40 button responsive by learning why it fails and how to prevent it with simple care, firmware updates, and smart habits.
1 year ago

AVer CAM3400 Microphone Silences Voice When Using Zoom
Find out why your AVer CAM3400 mic cuts out on Zoom, learn step-by-step fixes, and know when to call a pro to keep your audio loud and clear.
9 months ago

Correcting a Fan Speed Oscillation on the Lasko LS7500 Tower Heater
Learn how to stop the Lasko LS7500 fan from wavering by clearing dust, checking bearings and tightening connections, simple steps that restore steady heat and prolong your heater’s life.
9 months ago

Fix Sony SmartCam Indoor Noise Interference
Discover why your Sony SmartCam hisses, crackles, or distorts indoors, learn to spot power, cord and wireless culprits, and fix the noise with simple, lasting solutions.
3 weeks ago
Latest Posts

Fixing the Eufy RoboVac 15C Battery Drain Post Firmware Update
Fix the Eufy RoboVac 15C battery drain after firmware update with our quick guide: understand the changes, identify the cause, and follow step by step fixes to restore full runtime.
5 days ago

Solve Reolink Argus 3 Battery Drain When Using PIR Motion Sensor
Learn why the Argus 3 battery drains fast with the PIR sensor on and follow simple steps to fix it, extend runtime, and keep your camera ready without sacrificing motion detection.
5 days ago

Resolving Sound Distortion on Beats Studio3 Wireless Headphones
Learn how to pinpoint and fix common distortion in Beats Studio3 headphones from source issues to Bluetooth glitches so you can enjoy clear audio again.
6 days ago