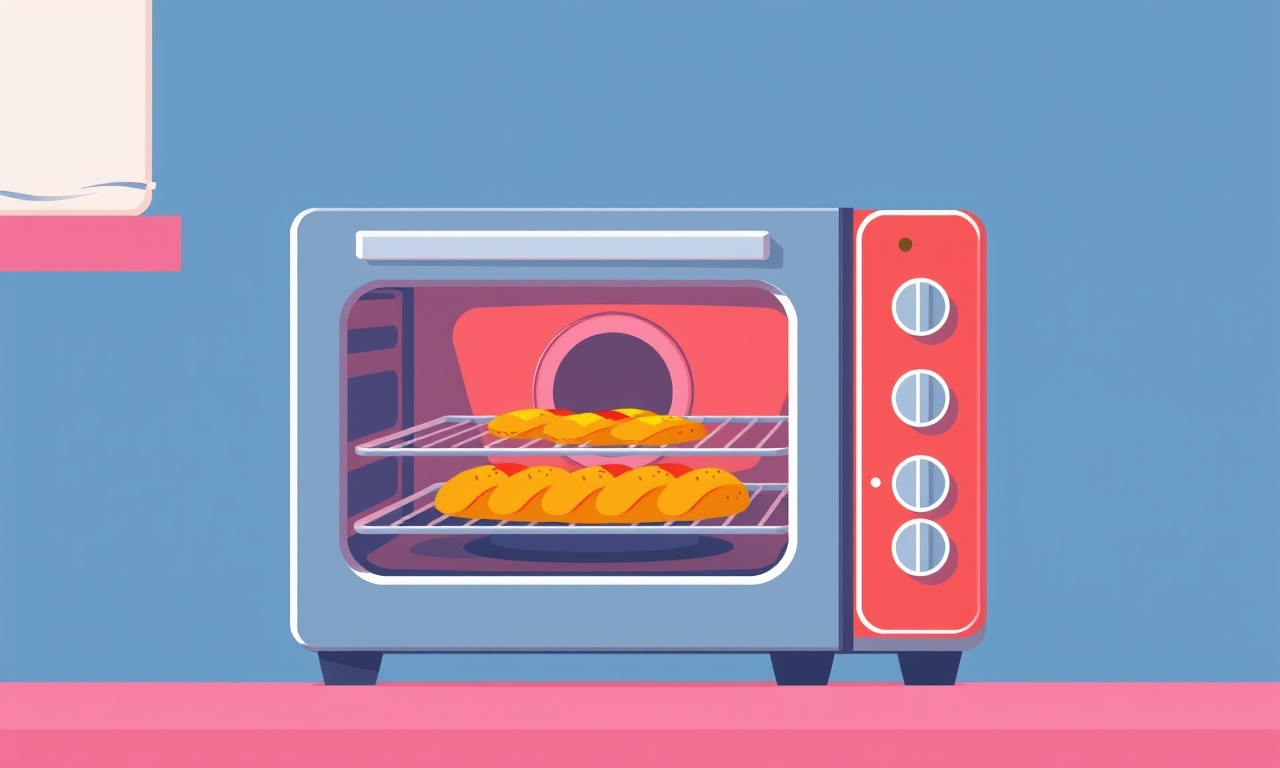
Electrolux ESM550 Oven Not Heating During Bake With New Rack
Electrolux ESM550 ovens are known for their reliability, but like any appliance, they can encounter problems. One frustrating issue many owners face is the oven failing to heat during a bake cycle after installing a new rack. This guide explains why the oven may not heat, how to diagnose the problem, and the steps you can take to fix it without a professional.
Understanding the Problem
When you load a new rack into the oven and select a bake setting, you expect the temperature to rise quickly and stay stable. If the oven stays cool or only reaches a fraction of the desired temperature, the problem can stem from several sources:
- Improper rack placement
- Mechanical or electrical faults
- Safety interlocks that prevent heating
- A damaged heating element or sensor
- Faulty wiring or a blown fuse
Each cause requires a slightly different approach, so it is essential to gather information before you start opening up the unit.
How to Check the Rack First
The most common mistake is placing the rack in a position that blocks the heating element or prevents the thermostat from accurately measuring temperature. Follow these steps:
-
Power Off
Turn the oven off and unplug it. Let it cool completely to avoid burns. -
Remove the Rack
Take the new rack out of the oven and examine it for any damage or manufacturing defects. Make sure the rack is the correct size for the ESM550; a rack that is too wide or too narrow can affect heat distribution. -
Re‑install the Rack
Place the rack on the lowest available level, typically the bottom. The oven’s design assumes the heating element is behind the bottom rack. Placing the rack too high may block the heat source. -
Test the Bake Cycle
Plug the oven back in, set it to bake at 180 °C (350 °F), and let it run for 15 minutes. Monitor the temperature gauge or digital display. If the temperature rises as expected, the rack placement was the culprit.
If the oven still does not heat after correct placement, move on to electrical diagnostics.
Inspecting the Heating Element
The ESM550 uses a metal‑wire heating element behind the back wall. A broken or damaged element will show obvious gaps, cracks, or melted sections. To inspect:
-
Locate the Element
Open the oven door and locate the element. It is usually hidden behind a panel that can be removed with a Phillips screwdriver. -
Visual Check
Look for visible damage. If the element appears intact, use a multimeter to test continuity. Set the meter to a low ohm range and touch the probes to each end of the element. A good element will read a low resistance (typically between 15–25 Ω). No continuity indicates a broken element that must be replaced. -
Replacement
If the element is faulty, purchase a replacement part from Electrolux or an authorized retailer. Follow the manufacturer’s instructions to remove the old element and install the new one. Be sure the new element is the exact same model number to ensure proper fit and performance.
Checking the Temperature Sensor
The oven’s internal thermostat relies on a temperature sensor to regulate heat. If the sensor reads incorrectly, the oven will not turn on the heating element. Testing:
-
Locate the Sensor
It is typically a small thermocouple or resistance temperature detector (RTD) near the back of the oven cavity. -
Test with a Multimeter
Measure resistance or voltage across the sensor’s terminals. Refer to the service manual for the correct resistance value at room temperature. A reading that deviates by more than 10 % from the specification suggests a bad sensor. -
Clean or Replace
Dust or corrosion can cause faulty readings. Gently clean the sensor with a soft brush. If cleaning does not help, replace the sensor.
Evaluating the Thermostat
The thermostat determines when the oven should turn on and off the heating element. A defective thermostat can cause the oven to stay off. To check:
-
Locate the Thermostat
It is usually near the heating element. Remove any cover panel. -
Test for Continuity
With the oven unplugged, use a multimeter on the continuity setting. Touch the probes to the thermostat’s terminals. If the meter shows a continuous beep when the thermostat is in the “on” position and none when it is “off,” it is functioning. A lack of continuity in either state indicates failure. -
Replace if Necessary
If the thermostat is faulty, order the correct part number and install it as per the service manual. Always allow the oven to cool before working on any electrical component.
Electrical Connections and Fuses
Sometimes the issue lies in the wiring harness or a blown fuse. Follow these steps:
-
Inspect the Fuse
The ESM550 usually has a dedicated fuse for the heating circuit. Locate it in the back of the oven. Pull it out and examine the filament. A clear filament indicates it is good; a broken filament means the fuse is blown. -
Test the Wiring
Look for visible cracks, frayed wires, or loose connections at the oven plug, control panel, and heating element. Tighten any loose screws and replace damaged cables. -
Check Power Supply
Verify that the outlet provides the correct voltage (230 V in Europe, 110 V in North America). Use a voltage tester to confirm. -
Re‑assemble and Test
After replacing the fuse and fixing any wiring, plug the oven back in and test a bake cycle.
Safety Interlocks and Door Switches
Ovens include safety features that prevent heating when the door is open or the door switch fails. To verify:
-
Door Switch
Find the door switch—usually a small lever near the hinge. Manually depress the lever while the oven is off to see if the control panel indicates the door is closed. If not, replace the switch. -
Over‑Temperature Protection
Some models have a thermal fuse that cuts power when the oven temperature exceeds a safe limit. Check its continuity with a multimeter. Replace if necessary.
Using the Diagnostic Mode
The Electrolux ESM550 often includes a built‑in diagnostic mode that can identify faults:
-
Enter Diagnostic Mode
Follow the instruction in the user manual (commonly involves pressing and holding specific buttons for a few seconds). -
Read Error Codes
The display will show numeric codes. Cross‑reference each code with the manual’s troubleshooting table. -
Address the Code
Each code will point to a specific component (e.g., sensor, element, thermostat). Follow the steps above to resolve the issue. -
Clear the Code
Once fixed, exit diagnostic mode to clear the error and return the oven to normal operation.
Practical Steps to Resolve “Not Heating” After Installing a New Rack
Below is a concise step‑by‑step guide that you can follow to diagnose and fix the problem:
| Step | Action |
|---|---|
| 1 | Unplug the oven and let it cool. |
| 2 | Check rack placement—ensure it sits on the bottom level. |
| 3 | Test bake cycle—does the oven heat? |
| 4 | If not, inspect the heating element for damage or broken continuity. |
| 5 | Test the temperature sensor for correct resistance. |
| 6 | Verify the thermostat continuity in on/off positions. |
| 7 | Inspect the fuse and replace if blown. |
| 8 | Check all wiring for damage or loose connections. |
| 9 | Test the door switch and over‑temperature protection. |
| 10 | Enter diagnostic mode and note any error codes. |
| 11 | Clear the error and restart the oven. |
| 12 | If the oven still doesn’t heat, call a qualified service technician. |
Preventive Maintenance Tips
Regular care can prevent many heating issues:
-
Clean the Oven Regularly
Remove grease and food spills from the interior to keep the heating element and sensors unobstructed. -
Inspect the Racks Periodically
Look for scratches or bends that could interfere with heat distribution. -
Check the Door Seal
A worn seal can cause heat loss and trigger safety interlocks. -
Schedule Annual Servicing
Have a professional inspect the electrical components, heating element, and safety features once a year. -
Use the Right Rack
Ensure any replacement rack matches the model specifications for your oven.
FAQ
Does a new rack affect the oven’s heating cycle?
If placed on a higher level, a new rack can block the heating element or interfere with the temperature sensor, leading to under‑heating.
How do I know if the heating element is bad?
A broken heating element will show no continuity on a multimeter. Visually, it may also display cracks or burn marks.
Can I replace the heating element myself?
Yes, if you have basic electrical knowledge and the correct replacement part. Follow the manufacturer’s guide closely.
When should I call a professional?
If you are uncomfortable working with electrical components, the oven remains non‑functional after troubleshooting, or you encounter internal wiring damage.
Final Thoughts
A non‑heating oven after installing a new rack can be traced to simple mechanical misplacement or a deeper electrical fault. By methodically checking rack placement, the heating element, temperature sensor, thermostat, fuse, and safety interlocks, most owners can restore full functionality without professional help. Remember to keep the oven clean, inspect components regularly, and always follow safety guidelines when working on electrical appliances. With patience and the right tools, you can enjoy consistent baking performance from your Electrolux ESM550 again.
Discussion (7)
Join the Discussion
Your comment has been submitted for moderation.
Random Posts

Analyzing iPhone 13 Pro Max Apple Pay Transaction Declines After Software Update
After the latest iOS update, iPhone 13 Pro Max users see more Apple Pay declines. This guide explains the technical cause, how to diagnose the issue, and steps to fix payment reliability.
2 months ago

Dyson AM15 Mist Not Spreading What Causes It And How To Repair
Find out why your Dyson AM15 Mist isn’t misting, learn the common causes, and follow our step, by, step guide to restore full misting performance quickly.
2 months ago

Adjusting the Neato Botvac D6 for Unexpected Cleaning Pause
Learn why your Neato Botvac D6 pauses, diagnose the issue, and tweak settings for smooth, uninterrupted cleaning.
11 months ago

Quelling LG OLED G1 Picture Loop at Startup
Stop the LG OLED G1 picture loop that stutters at startup, follow these clear steps to diagnose software glitches, adjust settings, and restore a smooth launch every time.
4 months ago

Resolving Room Acoustics Calibration on Samsung HW Q990T
Calibrate your Samsung HW, Q990T to your room's acoustics and unlock true cinema-quality sound, every dialogue and subtle score becomes crystal clear.
1 month ago
Latest Posts

Fixing the Eufy RoboVac 15C Battery Drain Post Firmware Update
Fix the Eufy RoboVac 15C battery drain after firmware update with our quick guide: understand the changes, identify the cause, and follow step by step fixes to restore full runtime.
5 days ago

Solve Reolink Argus 3 Battery Drain When Using PIR Motion Sensor
Learn why the Argus 3 battery drains fast with the PIR sensor on and follow simple steps to fix it, extend runtime, and keep your camera ready without sacrificing motion detection.
5 days ago

Resolving Sound Distortion on Beats Studio3 Wireless Headphones
Learn how to pinpoint and fix common distortion in Beats Studio3 headphones from source issues to Bluetooth glitches so you can enjoy clear audio again.
6 days ago