Eliminating Flame Delay on the Daikin 600 Gas Heater
Eliminating Flame Delay on the Daikin 600 Gas Heater
Flame delay is a common nuisance that many homeowners experience with gas heaters. The Daikin 600 model, known for its reliability and efficiency, is not exempt from this issue. Whether you’re a first‑time owner or an experienced user, understanding the root causes and learning practical solutions can help keep your home warm and your heater operating safely.
Why Flame Delay Matters
A delayed ignition can lead to a host of problems.
- The room remains unheated longer than necessary, causing drafts and discomfort.
- Repeated attempts to ignite the burner can reduce the lifespan of the igniter.
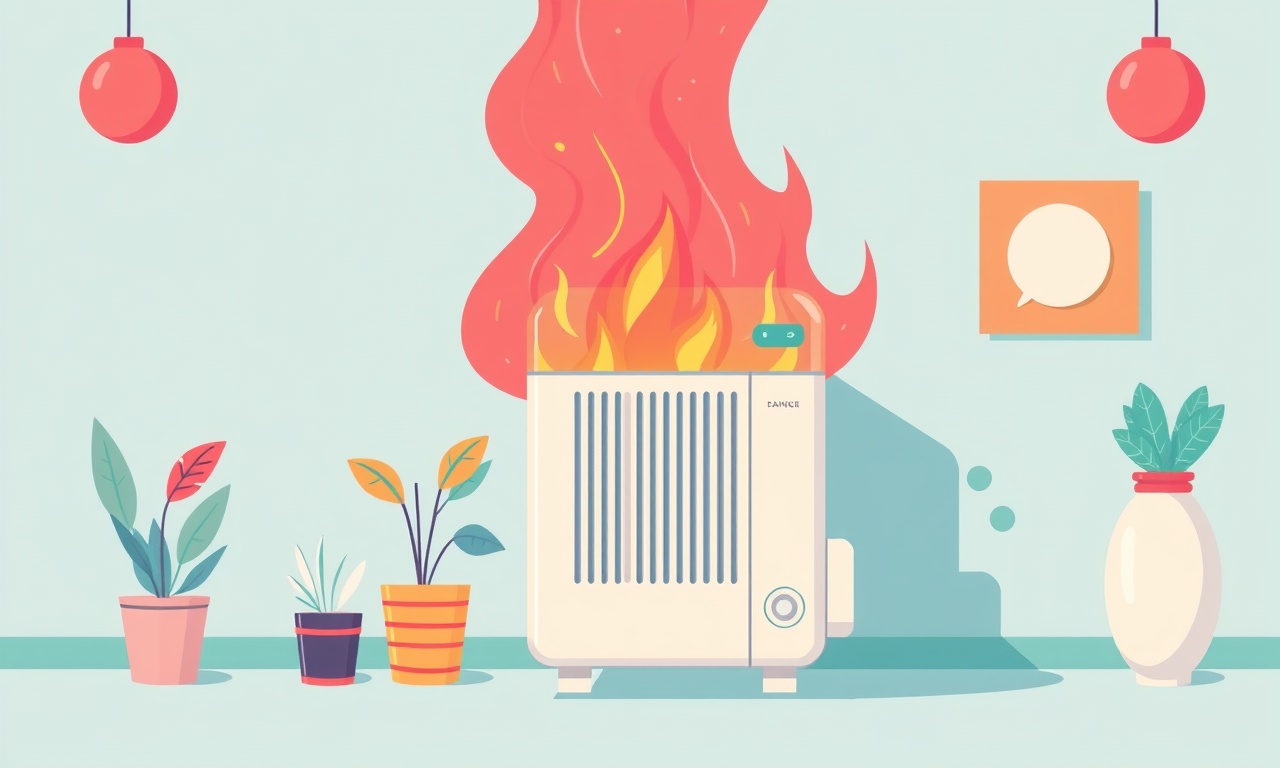
- In extreme cases, an uncontrolled flame or gas buildup can pose a fire risk.
Addressing flame delay early prevents these complications and ensures your heater runs at peak efficiency.
The Mechanics of a Daikin 600 Gas Heater
The Daikin 600 employs a series of sensors and control modules to manage the ignition sequence:
- Thermostat – Detects room temperature and sends a signal to the control board.
- Control Board – Receives signals and triggers the igniter and gas valve.
- Igniter – Generates a spark or heat source to ignite natural gas.
- Gas Valve – Opens to allow gas to flow once ignition is confirmed.
- Pressure Switch – Ensures safe operation by monitoring gas pressure.
When the thermostat signals a temperature drop, the control board initiates a coordinated sequence. Any lag in any of these steps can produce the frustrating delay we see.
Common Causes of Flame Delay
| Component | Typical Issue | Symptom |
|---|---|---|
| Igniter | Dirty or aging electrode | Weak spark, long ignition time |
| Gas Valve | Faulty solenoid or stuck valve | No opening, delayed response |
| Thermostat | Calibration drift or sensor failure | Incorrect temperature readings |
| Control Board | Software glitch or overheating | Erratic behavior, repeated delays |
| Pressure Switch | Low gas pressure | Inconsistent ignition |
| Air Supply | Blocked vent or poor ventilation | Reduced flame intensity |
Each cause can act alone or in combination. Diagnosing the exact problem requires a systematic approach.
Step‑by‑Step Troubleshooting Guide
1. Verify Power Supply and Wiring
- Check the main breaker to confirm power is supplied to the heater.
- Inspect control panel wiring for visible damage or loose connections.
- Ensure the ground wire is secure; a poor ground can cause unpredictable behavior.
2. Examine the Thermostat Settings
- Confirm the thermostat is set to the desired temperature.
- Reset the thermostat to factory defaults if calibration seems off.
- Replace batteries if the unit relies on them and they are low.
3. Inspect the Igniter
- Remove the igniter cover using a screwdriver.
- Look for carbon build‑up or corrosion on the electrode.
- Clean gently with a soft brush or replace the igniter if it appears worn.
- Test ignition by manually activating the sensor (consult the service manual for safe procedure).
4. Test the Gas Valve
- Use a non‑contact voltage tester to confirm the solenoid receives power when the control board signals.
- If voltage is present but the valve does not open, the solenoid may be defective.
- If voltage is absent, the control board or wiring may be at fault.
5. Check the Pressure Switch
- Measure gas pressure using a gauge.
- Verify that pressure is within the manufacturer’s specified range.
- A low pressure reading often points to a block in the gas line or a leak.
6. Clean or Replace the Control Board
- Open the control panel and look for burn marks or residue.
- Ensure the board is dry and free of dust.
- If the board shows signs of damage, replace it following the manufacturer’s guidelines.
7. Assess Ventilation and Air Intake
- Inspect the intake vent for blockages caused by debris or wildlife.
- Clean the filter if applicable.
- Verify that the exhaust vent is clear and properly oriented.
8. Perform a Full System Test
- After completing the above steps, power on the heater and observe the ignition sequence.
- Note any remaining delays or irregularities.
- If the issue persists, proceed to professional diagnostics.
Maintaining a Delay‑Free Heater
Regular upkeep is essential to prevent future flame delay problems.
- Monthly Cleaning: Remove dust from vents and the heater housing.
- Quarterly Inspection: Check for gas leaks, loose connections, and electrode condition.
- Annual Service: Have a qualified technician run a comprehensive diagnostic and calibrate the thermostat and control board.
Following these practices reduces wear on critical components and keeps the ignition cycle smooth.
When to Call a Professional
Even a seasoned homeowner may find certain checks intimidating. If you encounter any of these scenarios, it’s safest to seek expert help:
- Persistent flame delay despite following all troubleshooting steps.
- Visible signs of gas leakage or unusual odors.
- Issues with the gas line that require specialized tools.
- Complex electrical faults that risk injury or damage.
Professional technicians have diagnostic equipment, such as infrared thermography and gas chromatographs, that can pinpoint issues beyond visual inspection.
Safety Precautions
Working with gas appliances demands caution:
- Turn off the power before inspecting electrical components.
- Ventilate the area to avoid gas accumulation.
- Never attempt to repair a faulty gas valve or pressure switch without proper training.
- Keep a fire extinguisher rated for gas fires within arm’s reach.
Adhering to these measures protects both you and your household.
Frequently Asked Questions
| Question | Answer |
|---|---|
| How long should the ignition take? | A typical Daikin 600 igniter should fire within 5–7 seconds after the thermostat signals. |
| What if the flame flickers after ignition? | This could indicate a gas pressure issue or a weak igniter. Check pressure and clean the electrode. |
| Can I replace the igniter myself? | Yes, but follow the manufacturer’s instructions closely. If you’re unsure, ask a professional. |
| Does flame delay affect energy bills? | Minor delays rarely impact cost, but repeated ignition attempts can slightly increase gas usage over time. |
Common Misconceptions
- “The delay is normal.” A perfectly timed ignition is a hallmark of a well‑maintained heater.
- “Only the igniter can cause delay.” While the igniter is often the culprit, other components can also be responsible.
- “More power will fix it.” Simply increasing voltage is not a solution; it can damage the system.
Quick Reference Checklist
- Power & Wiring – Verify continuity and secure connections.
- Thermostat – Confirm correct setting and calibration.
- Igniter – Clean or replace.
- Gas Valve – Test for voltage and operation.
- Pressure Switch – Check gas pressure range.
- Control Board – Inspect for damage.
- Ventilation – Ensure unobstructed airflow.
Use this checklist after every maintenance cycle to catch potential issues early.
Visual Aids
Final Thoughts
Flame delay on the Daikin 600 gas heater is a manageable issue when approached methodically. By understanding the system’s components, conducting thorough diagnostics, and maintaining regular service intervals, you can keep your home warm and your heater running efficiently. When in doubt, never hesitate to reach out to a certified professional—your safety and comfort are worth the investment.
Discussion (6)
Join the Discussion
Your comment has been submitted for moderation.
Random Posts

Reassessing the Audio Jack Dropout on LG Velvet 2
Explore why the LG Velvet 2's 3.5mm jack glitches, what triggers audio dropouts, user fixes, and LG's stance: essential insight for current and future Android phones.
1 year ago

Philips HP700 Fan Stalls Quietly Even At Low Speed Why This Happens And What To Do
Discover why your Philips HP700 quietly stalls at low speed, spot early signs, and fix the issue to keep steady airflow.
2 weeks ago

How to Stop Sharp LC-40M from Producing Audio Sync Issues While Gaming
Fix your Sharp LC-40M so game audio stays in sync. Learn quick settings tweaks, cable checks, and audio-output fixes that keep sound matching action for a flawless gaming experience.
6 months ago

Solve Arlo Pro 4 Wireless Connection Problems
Discover quick fixes for offline Arlo Pro 4 cameras. Check power, Wi, Fi, firmware, reset steps, and more get your live feed back up fast.
4 months ago

Panasonic D45 Dryer Timer Skips Final Drying Cycle
Discover why your Panasonic D45 dryer skips its final cycle, learn the symptoms, root causes, and easy fixes to keep clothes dry, save energy, and avoid extra runs.
5 months ago
Latest Posts

Fixing the Eufy RoboVac 15C Battery Drain Post Firmware Update
Fix the Eufy RoboVac 15C battery drain after firmware update with our quick guide: understand the changes, identify the cause, and follow step by step fixes to restore full runtime.
5 days ago

Solve Reolink Argus 3 Battery Drain When Using PIR Motion Sensor
Learn why the Argus 3 battery drains fast with the PIR sensor on and follow simple steps to fix it, extend runtime, and keep your camera ready without sacrificing motion detection.
5 days ago

Resolving Sound Distortion on Beats Studio3 Wireless Headphones
Learn how to pinpoint and fix common distortion in Beats Studio3 headphones from source issues to Bluetooth glitches so you can enjoy clear audio again.
6 days ago