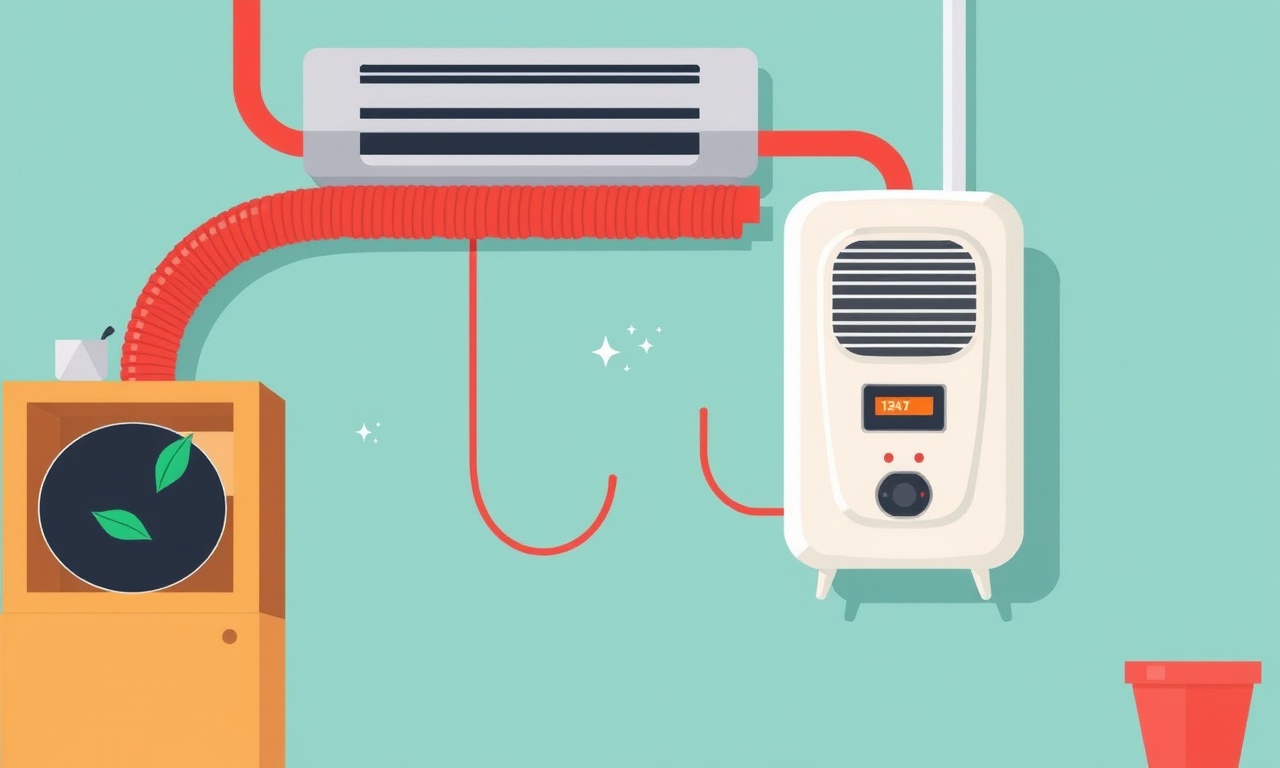
Fixing a Leak in the Tubing on the Fujitsu 2500 Central Heater
Introduction
When a Fujitsu 2500 Central Heater starts to develop a leak in its tubing, the first instinct is often to call a technician. However, many homeowners are comfortable tackling small repairs on their own, especially when the issue is confined to a single section of the heater’s condensate drain line or condensate pipe. A leaking tube can lead to water damage, mold growth, and wasted energy if left unattended. This guide walks you through the entire process of locating, fixing, and testing a tubing leak on your Fujitsu 2500 Central Heater.
Before you begin, read the entire article so you are clear on the tools needed, safety precautions, and the sequence of steps. The steps below assume you have basic mechanical skill and the ability to work with a hot water system.
Safety First
- Turn Off Power
Locate the main electrical switch for the heater and flip it to the OFF position. If the unit is connected to a dedicated circuit breaker, switch that breaker to OFF as well. - Shut Off the Water Supply
Find the main water shut‑off valve that supplies the HVAC system and close it. This prevents additional water from entering the heater while you work. - Drain the System
Open a low‑elevation faucet (such as a basement or crawl‑space floor drain) to relieve pressure in the system. - Wear Protective Gear
Put on rubber gloves and safety glasses. If the heater has been running for a long period, it may still contain hot water or steam.
Failure to observe these safety steps can result in electrical shock, burns, or further water damage.
Spotting the Leak
A leak in the Fujitsu 2500’s tubing can show up in several ways:
-
Visible Droplets or Drips
A steady drip near the drain pipe or condensate line is a clear indicator. -
Water Stains or Discoloration
Look for brown or yellow stains on walls, ceilings, or flooring around the heater’s location. -
Wet or Damp Floor
A damp spot on the floor where the heater is installed often signals a leaking pipe. -
Unusual Sounds
Hissing or gurgling noises can sometimes accompany a small leak.
When you identify the leak’s approximate location, note the pipe’s diameter, material, and whether it’s a condensate drain or a supply line. This information determines the repair method and the replacement parts needed.
Tools and Materials You’ll Need
| Item | Purpose |
|---|---|
| Adjustable wrench | Tighten or loosen fittings |
| Pipe cutter or tubing cutter | Trim the tube |
| Silicone sealant or PTFE tape | Seal threaded connections |
| Replacement tubing (same diameter and material) | Replace damaged section |
| Pipe clamps or compression fittings | Secure the new pipe |
| Level | Ensure proper slope for condensate flow |
| Teflon tape | Seal threaded ends |
| Utility knife | Clean the pipe surface |
| Water bucket or container | Catch debris and leftover water |
| Screwdrivers (flat‑head & Phillips) | Remove panels or covers |
All of these items are typically found in a well-stocked home repair kit. If you lack any, a local hardware store can provide them.
Step‑by‑Step Repair Process
1. Locate the Damaged Section
With the power still off, access the heater’s mounting panel. Use a screwdriver to remove the panel if necessary. Trace the tubing from the heater’s condensate pump or evaporator coil to the drain line. Mark the section that shows signs of corrosion, cracking, or separation from the rest of the pipe.
2. Drain the Pipe
Before cutting the damaged pipe, relieve any residual pressure by opening the drain valve near the end of the tubing. Place a bucket under the line to catch water. Let the water flow until it stops, then close the valve.
3. Cut Out the Damaged Section
Position the pipe cutter around the marked area. Follow the manufacturer’s instructions for the cutter to ensure a clean, straight cut.
After cutting, inspect the ends of the pipe for burrs or rough spots. Use a utility knife or sandpaper to smooth them out.
4. Prepare the Replacement Tubing
Measure the length of the removed section. Add an extra 1–2 inches to allow for fittings and to account for any shrinkage after sealing. Cut the new tube to the appropriate length.
If the original pipe was a sleeved or compressed type, you will need matching fittings. If it was rigid, use a compression fitting or a quick‑connect clamp that matches the tube’s diameter.
5. Install the New Tubing
-
Slide a Fitting onto the New Tube
If using compression fittings, slide the compression nut and ring onto the new tube. -
Attach the Tube to the Existing Line
Place the new tube into the remaining pipe sections. Tighten the fittings securely with an adjustable wrench. -
Apply Sealant or PTFE Tape
For threaded connections, wrap PTFE tape clockwise around the threads before tightening. This creates an airtight seal and prevents leaks. -
Check Alignment
Ensure the new section is straight and that the slope (approximately 1/4 inch per foot) is maintained for proper condensate drainage.
6. Verify the Seal
Close the drain valve and slowly open the main water supply. Watch for any leaks at the new fittings. If you spot a drip, tighten the fittings a bit more or add a bit of silicone sealant to the joint.
7. Re‑assemble the Heater
Once all joints are dry and secure, replace the mounting panel. Use the screws you removed earlier.
8. Restore Power and Water
Switch the circuit breaker back on. Turn the main water valve to a moderate flow and allow the system to pressurize.
9. Run a Test Cycle
Turn on the Fujitsu 2500 Central Heater and let it run through a full heating cycle. Observe the new pipe for any leaks, listen for unusual sounds, and check the floor and walls for moisture.
10. Final Inspection
After the heater has cooled, re‑inspect the repaired section. Confirm there are no drips, and the system is draining correctly. If everything looks good, the job is complete.
Maintaining Your Tubing System
Even after a successful repair, regular maintenance can prevent future leaks.
-
Inspect Annualy
Schedule a yearly visual inspection of the condensate drain line. Look for signs of corrosion or bulging. -
Keep the Line Clean
Occasionally flush the drain line with a mild bleach solution (1 tablespoon bleach to 1 gallon water) to remove mold or mineral buildup. -
Check the Drain Pump
If your Fujitsu 2500 uses a condensate pump, ensure it is functioning properly. A failing pump can cause water to back up and damage the tubing. -
Maintain Proper Slope
Ensure the drain line remains at the correct slope. A flat or inverted slope can lead to standing water and corrosion. -
Seal All Connections
Every time you replace a section of the tube, double‑check that all fittings are properly sealed with PTFE tape or silicone.
By incorporating these habits, you can keep your Fujitsu 2500 running efficiently and free of leaks.
Common Problems and Quick Fixes
1. Persistent Leak at a Sealed Joint
If a joint that was sealed with PTFE tape still leaks, the threads may be stripped. In this case, use a larger compression fitting or replace the entire section of pipe that contains the damaged threads.
2. Leakage in the Drain Pump
A leaking condensate pump is often due to a damaged seal. Replace the pump or, if it’s still under warranty, contact Fujitsu support.
3. Standing Water in the Drain Line
Standing water indicates a slope issue. Use a level to confirm the angle and add shims or reposition the pipe to correct the slope.
4. Rust on Copper Tubing
Rust can weaken the pipe. Replace the corroded section with new copper or a more corrosion‑resistant material such as PEX or PVC, depending on local codes and system compatibility.
Why DIY Is Often Safer Than a Call
Many homeowners hesitate to take on repairs because they fear damaging the system. In reality, a leaking tube is one of the easiest components to fix with the right instructions. DIY repairs save money, reduce downtime, and give you a deeper understanding of how your HVAC system works. If, at any point, you feel uncertain, call a licensed HVAC technician.
Final Thoughts
A leaking tube on the Fujitsu 2500 Central Heater is a small issue that can be resolved with patience, the right tools, and a clear step‑by‑step approach. By following the safety precautions, carefully cutting out the damaged section, and installing a new piece of tubing with proper sealing techniques, you restore your unit’s reliability and protect your home from water damage.
Remember that prevention is key. Regular inspections, keeping the drain line clean, and maintaining the correct slope will help avoid future leaks. If you keep up with routine maintenance, you’ll enjoy the comfort and efficiency of your Fujitsu 2500 for many years.
With confidence in these steps, you can tackle a leaking tube head‑on and keep your home warm and dry.
Discussion (10)
Join the Discussion
Your comment has been submitted for moderation.
Random Posts

Addressing Apple iPhone 14 Pro Max Battery Drain During Gaming Sessions
Learn why iPhone 14 Pro Max batteries drain during gaming, how to diagnose the issue, and practical tweaks to keep you playing longer with less power loss.
5 months ago

Curing iPhone 14 Plus Charging Port Wear After Daily Fast Charge Cycles
Fast charging can loosen your iPhone 14 Plus port. Learn to spot slow charging and loose cables, then fix it with simple home tricks or long, term prevention.
6 months ago
Xiaomi Mi SmartGlasses 3 Eye Tracking Error Fix
Fix the eye, tracking issue on Mi SmartGlasses 3 with this step, by, step guide to diagnose, clear errors, and restore functionality without repair.
1 year ago

Overcoming Sony X900H Color Saturation Drift During HDR Playback
Discover how to spot and fix color saturation drift on your Sony X900H during HDR playback, tune settings, correct HDR metadata, and keep your scenes vivid and natural.
4 months ago

Remediating Signal Dropout on Bowers & Wilkins PX8 Noise Cancelling Headphones
Discover why the Bowers & Wilkins PX8 may drop sound and how to fix it by tackling interference, low battery, outdated firmware, obstacles and Bluetooth settings for uninterrupted audio
1 week ago
Latest Posts

Fixing the Eufy RoboVac 15C Battery Drain Post Firmware Update
Fix the Eufy RoboVac 15C battery drain after firmware update with our quick guide: understand the changes, identify the cause, and follow step by step fixes to restore full runtime.
5 days ago

Solve Reolink Argus 3 Battery Drain When Using PIR Motion Sensor
Learn why the Argus 3 battery drains fast with the PIR sensor on and follow simple steps to fix it, extend runtime, and keep your camera ready without sacrificing motion detection.
5 days ago

Resolving Sound Distortion on Beats Studio3 Wireless Headphones
Learn how to pinpoint and fix common distortion in Beats Studio3 headphones from source issues to Bluetooth glitches so you can enjoy clear audio again.
6 days ago