Fixing a Sensor Error on the Electrolux EHF12 Electric Heater
Understanding the Sensor Error
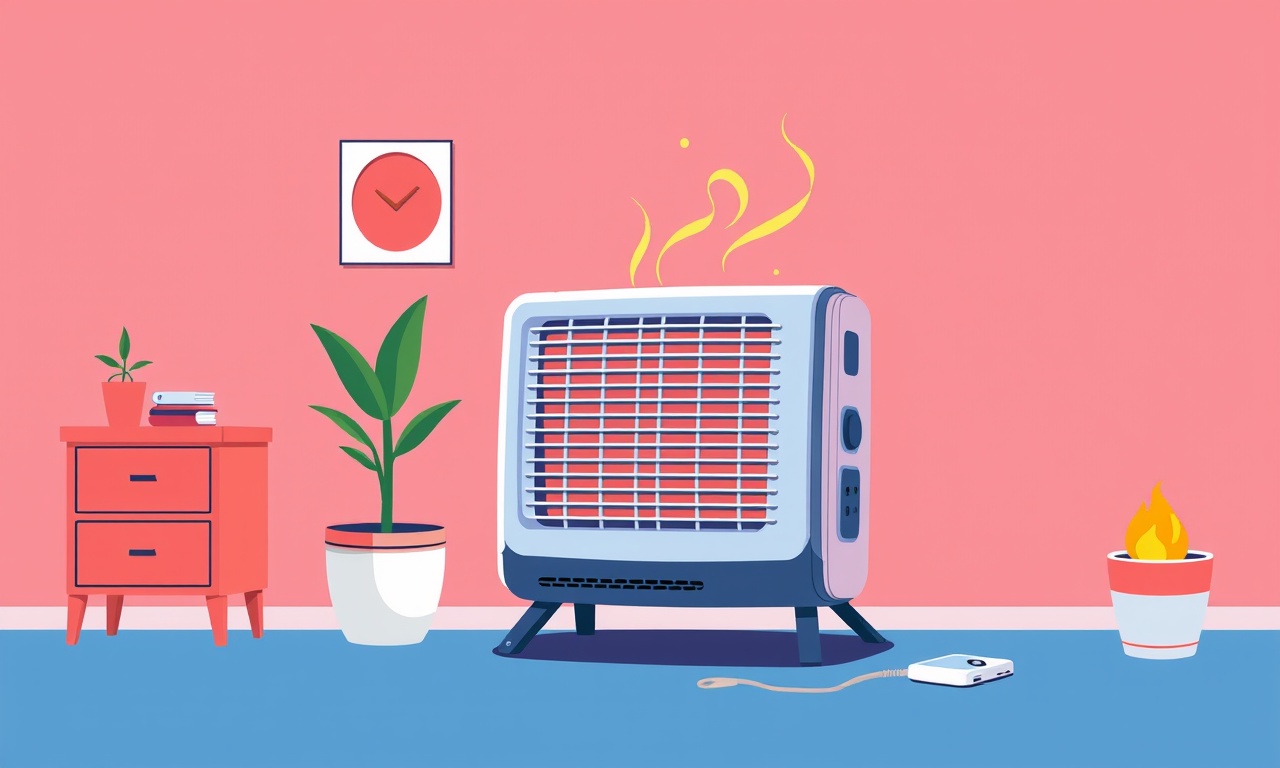
The Electrolux EHF12 electric heater is a popular choice for many households due to its quiet operation and efficient heat distribution. Over time, however, users may encounter a sensor error that stops the heater from turning on or causes it to shut down unexpectedly. This guide will walk you through the common reasons behind the sensor error, explain how to diagnose the problem safely, and provide a step‑by‑step procedure to fix it.
Why the Sensor Matters
The heater’s safety circuitry relies on a temperature sensor that monitors the unit’s internal temperature. If the sensor reports a reading outside a safe range, the heater’s microcontroller will trigger an error and prevent the heater from operating. This safeguard protects users from overheating and potential fire hazards.
Common Symptoms
- The heater powers on but then shuts off immediately.
- A red “Sensor Error” light flashes on the display.
- The heater displays “SENS” or a similar code and refuses to heat.
- The thermostat shows no change in temperature after adjustment.
Recognizing these symptoms early can save time and prevent more serious issues.
Common Causes of Sensor Errors
-
Loose or Damaged Wiring
Over time, vibration or handling can loosen the wires connecting the sensor to the control board. A broken wire or a poor connection will cause a false reading. -
Contaminated Sensor
Dust, debris, or moisture can accumulate on the sensor’s surface, skewing its temperature reading. -
Electrical Noise
Nearby high‑power appliances or faulty wiring may introduce interference, leading the control board to misinterpret the sensor’s signal. -
Aging Sensor Element
After years of operation, the sensor’s internal thermistor can drift, resulting in inaccurate temperature readings. -
Software Glitch
In rare cases, a firmware issue can misinterpret the sensor input, displaying an error even though the hardware is fine.
Before you start troubleshooting, it is essential to turn off the heater and disconnect it from the mains power supply. This precaution prevents electrical shock and protects the internal components.
Safety Precautions
- Unplug the Heater: Always disconnect the power cord from the wall outlet before working on the unit.
- Use Proper Tools: A Phillips screwdriver, a multimeter with a temperature probe, and a gentle plastic pry tool are recommended.
- Avoid Contact with Hot Surfaces: The heater’s housing may still retain heat even after power is cut. Let it cool for at least 30 minutes.
- Wear Protective Gear: If you have sensitive skin or allergies, wear gloves and a dust mask to avoid inhaling or touching debris.
Tools You’ll Need
- Phillips head screwdriver
- Flat‑head screwdriver (plastic for interior panels)
- Multimeter with a temperature probe or analog voltage meter
- Small insulated wire cutters
- Electrical tape or heat‑shrink tubing
- A clean, lint‑free cloth
Diagnosing the Problem
-
Visual Inspection
Carefully open the heater’s outer shell following the manufacturer’s instructions. Look for obvious signs of damage: frayed wires, burn marks, or loose connections near the sensor. -
Check the Sensor Wiring
The sensor is typically a thin wire with a plastic or ceramic cap. Verify that the wire is firmly connected to both the sensor head and the control board. If you see any cracks or broken strands, replace the wire. -
Test the Sensor Voltage
With the heater unplugged, set your multimeter to the appropriate voltage range (usually 0–5 V). Connect the probes to the sensor’s terminals. The sensor should display a steady voltage. A fluctuating or absent voltage indicates a fault. -
Measure the Temperature Reading
If your multimeter has a temperature probe, place it on the sensor’s surface. Compare the reading to the heater’s display. A mismatch suggests contamination or sensor drift.
Cleaning or Replacing the Sensor
If the wiring is intact but the sensor reads incorrectly, cleaning may restore proper function.
Cleaning Steps
- Gently wipe the sensor’s cap and metal contacts with a dry cloth.
- Use a small brush to remove dust from the sensor’s surface.
- Avoid using water or solvents, as these can damage the sensor.
If cleaning does not resolve the error, you will need to replace the sensor element. The Electrolux EHF12 uses a standard 10 kΩ thermistor that can be sourced from the manufacturer’s parts list or a reputable appliance parts supplier.
Replacing the Sensor
-
Disconnect the Power
Confirm the unit is unplugged before proceeding. -
Remove the Old Sensor
Unscrew the sensor’s mounting clip or fastener. Carefully lift the sensor out of its socket, noting how the wire terminates. -
Install the New Sensor
Place the new thermistor into the socket, aligning it with the mounting clip. Reattach the clip securely. -
Reconnect the Wire
Re‑solder or crimp the sensor wire to the new thermistor if the old wire is damaged. Use heat‑shrink tubing to cover any exposed connections. -
Reassemble the Heater
Put the outer shell back on, ensuring all panels are aligned and fastened correctly. -
Test the Unit
Plug the heater back into the outlet. Turn it on and observe the display. The sensor error light should no longer appear. If it still does, re‑check the wiring connections and sensor placement.
Testing the Heater After Repair
Once the sensor has been replaced or cleaned, perform a full test cycle.
- Set the Desired Temperature: Adjust the thermostat to a comfortable setting.
- Monitor the Display: Watch for the red sensor error indicator.
- Feel the Surface: After a few minutes, the heater should warm up.
- Check the Airflow: Ensure the fan is spinning correctly and the air is being distributed.
If any anomalies persist, it may be a deeper electrical issue. In that case, consider contacting a professional technician.
Preventive Maintenance Tips
- Regular Dusting: Clean the heater’s exterior and filter (if applicable) every month to keep dust from accumulating on internal components.
- Inspect Wiring: Once a year, open the unit to inspect all connections for signs of wear.
- Keep the Unit Dry: Avoid using the heater in humid or wet environments to prevent moisture buildup on the sensor.
- Software Updates: If your model supports firmware updates, keep it current to benefit from bug fixes that may address sensor logic.
When to Call a Professional
Even though many sensor errors can be fixed at home, certain situations warrant professional help:
- Repeated Sensor Errors: If the error returns after a repair, it may indicate a deeper electrical problem.
- Control Board Issues: Diagnosing and replacing the control board requires specialized knowledge.
- Wiring Damage: Extensive wiring damage, especially if it involves the main power feed, should be handled by an electrician.
- Safety Concerns: If you feel uncertain about any step, err on the side of caution and call a licensed appliance repair technician.
Common Mistakes to Avoid
- Using Excessive Force: Trying to force a sensor or wire can damage the component or create a new fault.
- Skipping Safety Steps: Working on a powered heater can lead to shock or injury.
- Reassembling Incorrectly: Misaligned panels may trap heat or cause short circuits.
- Forgetting to Test: A quick turn‑on test may miss intermittent issues that only appear after prolonged operation.
Final Thoughts
A sensor error on the Electrolux EHF12 is typically a sign of a loose connection, contaminated sensor, or aging component. With a systematic approach—visual inspection, voltage testing, cleaning or replacement—you can restore your heater to full operation without professional assistance. Consistent maintenance and early detection of sensor issues will extend the life of your heater and keep your home safe and warm.
By following the steps outlined above, you can confidently troubleshoot and resolve sensor errors, ensuring that your Electrolux heater remains reliable throughout the colder months.
Discussion (10)
Join the Discussion
Your comment has been submitted for moderation.
Random Posts

Addressing Apple iPhone 14 Pro Max Battery Drain During Gaming Sessions
Learn why iPhone 14 Pro Max batteries drain during gaming, how to diagnose the issue, and practical tweaks to keep you playing longer with less power loss.
5 months ago

Curing iPhone 14 Plus Charging Port Wear After Daily Fast Charge Cycles
Fast charging can loosen your iPhone 14 Plus port. Learn to spot slow charging and loose cables, then fix it with simple home tricks or long, term prevention.
6 months ago
Xiaomi Mi SmartGlasses 3 Eye Tracking Error Fix
Fix the eye, tracking issue on Mi SmartGlasses 3 with this step, by, step guide to diagnose, clear errors, and restore functionality without repair.
1 year ago

Overcoming Sony X900H Color Saturation Drift During HDR Playback
Discover how to spot and fix color saturation drift on your Sony X900H during HDR playback, tune settings, correct HDR metadata, and keep your scenes vivid and natural.
4 months ago

Remediating Signal Dropout on Bowers & Wilkins PX8 Noise Cancelling Headphones
Discover why the Bowers & Wilkins PX8 may drop sound and how to fix it by tackling interference, low battery, outdated firmware, obstacles and Bluetooth settings for uninterrupted audio
1 week ago
Latest Posts

Fixing the Eufy RoboVac 15C Battery Drain Post Firmware Update
Fix the Eufy RoboVac 15C battery drain after firmware update with our quick guide: understand the changes, identify the cause, and follow step by step fixes to restore full runtime.
5 days ago

Solve Reolink Argus 3 Battery Drain When Using PIR Motion Sensor
Learn why the Argus 3 battery drains fast with the PIR sensor on and follow simple steps to fix it, extend runtime, and keep your camera ready without sacrificing motion detection.
5 days ago

Resolving Sound Distortion on Beats Studio3 Wireless Headphones
Learn how to pinpoint and fix common distortion in Beats Studio3 headphones from source issues to Bluetooth glitches so you can enjoy clear audio again.
6 days ago