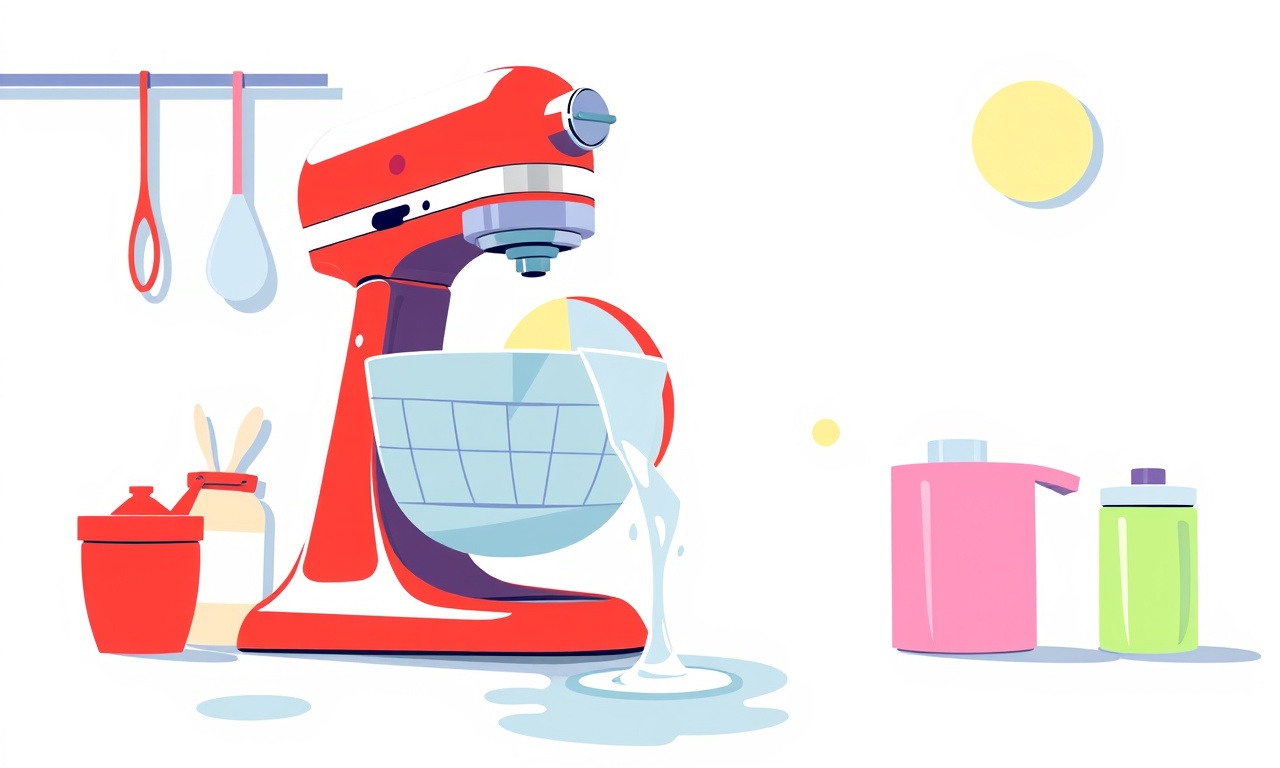
Fixing Water Leaks on a KitchenAid KADW5000 Dishwasher
When a dishwasher starts leaking, it can feel like a flood of frustration and a sudden spike in your water bill. The KitchenAid KADW5000 is a popular model known for its reliability, but even the best appliances can develop issues over time. This guide will walk you through every step needed to identify, diagnose, and repair water leaks on a KADW5000. By the end of this article you’ll know what to look for, which parts to replace, and how to keep your dishwasher running dry for years to come.
Why Leaks Happen
Water leaks in dishwashers usually stem from one of a few common problems:
- Worn or damaged hoses that connect the water supply or drain to the unit.
- Faulty door seals that allow water to escape during a wash cycle.
- Damaged spray arms or internal components that spill water onto the floor.
- Broken or misaligned plumbing connections at the bottom of the machine.
- Faulty pressure relief valves that fail to regulate pressure properly.
Understanding where a leak originates is the first step toward fixing it. The KADW5000 is built with several modular parts that can be removed and replaced without a full teardown, making most repairs relatively simple for a homeowner.
Symptoms That Signal a Leak
Before you open the dishwasher door, look for these telltale signs:
- Standing water under the unit after a cycle completes.
- Streaks or stains on the floor that track in a straight line from the dishwasher’s base.
- Visible water trails on the door or frame that seem to seep in from the bottom.
- Soggy carpeting or drywall beneath the dishwasher.
- A persistent humming or buzzing noise that might indicate a stuck motor or misaligned component.
If you spot any of these clues, stop using the dishwasher until you’ve identified and repaired the problem. Continued use can cause additional damage, potentially ruining more parts or compromising safety.
Safety First
Leak repairs involve water, electricity, and sometimes compressed air. Protect yourself and your home by following these precautions:
- Turn off the power to the dishwasher by switching off the circuit breaker or unplugging the unit.
- Shut off the water supply at the valve that feeds the dishwasher. On most KADW5000 models this is a dedicated valve located near the sink or behind the unit.
- Use a bucket to catch any water that may spill out as you open panels or disconnect hoses.
- Wear rubber gloves to keep your hands clean and to reduce the chance of slips on wet surfaces.
Once these steps are complete, you’re ready to investigate the source of the leak.
Tools You’ll Need
Below is a quick list of tools that will make the repair process smoother:
- Screwdriver set (flathead and Phillips)
- Adjustable wrench
- Pliers
- Replacement door gasket (specific to KADW5000)
- Replacement hoses (usually 1‑1/4‑inch or 1‑3/4‑inch)
- Replacement spray arm
- Sealant or plumber’s tape
- Soft cloth or rag
- Bucket or small container
- Work light (optional, but handy in dim corners)
Having these items on hand means you can address most leaks on the spot, saving time and money.
Common Leak Sources & How to Fix Them
1. Water Supply Hose Issues
The water supply hose delivers cold water from your kitchen to the dishwasher. Over time, the hose’s connections can loosen or the material can degrade, producing leaks at either the inlet or the connection point to the unit.
How to Fix It
- Locate the supply hose, usually hidden behind the sink or in the cabinet below the dishwasher.
- Tighten the hose clamp on both ends with an adjustable wrench. Be careful not to overtighten, as that can crack the hose.
- Inspect the hose for cracks, bulges, or a “bendy” feel. If you notice any, replace the hose with a new one. Install it by sliding the new hose over the inlet pipe and securing it with a new clamp.
- Turn the water supply back on and check for leaks. If the hose still leaks, consider replacing the water inlet valve on the dishwasher itself.
2. Drain Hose Leaks
The drain hose routes wastewater from the dishwasher to your kitchen’s garbage disposal or drain. If it’s not sealed properly, water can escape during the drain cycle.
How to Fix It
- Inspect the hose for kinks or cracks. A kink can cause backflow and pressure buildup, leading to leaks.
- Make sure the hose is correctly routed to the garbage disposal or sink drain and that it is not bent sharply.
- Tighten the hose clamp at the connection point. If the clamp is corroded or damaged, replace it with a new one.
- If the leak persists, replace the hose entirely. Most dishwasher manufacturers sell replacement hoses that fit the KADW5000.
3. Door Seal (Gasket) Wear
The door seal is a rubber ring that runs along the edge of the dishwasher’s door. It prevents water from escaping while the machine runs. Over time, the gasket can become brittle, torn, or compressed, leading to leaks that often show up as water pooling on the floor.
How to Fix It
- Open the dishwasher door and locate the seal. It should be a continuous rubber ring that surrounds the entire edge.
- Inspect for visible cracks, bulges, or missing pieces. If any are present, the seal needs replacement.
- Remove the old gasket by pulling it off the door frame. A flathead screwdriver can help pry it gently away from the frame.
- Clean the door frame with a damp cloth, removing old adhesive or debris.
- Fit the new gasket onto the frame. Make sure it sits snugly and that no gaps remain between the door and the frame.
- Close the door and listen for any leaks during a short test cycle. If the leak stops, you’ve solved the problem.
4. Spray Arm Damage
The spray arm circulates water across the dishwasher’s interior. If the arm’s holes become clogged or the arm itself cracks, water can spray onto the dishwasher’s floor or leak through cracks in the interior panel.
How to Fix It
- Remove the bottom rack to access the spray arm.
- Unscrew the spray arm by turning it counter‑clockwise. Some models use a simple twist‑off design.
- Inspect the spray holes for clogs. Clean them with a small brush or a pin.
- If the arm is cracked or severely worn, replace it with a new one. Replacement spray arms are available from KitchenAid or third‑party suppliers.
- Reattach the spray arm by screwing it back in place and ensure it’s properly aligned.
5. Drain Pump Seal or Valve Problems
The drain pump uses a seal to keep water from escaping as it pumps the waste to the drain. A worn seal can produce a slow drip that becomes noticeable after each cycle.
How to Fix It
- Remove the dishwasher’s lower panel to access the drain pump. This usually involves unscrewing a few screws and pulling the panel away.
- Inspect the pump’s O‑rings or seals. If any are cracked or dislodged, replace them with new ones.
- Check the pump housing for cracks or loose connections. Tighten any loose screws.
- Reassemble the panel, reconnect the power, and test the dishwasher.
6. Check the Pressure Relief Valve
The pressure relief valve is a safety feature that releases excess pressure if the dishwasher gets too full of water. A defective valve can cause water to back up and leak from the unit.
How to Fix It
- Locate the valve; it’s usually near the bottom of the dishwasher, attached to the drain pump housing.
- Inspect the valve for visible damage. A broken valve may produce a constant drip.
- If damaged, replace the valve. Replacement parts can be purchased from KitchenAid or a reputable appliance parts supplier.
- Reinstall and test the dishwasher.
Step‑by‑Step Guide to a Full Leak Check
Below is a systematic approach you can follow if you’re unsure where the leak originates. The steps are written in a “check‑list” style rather than numbered, to keep the flow natural and easy to read.
Inspect the Exterior
- Examine the floor around the dishwasher for water stains or pooling.
- Check the base of the unit for dampness.
- Look for obvious signs of leaking hoses or damaged seals.
Check the Water Supply
- Verify the inlet hose is tight and intact.
- Confirm the inlet valve is functioning.
Examine the Drain
- Inspect the drain hose for kinks or leaks.
- Ensure the hose connects securely to the disposal or sink drain.
Inspect the Door Seal
- Look for cracks or bulges in the gasket.
- Verify the door closes tightly against the seal.
Test the Spray System
- Remove and clean the spray arms.
- Replace any damaged spray arms.
Look Inside
- Remove the lower panel and check the pump housing.
- Inspect O‑rings, seals, and the pressure relief valve.
Run a Test Cycle
- After each adjustment, run a short cycle to see if the leak has stopped.
- Observe the machine during the wash and drain phases.
If the leak stops after any of these steps, you’ve found the culprit. If it persists, repeat the steps or consult a professional.
Preventive Measures to Avoid Future Leaks
Once your leak is repaired, keep your dishwasher dry by following these simple habits:
- Regularly inspect the door gasket and replace it every 1–2 years.
- Clean the spray arms and filter at least once a month to prevent clogs.
- Check the hoses annually for signs of wear and tighten clamps as needed.
- Schedule a professional maintenance check every 3–5 years to catch hidden issues early.
- Avoid overloading the dishwasher, which can stress seals and cause leaks.
Keeping your dishwasher in good condition reduces the likelihood of costly repairs down the road.
When to Call a Professional
Even the most experienced DIYers can hit a wall. Here are situations where it’s best to bring in a qualified appliance technician:
- The leak originates from a major internal component that requires specialized tools.
- You’ve identified a problem with the electrical system or a broken motor.
- The dishwasher’s water supply valve is stuck or damaged.
- You’re unsure whether a repair is safe or likely to cause more damage.
Professional technicians can diagnose and fix issues quickly, often with parts that are not easily available to consumers.
Final Thoughts
Water leaks from a KitchenAid KADW5000 don’t have to mean a costly repair or a new dishwasher. With a systematic approach, the right tools, and a bit of patience, most leaks can be resolved quickly. Remember to always prioritize safety—turn off the water and electricity before opening the unit—and keep an eye on the parts you replace. By maintaining your dishwasher and addressing leaks promptly, you’ll enjoy reliable, dry operation for many years.
Good luck, and may your dishes stay clean and your floor stay dry!
Discussion (4)
Join the Discussion
Your comment has been submitted for moderation.
Random Posts

Rebooting Google Nest Hub (3rd Gen) to Resolve App Sync Glitches
Stuck with delayed notifications, unresponsive tiles, or stale smart, home data? A simple reboot of your Nest Hub 3rd Gen clears cache, resets processes, and restores smooth app sync.
3 months ago

Fixing Bluetooth Signal Drops on Apple AirPods Pro
Tired of AirPods Pro disconnecting during walks or workouts? Learn why Bluetooth drops happen, how to spot them, and quick fixes - no coding required - to keep audio flowing.
11 months ago

Fixing the Duplexer Failure on a Brother MFC‑J805DW
Learn how to diagnose and replace a faulty duplexer on your Brother MFC, J805DW, restoring double, sided printing with step, by, step instructions for tech, savvy users.
10 months ago

Solving Apple iPhone 13 Pro Camera Rolling Shutter With External Lens
Stop the slanted look from rolling shutter when adding external lenses to your iPhone 13 Pro by tweaking camera settings, choosing the right lens, and using proper stabilization.
9 months ago

Restoring Bandwidth on Amazon Eero Mesh 6 Pro After a Firmware Update
After an Eero Mesh 6 Pro firmware update, bandwidth often drops. This guide explains why the change occurs and walks you through quick steps to restore full speed and a stable connection for work and play.
8 months ago
Latest Posts

Fixing the Eufy RoboVac 15C Battery Drain Post Firmware Update
Fix the Eufy RoboVac 15C battery drain after firmware update with our quick guide: understand the changes, identify the cause, and follow step by step fixes to restore full runtime.
5 days ago

Solve Reolink Argus 3 Battery Drain When Using PIR Motion Sensor
Learn why the Argus 3 battery drains fast with the PIR sensor on and follow simple steps to fix it, extend runtime, and keep your camera ready without sacrificing motion detection.
5 days ago

Resolving Sound Distortion on Beats Studio3 Wireless Headphones
Learn how to pinpoint and fix common distortion in Beats Studio3 headphones from source issues to Bluetooth glitches so you can enjoy clear audio again.
6 days ago