GE JGOGW36E Oven Light Won’t Light, What to Inspect
When the bright light inside your GE JGOGW36E oven is suddenly dark, it can feel like a small but stubborn glitch in an otherwise efficient kitchen companion. A working oven light is more than a convenience—it is a safety feature that lets you check the inside of the oven while it is still hot, helps you gauge doneness, and gives you confidence that the heat distribution is even. If that glow disappears, the first instinct might be to throw a new bulb in. In many cases that is all that is needed, but sometimes the problem lies deeper in the wiring, the control board, or the light switch.
Below is a detailed, step‑by‑step guide that walks you through every component that could be responsible for a dead oven light. By the end you will have a clear diagnostic plan, know exactly what to inspect, and understand when it is safe to replace parts yourself and when it is best to call a professional.
Understanding Your GE JGOGW36E Model
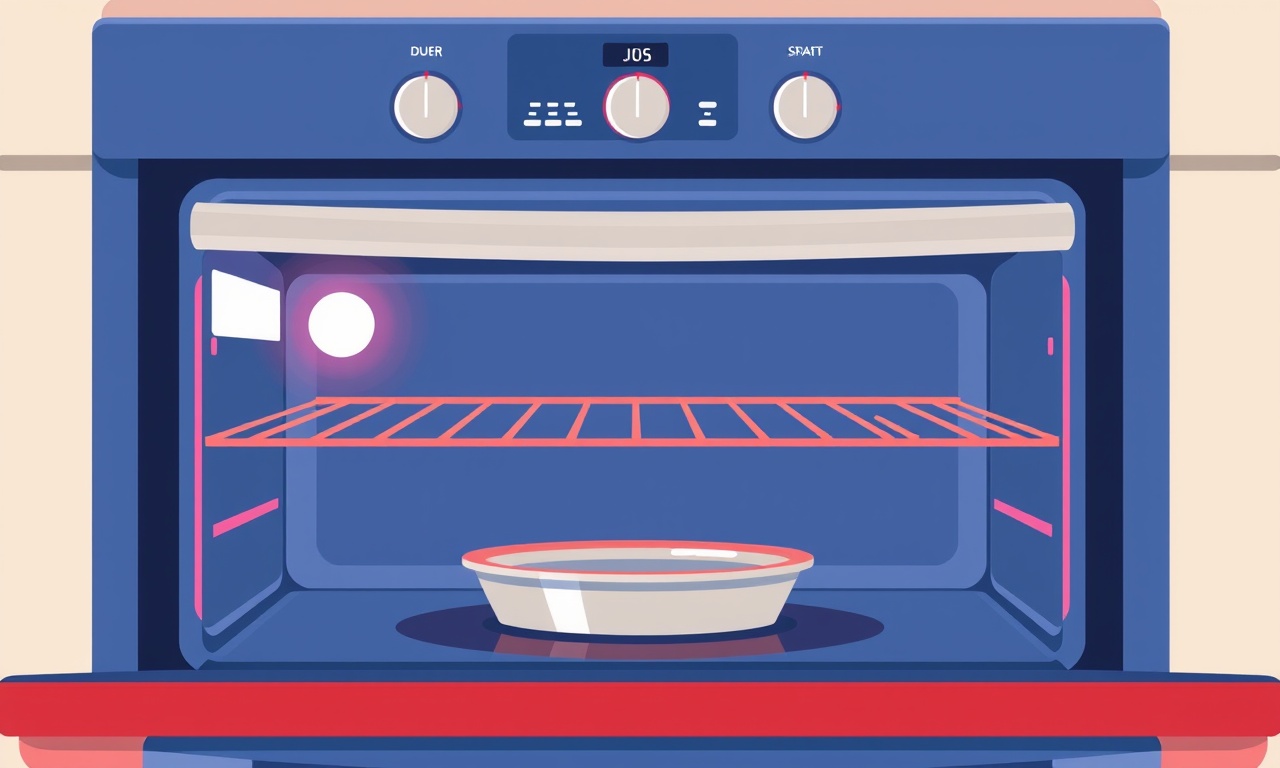
The GE JGOGW36E is a countertop, electric oven that comes with a standard 3‑pin plug and a 120‑volt power supply. Its interior lighting system is a thin LED strip that runs along the front panel, typically powered by a small transformer located inside the back of the oven. The LED strip is connected to the oven’s control board, which manages everything from temperature regulation to light activation. The light is usually turned on automatically when the oven door is opened, and it turns off when the door closes or when the oven reaches the set temperature.
Because the LED strip is relatively inexpensive and easily replaceable, many homeowners start by simply pulling it out and inspecting it for visible damage. That is exactly where the troubleshooting process begins.
Safety First
Before you touch anything inside the oven, disconnect the appliance from the power source. Unplug it from the wall outlet or flip the circuit breaker that powers the kitchen. Working on a live appliance can result in electric shock or short‑circuit damage to the oven’s electronics.
If you are not comfortable working with electrical components or if the oven is still under warranty, consider calling a licensed appliance technician.
Inspecting the Light Assembly
- Remove the Oven Door – Depending on the model, the door may slide out on a track or be hinged. Carefully detach it following the manufacturer's instructions.
- Locate the LED Strip – The strip is usually tucked behind a small plastic cover on the front of the oven cavity.
- Check for Visible Damage – Look for cracks, fraying, or any discoloration on the strip.
- Inspect the Housing – The metal housing that contains the strip may have bent or broken parts.
If the LED strip shows any obvious damage, replace it. If it looks intact, move on to the next step.
Checking the Bulb
The GE JGOGW36E typically uses a single, integrated LED bulb. It is not a replaceable traditional incandescent bulb. However, the LED module can be replaced as a single unit.
- Test the LED Module with a Multimeter – Set the meter to the DC voltage range and short the two terminals of the LED strip. A proper reading should match the rated voltage of the module (usually 12 V).
- Look for Heat Buildup – If the module feels hot to the touch after a short test, it may be faulty.
- Try a Known Good Replacement – If you have a spare module or can borrow one, swap it in to confirm that the original is at fault.
If the LED module is dead, replace it. If the module is good, the issue lies elsewhere in the circuit.
Inspecting the Light Socket and Connections
The LED strip connects to the oven’s control board via a small socket or connector.
- Disconnect the Strip – Carefully unplug the LED strip from its socket.
- Examine the Pins – Look for bent or corroded pins. Clean them with a soft brush or a can of compressed air.
- Check the Socket – The socket itself may have loose contacts or cracks.
- Re‑insert the Strip – Tighten it firmly and test the light again.
If a damaged socket is identified, it may need to be replaced or repaired by a professional.
Checking the Control Board and Fuse
The control board orchestrates the oven’s functions, including turning the light on and off.
- Locate the Fuse – Inside the control panel, there is usually a small fuse or circuit breaker.
- Test the Fuse – Remove it and use a multimeter set to continuity. If there is no continuity, the fuse is blown and must be replaced.
- Inspect the Board – Look for burn marks, melted plastic, or any other signs of damage.
- Check for Loose Connections – If you find any loose solder joints or disconnected wires, consider re‑soldering them or having a professional do so.
A malfunctioning control board often manifests as a loss of various functions, not just the light. If other functions such as temperature display or timer are also affected, the board is likely the culprit.
Testing the Light Switch
Some ovens have a dedicated switch that activates the light when the door is opened.
- Find the Switch – It is usually located on the outer side of the door or inside the control panel.
- Test with a Multimeter – Set the meter to the lowest ohm setting and short the switch terminals.
- Open the Door – The switch should register a change in resistance, indicating it is moving.
- Replace if Faulty – A defective switch can be replaced with a standard toggle or rocker switch of the same rating.
If the switch is fine, the light is still not functioning, indicating a deeper issue in the wiring or board.
Inspecting the Wiring Harness
The wiring harness runs from the control board to the light strip.
- Follow the Cables – Trace the harness from the control board to the LED strip.
- Check for Physical Damage – Look for cuts, frayed insulation, or crushed wires.
- Test Continuity – Using a multimeter, test each wire for continuity. A break in the wire will show infinite resistance.
- Secure Loose Connections – If you find any loose connections, tighten them or re‑solder as needed.
A broken or damaged wire will prevent current from reaching the LED strip, causing the light to stay off.
Diagnosing Electrical Problems
If you have inspected the bulb, socket, control board, switch, and wiring harness and still cannot find the source of the problem, consider the following:
- Power Supply Issues – A faulty transformer or power adapter may not be supplying the necessary voltage to the LED strip.
- Short Circuit – A short somewhere in the oven’s electrical path can cause the entire light circuit to fail.
- Firmware Glitches – In some modern ovens, a software update may be required to reset the light function.
At this stage, it is generally safer to call a professional, especially if you suspect issues with the transformer or control board.
When to Replace Parts
| Component | Replacement Threshold |
|---|---|
| LED Strip | Visible damage or failed voltage test |
| Fuse | No continuity or visible burn |
| Switch | No resistance change or physical failure |
| Wiring Harness | Broken, frayed, or missing continuity |
| Control Board | Burn marks, melted plastic, or non‑functional other controls |
Replacing parts yourself is usually straightforward for the LED strip, fuse, and switch. For the wiring harness and control board, a qualified technician is recommended.
DIY vs Professional Help
Do It Yourself If:
- The issue is with a single, easily replaceable component (LED strip, fuse, or switch).
- You are comfortable using a multimeter and have basic electrical knowledge.
- The oven is out of warranty and you have the tools needed for safe disassembly.
Call a Professional If:
- The control board or transformer appears damaged.
- The oven is still under warranty and you want to avoid voiding it.
- You are not comfortable working with electrical components.
- The oven shows signs of extensive electrical failure (multiple systems not working).
A qualified technician can diagnose and repair complex issues, perform a thorough safety check, and ensure the oven is compliant with all electrical codes.
Maintenance Tips to Prevent Future Issues
- Keep the Oven Clean – Residue buildup around the light strip can cause overheating and degrade the LED over time.
- Check the Door Seal – A faulty seal can cause temperature fluctuations that stress the control board.
- Inspect the Power Cord – Look for fraying or exposed wires. Replace if necessary.
- Schedule Annual Service – A professional can run a diagnostic test, update firmware, and replace aging components before they fail.
- Avoid Overloading – Do not overload the oven with too many heavy pots, which can cause uneven heating and increased stress on the control board.
Putting It All Together
When your GE JGOGW36E oven light stops glowing, the root cause can range from a simple burnt fuse to a complex control board malfunction. By systematically inspecting each component – starting with the LED strip and working outward to the wiring harness – you can identify and resolve most common issues without calling a professional. However, if the problem seems more serious or if you encounter any uncertain or dangerous electrical conditions, it is always best to seek expert help.
Remember, a functional oven light is not just a convenience; it is a critical safety feature. By following the steps above, you can restore the glow inside your kitchen appliance and keep your cooking environment safe and efficient.
Discussion (7)
Join the Discussion
Your comment has been submitted for moderation.
Random Posts

Addressing Apple iPhone 14 Pro Max Battery Drain During Gaming Sessions
Learn why iPhone 14 Pro Max batteries drain during gaming, how to diagnose the issue, and practical tweaks to keep you playing longer with less power loss.
5 months ago

Curing iPhone 14 Plus Charging Port Wear After Daily Fast Charge Cycles
Fast charging can loosen your iPhone 14 Plus port. Learn to spot slow charging and loose cables, then fix it with simple home tricks or long, term prevention.
6 months ago
Xiaomi Mi SmartGlasses 3 Eye Tracking Error Fix
Fix the eye, tracking issue on Mi SmartGlasses 3 with this step, by, step guide to diagnose, clear errors, and restore functionality without repair.
1 year ago

Overcoming Sony X900H Color Saturation Drift During HDR Playback
Discover how to spot and fix color saturation drift on your Sony X900H during HDR playback, tune settings, correct HDR metadata, and keep your scenes vivid and natural.
4 months ago

Remediating Signal Dropout on Bowers & Wilkins PX8 Noise Cancelling Headphones
Discover why the Bowers & Wilkins PX8 may drop sound and how to fix it by tackling interference, low battery, outdated firmware, obstacles and Bluetooth settings for uninterrupted audio
1 week ago
Latest Posts

Fixing the Eufy RoboVac 15C Battery Drain Post Firmware Update
Fix the Eufy RoboVac 15C battery drain after firmware update with our quick guide: understand the changes, identify the cause, and follow step by step fixes to restore full runtime.
5 days ago

Solve Reolink Argus 3 Battery Drain When Using PIR Motion Sensor
Learn why the Argus 3 battery drains fast with the PIR sensor on and follow simple steps to fix it, extend runtime, and keep your camera ready without sacrificing motion detection.
5 days ago

Resolving Sound Distortion on Beats Studio3 Wireless Headphones
Learn how to pinpoint and fix common distortion in Beats Studio3 headphones from source issues to Bluetooth glitches so you can enjoy clear audio again.
6 days ago