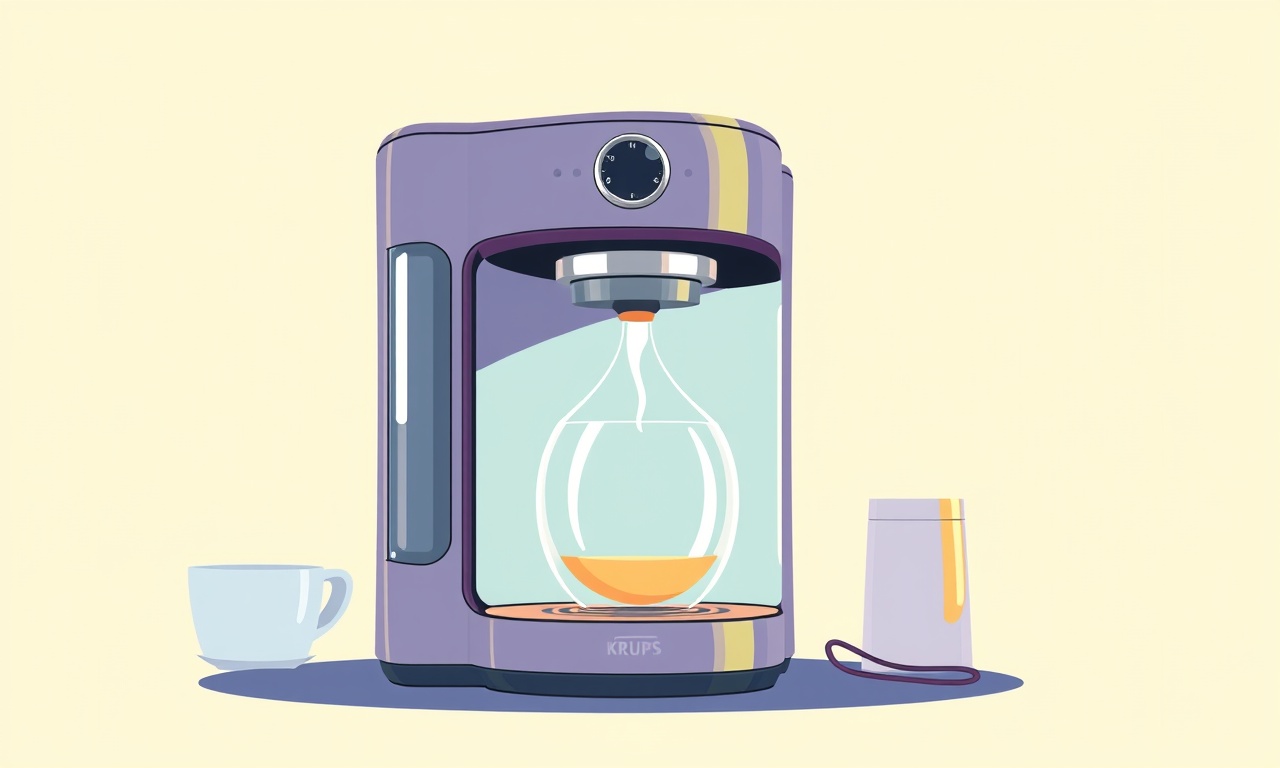
How to Restore Functionality to a Faulty Aroma Sensor in a Krups C400
When a Krups C400 stops recognizing aroma signals, the machine often defaults to a generic brewing mode, leaving coffee lovers with a less aromatic cup. Restoring the aroma sensor not only brings back the nuanced flavor detection that distinguishes this model, but also helps maintain the machine’s overall health. This guide walks you through every step—from safety checks to sensor calibration—so you can get the most out of your Krups C400 without professional help.
Understanding the Aroma Sensor
The aroma sensor in the Krups C400 is a small infrared or photoelectric module mounted inside the brew head. Its job is to detect the chemical composition of the brewed coffee by measuring how the liquid absorbs or reflects specific wavelengths of light. When the sensor’s signal is off, the machine’s micro‑controller assumes a “no‑aroma” condition and falls back to a default brewing profile.
Key facts about the sensor:
- Location: Inside the brew head, just below the coffee grounds chamber.
- Appearance: A thin rectangular component with a small black or gray window that lets light pass through.
- Functionality: It produces a voltage signal that the controller interprets as an aroma intensity reading.
Common Symptoms of a Faulty Aroma Sensor
Before you begin, confirm that the sensor is indeed the culprit. Look for these signs:
- The machine’s indicator lights show an error code related to aroma detection.
- Brewing always defaults to the “strong” or “regular” setting regardless of user choice.
- The brew time or temperature appears inconsistent.
- You notice visible dust, grime, or corrosion on the sensor window.
If any of these symptoms appear, you can safely proceed with the repair checklist below.
Safety Precautions
- Unplug the Unit: Always disconnect the power cord from the outlet before opening the machine.
- Avoid Moisture: Keep water or cleaning liquids away from electronic components.
- Use Proper Tools: Employ only the specified screwdrivers and tweezers to avoid damage.
- Ground Yourself: If you’re working in a static environment, use an anti‑static wrist strap to protect sensitive electronics.
Tools and Materials
- Phillips head screwdriver (size 0 or 1)
- Flat‑head screwdriver (size 0)
- Small Phillips or flat‑head screwdriver set
- Soft brush or microfiber cloth
- Isopropyl alcohol (90% or higher)
- Cotton swabs
- Multimeter (with 10 V DC range)
- Replacement aroma sensor (exact model or compatible part)
- Anti‑static bag (optional)
Step One: Disconnect Power and Unplug
Begin by turning off the machine and unplugging it from the wall outlet. Wait at least 30 seconds to allow any residual charge in capacitors to dissipate. This simple action prevents electrical shocks and protects the internal circuitry.
Step Two: Access the Sensor
-
Remove the Front Grille
On the front panel, locate the three screws that hold the grille in place. Unscrew them with a Phillips head screwdriver and carefully lift the grille away. Set it aside on a flat surface. -
Open the Brew Head
The brew head sits just above the water reservoir. It is typically secured with a single screw. Remove the screw and gently lift the head away. You may encounter a small latch; release it before lifting. -
Locate the Aroma Sensor
Once the brew head is removed, you will see the coffee grounds chamber and a small black rectangle on the interior wall—this is the aroma sensor’s window. It is usually positioned directly opposite the grounds discharge slot.
Step Three: Inspect for Visible Damage or Debris
- Dust or Grime: Inspect the sensor window for coffee oil residue or dust. Use a soft brush or microfiber cloth to lightly sweep the area.
- Cracks or Wear: Check for any visible cracks or chips on the sensor housing.
- Corrosion: Look for any signs of rust or metal oxidation on the sensor pins or surrounding PCB traces.
If you notice significant damage, replacement is the safest course of action.
Step Four: Clean the Sensor and Surrounding Area
-
Prepare Cleaning Solution
Mix isopropyl alcohol with a drop of mild dish soap. Avoid using harsh detergents that may leave a film. -
Apply with a Cotton Swab
Dip a cotton swab in the solution and gently wipe the sensor window. Rotate the swab slightly to cover all angles.
Tip: Ensure the swab is not dripping wet; excess liquid can seep into the circuitry. -
Dry Completely
Use a dry microfiber cloth to blot any residual moisture. Allow the sensor to air dry for a minute before proceeding. -
Clean the Brew Head
While you’re at it, rinse the brew head with warm water and mild soap. Rinse thoroughly to avoid residue that could affect brewing.
Step Five: Check Wiring and Connections
- Loose Wires: Inspect the flexible cable that connects the sensor to the brew head PCB. Tighten any loose connections with a pair of tweezers.
- Pins: Ensure that the sensor pins are seated properly in the socket. If pins appear bent, gently straighten them with tweezers.
- Debris in Socket: Use a dry brush to remove any dust from the sensor socket.
A secure connection is critical; even a minor disconnection can fool the controller into reporting a sensor failure.
Step Six: Test the Sensor with a Multimeter
-
Set the Multimeter
Switch the meter to the 10 V DC range. -
Measure the Output
Place the meter probes on the sensor’s output pins (consult the machine’s wiring diagram for pin identification). You should read a voltage between 0.8 V and 1.2 V when a brewed sample is present. If the reading is zero or fluctuates wildly, the sensor is likely defective. -
Static Test
With the machine still unplugged, gently tap the sensor housing. A healthy sensor will show a small voltage spike, while a damaged one will not.
If the multimeter test fails, replacement is recommended.
Step Seven: Replace Sensor if Necessary
-
Remove the Faulty Sensor
Unscrew the sensor from its mounting bracket or gently pull it out if it is press‑fit.
Caution: Some sensors are secured with a small screw; use the appropriate screwdriver size. -
Install the New Sensor
Position the new sensor in the same orientation as the old one. Secure it with the original screw or apply gentle pressure for a press‑fit. -
Reconnect Wiring
Plug the sensor’s flexible cable back into the socket. Make sure the pins align perfectly. -
Verify Placement
Double‑check that the sensor’s window faces the brew head chamber and that no parts are obstructing it.
Step Eight: Reassemble and Test
- Reinstall the Brew Head
Place the brew head back into its housing and secure it with the screw. - Close the Front Grille
Align the grille and tighten the three screws. - Plug in the Machine
Connect the power cord and turn on the machine. - Run a Test Brew
Select a brew profile that normally triggers aroma detection. Observe the machine’s status lights and any error codes. If everything looks normal, proceed to calibration.
Step Nine: Calibration of Aroma Sensor
Even after a successful replacement, the sensor may need calibration to fine‑tune its sensitivity.
-
Access the Calibration Menu
Use the machine’s control panel to navigate to the “Settings” > “Sensor Calibration” option. -
Select Calibration Mode
Choose “Auto” or “Manual” depending on the options. In auto mode, the machine will perform a quick test using a standard coffee sample. -
Provide a Standard Sample
Prepare a fresh batch of coffee using the recommended bean roast level. Pour it into the sensor chamber if required. -
Follow On‑Screen Prompts
The machine will display voltage readings and may ask you to confirm that the aroma intensity feels correct. -
Save Settings
Once satisfied, confirm the calibration and save the settings.
Note: If the calibration fails or the sensor readings are inconsistent, repeat the multimeter test and double‑check all connections.
Step Ten: Prevention Tips
- Regular Cleaning: Clean the brew head and sensor window every 4–6 weeks to prevent buildup.
- Use Filtered Water: Hard water can leave mineral deposits that obscure sensor readings.
- Avoid Overheating: Let the machine cool between heavy usage sessions to prevent thermal stress on electronics.
- Handle with Care: When opening the machine, keep the brew head and sensor covered to avoid dust ingress.
Frequently Asked Questions
What if the sensor still does not function after replacement?
Check for firmware updates on the manufacturer’s website. An outdated firmware can misinterpret sensor signals.
Can I use a generic aroma sensor?
Only use a sensor that matches the Krups C400’s part number. Compatibility is essential for correct voltage output.
How often should I calibrate the sensor?
Once a month is recommended, or immediately after a sensor replacement.
Is it safe to use a wet cloth on the sensor?
Never use a wet cloth directly on the sensor; always use a dampened cotton swab with alcohol and let it dry.
What should I do if I cannot find the sensor’s part number?
Refer to the user manual or contact Krups customer support. The part number is usually printed on the sensor housing.
By following these steps carefully, you can restore full aroma detection to your Krups C400, ensuring each cup of coffee reflects the intended flavor profile. A clean, properly calibrated sensor is a small investment that pays off in richer taste and longer machine life. Happy brewing!
Discussion (10)
Join the Discussion
Your comment has been submitted for moderation.
Random Posts

Rebooting Google Nest Hub (3rd Gen) to Resolve App Sync Glitches
Stuck with delayed notifications, unresponsive tiles, or stale smart, home data? A simple reboot of your Nest Hub 3rd Gen clears cache, resets processes, and restores smooth app sync.
3 months ago

Fixing Bluetooth Signal Drops on Apple AirPods Pro
Tired of AirPods Pro disconnecting during walks or workouts? Learn why Bluetooth drops happen, how to spot them, and quick fixes - no coding required - to keep audio flowing.
11 months ago

Fixing the Duplexer Failure on a Brother MFC‑J805DW
Learn how to diagnose and replace a faulty duplexer on your Brother MFC, J805DW, restoring double, sided printing with step, by, step instructions for tech, savvy users.
10 months ago

Solving Apple iPhone 13 Pro Camera Rolling Shutter With External Lens
Stop the slanted look from rolling shutter when adding external lenses to your iPhone 13 Pro by tweaking camera settings, choosing the right lens, and using proper stabilization.
9 months ago

Restoring Bandwidth on Amazon Eero Mesh 6 Pro After a Firmware Update
After an Eero Mesh 6 Pro firmware update, bandwidth often drops. This guide explains why the change occurs and walks you through quick steps to restore full speed and a stable connection for work and play.
8 months ago
Latest Posts

Fixing the Eufy RoboVac 15C Battery Drain Post Firmware Update
Fix the Eufy RoboVac 15C battery drain after firmware update with our quick guide: understand the changes, identify the cause, and follow step by step fixes to restore full runtime.
5 days ago

Solve Reolink Argus 3 Battery Drain When Using PIR Motion Sensor
Learn why the Argus 3 battery drains fast with the PIR sensor on and follow simple steps to fix it, extend runtime, and keep your camera ready without sacrificing motion detection.
5 days ago

Resolving Sound Distortion on Beats Studio3 Wireless Headphones
Learn how to pinpoint and fix common distortion in Beats Studio3 headphones from source issues to Bluetooth glitches so you can enjoy clear audio again.
6 days ago