Kenmore KPOG82 Oven Door Seal Leaks After Long Use
In the quiet moments of early morning or late evening, a kitchen oven stands as a silent partner in countless meals. It keeps heat steady, cooks evenly, and turns raw ingredients into comforting dishes. But when the oven door seal begins to leak after long use, the harmony is disrupted. Heat escapes, food browns unevenly, and the oven’s energy consumption rises. Understanding why a Kenmore KPOG82 oven door seal leaks, how to spot it, and how to fix it can save both money and frustration.
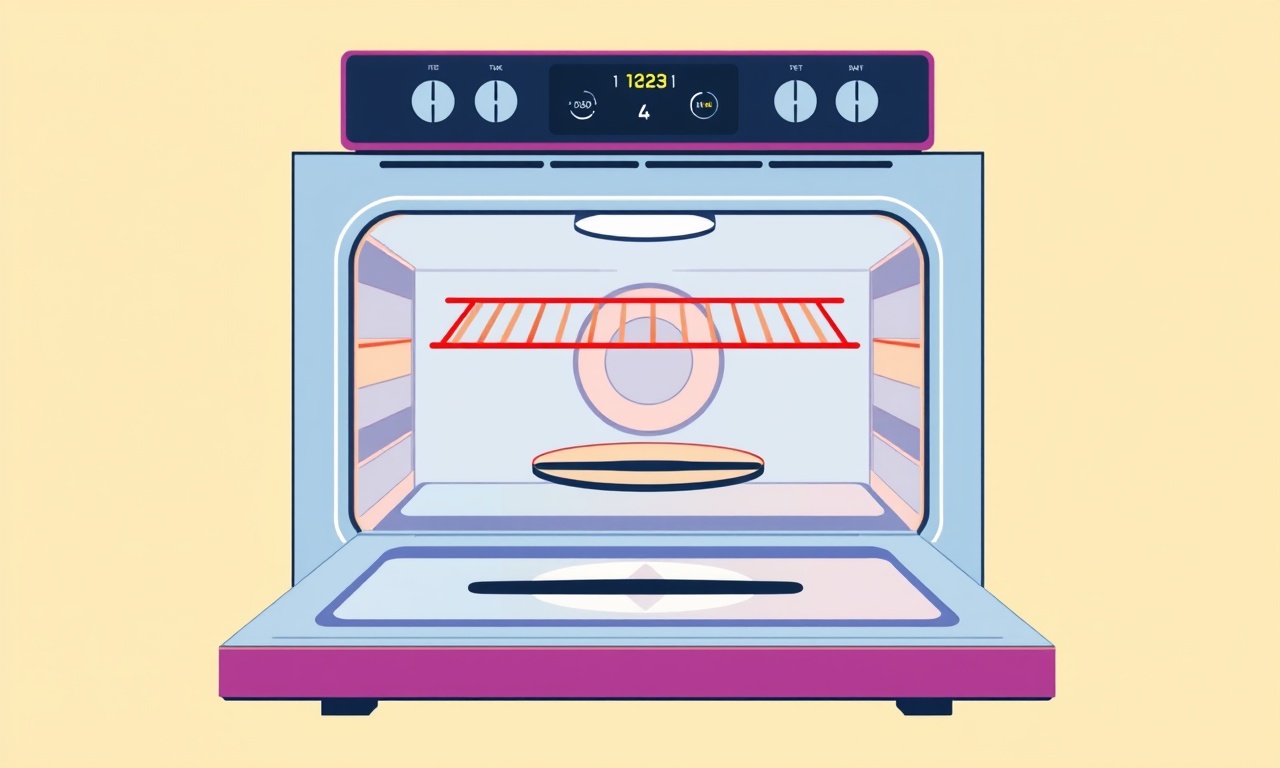
What Is the Oven Door Seal?
The oven door seal is a flexible gasket, usually made of silicone or a rubber‑like material, that lines the perimeter of the oven door. Its purpose is twofold: it keeps hot air inside the cooking chamber and prevents moisture and steam from escaping. A well‑conditioned seal creates an airtight environment essential for consistent cooking temperatures and efficient energy use.
When you open the oven door, the seal slides into a groove on the oven’s exterior frame. The seal should fit snugly, with no gaps. If gaps appear, the oven’s temperature control is compromised.
Recognizing a Leaking Seal
The first step toward fixing a leak is recognizing its signs. Look for these indicators:
- Visible gaps: A clear line of air or steam between the oven door and the frame.
- Uneven cooking: Food that cooks at different rates on the same rack or uneven browning.
- Higher energy bills: The oven must work harder to maintain temperature, causing cost increases.
- Heat loss: The cabinet or kitchen near the oven feels warmer than usual, or you notice a faint glow when the door is opened.
- Water stains: If moisture is escaping, it may leave water marks on the cabinet or wall behind the oven.
If you notice any of these symptoms, examine the seal closely before taking further action.
Common Causes of Seal Leakages
The Kenmore KPOG82, like most modern ovens, is designed to last many years. However, certain factors can accelerate seal wear:
1. Heat Cycles and Temperature Extremes
Repeated heating and cooling cycle causes the gasket material to expand and contract. Over time, this can create micro‑cracks.
2. Dry Weather or Low Humidity
Low humidity accelerates rubber degradation, making the seal brittle.
3. Physical Impacts
Dropping utensils, accidentally bumping the oven door, or placing hot pans on the door can puncture or deform the seal.
4. Chemical Exposure
Strong cleaning agents, especially those containing acids or alkalis, can break down the seal’s polymer.
5. Manufacturing Variations
Occasionally, a batch of seals may have subtle imperfections that become apparent after long use.
Understanding these factors helps you take preventive measures.
Inspecting the Seal
A thorough inspection reveals the seal’s condition before you commit to replacement. Here is a systematic approach:
- Turn off the oven and let it cool completely. Safety first.
- Open the oven door fully. This gives you a clear view of the seal’s perimeter.
- Look for cracks, tears, or brittleness. Even a small crack can create a noticeable leak.
- Check for distortion or warping. The seal should sit evenly against the frame; a bulge indicates a loss of integrity.
- Test with a light. Shine a flashlight along the seal’s edge. Any light leaking through indicates a gap.
If you find even a minor flaw, it’s prudent to replace the seal before it worsens.
Step‑by‑Step Guide to Replacing the Seal
Replacing the seal on a Kenmore KPOG82 is a manageable DIY task. The process is straightforward and typically takes less than an hour.
Materials Needed
- Replacement oven door seal (ensure the part number matches your model)
- Mild dish soap and warm water
- Soft cloth or sponge
- Rubbing alcohol or a gentle cleaner
- Small flat‑head screwdriver (optional, for removing door hinges if necessary)
- A clean, dry towel
1. Remove the Old Seal
- Open the oven door and locate the seam where the seal attaches to the frame.
- Gently wiggle the seal away from the groove. If it’s stubborn, use a flat‑head screwdriver to pry it carefully, but avoid metal contact with the gasket to prevent scratches.
- Once loosened, lift the seal out and set it aside. Keep it in a clean place to prevent contamination.
2. Clean the Seal Groove
- Wipe the groove with a cloth dampened in a mixture of mild soap and water. This removes grime and ensures a smooth surface.
- Rinse with a clean, damp cloth and then dry thoroughly with a towel. Any leftover moisture can prevent the new seal from bonding properly.
- For stubborn stains, use rubbing alcohol applied with a cotton pad.
3. Prepare the New Seal
- Unpack the new seal and inspect it for any damage during shipping.
- If the seal is packaged in a plastic sleeve, remove the sleeve. Many new seals have a protective covering that must be removed before installation.
4. Install the New Seal
- Align the new seal’s edge with the opening in the groove. Ensure that the seam line on the seal matches the seam in the oven frame.
- Press firmly along the entire length. The seal should seat snugly without gaps.
- If the seal has a textured or embossed side, make sure the textured side faces the interior of the oven. This provides a better grip.
5. Re‑attach the Door
- Close the oven door gently. It should slide into place without forcing.
- Test the seal by lightly closing the door. There should be a uniform compression along the entire perimeter.
6. Final Check
- Open and close the door several times to confirm that the seal moves smoothly and that no leaks are present.
- Observe the oven’s interior temperature when cooking a simple test dish. If the temperature stabilizes quickly, the new seal is functioning correctly.
Congratulations! The new seal should restore the oven’s efficiency and prevent future leaks.
Maintaining Your Oven Door Seal
Even after replacement, a seal can degrade over time. Regular maintenance can extend its life:
- Wipe the seal after every use: Moisture and food residue accelerate wear.
- Avoid harsh chemicals: Stick to mild cleaners. If you must use a stronger cleaner, rinse the seal thoroughly afterward.
- Check the seal quarterly: Early detection of cracks prevents major issues.
- Keep the kitchen environment balanced: Use a humidifier in very dry climates to reduce polymer brittleness.
By integrating these habits, you’ll keep your oven running smoothly for years.
Common Mistakes to Avoid
Even experienced homeowners can make simple errors that hasten seal failure. Watch out for:
- Using excessive force when installing the seal: This can crack or misalign the gasket.
- Leaving food residue on the seal: This encourages mold growth and accelerates breakdown.
- Forgetting to dry the seal groove: Moisture trapped between the seal and the frame can prevent proper sealing.
- Using a wrong part number: An ill‑fitting seal will not compress properly, leading to leaks.
Double‑check the part number before purchase and follow the installation steps precisely.
FAQs
What happens if I ignore a leaking seal?
A leaking seal causes heat loss, higher energy usage, uneven cooking, and potentially dangerous temperature fluctuations. Ignoring it can lead to costly repairs or even oven failure.
Can I use a kitchen tape to patch a small leak?
Temporary tape may provide a quick fix, but it will not withstand heat and may fall off, creating more problems. It’s better to replace the seal.
Is it safe to run the oven at full power after seal replacement?
Yes, a correctly installed seal will handle normal cooking temperatures. Always allow the oven to cool before cleaning the seal.
How long does a new seal last on a Kenmore KPOG82?
With proper care, a new seal can last 5 to 10 years. The exact lifespan depends on usage frequency and environmental conditions.
Can I purchase a generic seal or do I need an OEM part?
OEM seals are specifically engineered for the Kenmore KPOG82’s dimensions and heat profile. While some generic seals work, they may not fit perfectly, leading to leaks.
A Broader Perspective on Oven Maintenance
Replacing a door seal is a microcosm of overall appliance upkeep. Beyond the gasket, several other components influence oven performance:
- Temperature sensors: Faulty sensors misread internal temperature, causing over‑cooking or under‑cooking.
- Heating elements: Dull or cracked elements can reduce heating efficiency.
- Ventilation fans: Poor airflow leads to temperature inconsistencies.
- Door hinges: Loose hinges cause the door to sag, affecting seal contact.
Regularly inspecting and cleaning these components, along with the seal, guarantees reliable performance and safety.
Final Thoughts
A leaking oven door seal on a Kenmore KPOG82 does not have to become a costly, invasive repair. By understanding the causes, recognizing the signs, inspecting the seal properly, and following a clear replacement procedure, homeowners can restore their oven’s efficiency with minimal effort. Consistent maintenance, gentle cleaning, and early detection are key to extending the seal’s life and preventing future leaks.
Remember: the oven is an integral part of your kitchen’s heart. A well‑maintained seal keeps the heat where it belongs—inside the oven—so your meals stay flavorful, your energy bills stay reasonable, and your kitchen stays a welcoming space for cooking adventures.
Discussion (7)
Join the Discussion
Your comment has been submitted for moderation.
Random Posts

Rebooting Google Nest Hub (3rd Gen) to Resolve App Sync Glitches
Stuck with delayed notifications, unresponsive tiles, or stale smart, home data? A simple reboot of your Nest Hub 3rd Gen clears cache, resets processes, and restores smooth app sync.
3 months ago

Fixing Bluetooth Signal Drops on Apple AirPods Pro
Tired of AirPods Pro disconnecting during walks or workouts? Learn why Bluetooth drops happen, how to spot them, and quick fixes - no coding required - to keep audio flowing.
11 months ago

Fixing the Duplexer Failure on a Brother MFC‑J805DW
Learn how to diagnose and replace a faulty duplexer on your Brother MFC, J805DW, restoring double, sided printing with step, by, step instructions for tech, savvy users.
10 months ago

Solving Apple iPhone 13 Pro Camera Rolling Shutter With External Lens
Stop the slanted look from rolling shutter when adding external lenses to your iPhone 13 Pro by tweaking camera settings, choosing the right lens, and using proper stabilization.
9 months ago

Restoring Bandwidth on Amazon Eero Mesh 6 Pro After a Firmware Update
After an Eero Mesh 6 Pro firmware update, bandwidth often drops. This guide explains why the change occurs and walks you through quick steps to restore full speed and a stable connection for work and play.
8 months ago
Latest Posts

Fixing the Eufy RoboVac 15C Battery Drain Post Firmware Update
Fix the Eufy RoboVac 15C battery drain after firmware update with our quick guide: understand the changes, identify the cause, and follow step by step fixes to restore full runtime.
5 days ago

Solve Reolink Argus 3 Battery Drain When Using PIR Motion Sensor
Learn why the Argus 3 battery drains fast with the PIR sensor on and follow simple steps to fix it, extend runtime, and keep your camera ready without sacrificing motion detection.
5 days ago

Resolving Sound Distortion on Beats Studio3 Wireless Headphones
Learn how to pinpoint and fix common distortion in Beats Studio3 headphones from source issues to Bluetooth glitches so you can enjoy clear audio again.
6 days ago