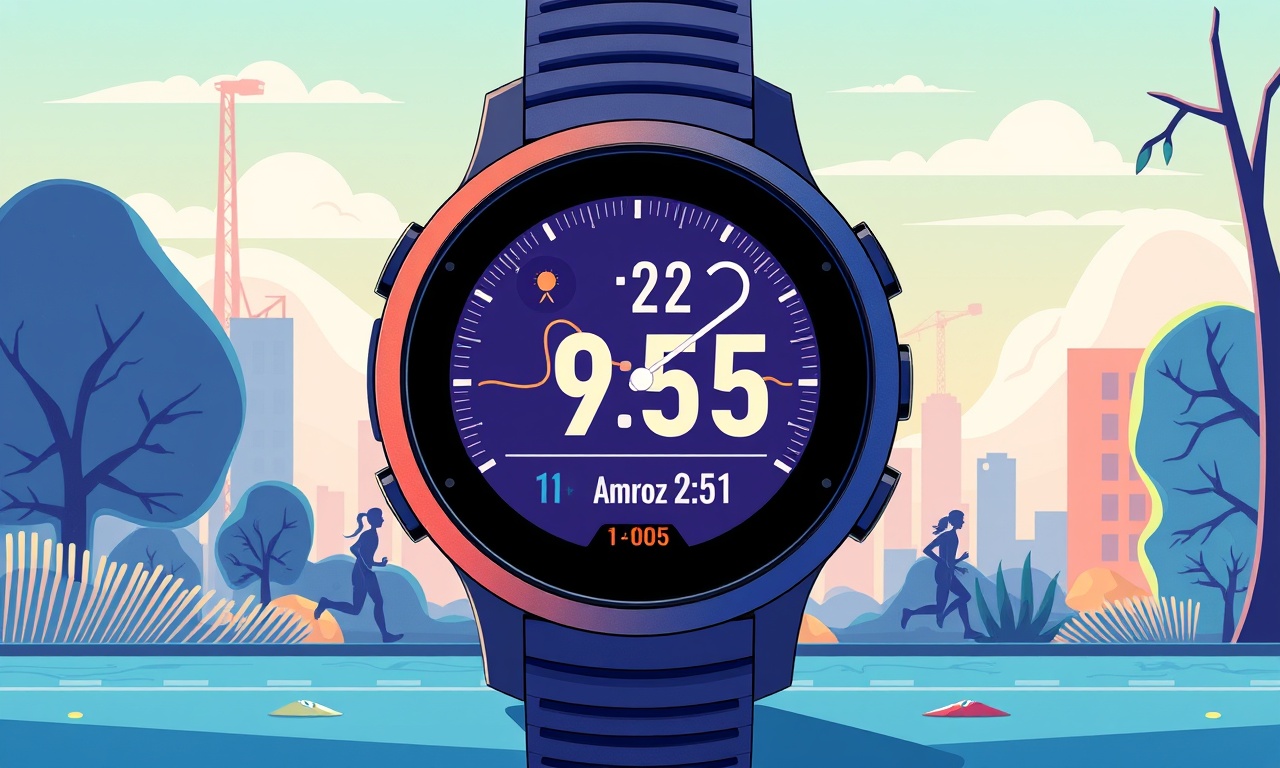
Managing Sensor Calibration Glitches on Garmin Forerunner 945
Understanding why the Garmin Forerunner 945 occasionally shows irregular sensor readings is the first step toward keeping your data accurate. Whether it’s the heart‑rate sensor drifting, the GPS making sudden jumps, or the altimeter giving inconsistent altitude, most problems can be resolved with a methodical calibration routine. This guide explains the underlying mechanisms of each sensor, highlights common glitches, and provides a clear, step‑by‑step calibration checklist.
Why Sensors Need Calibration
The Forerunner 945 houses several sensors that operate simultaneously:
- Heart‑Rate (HR) sensor – uses photoplethysmography to detect blood flow under the skin.
- GPS / GLONASS receiver – obtains satellite data for location and speed.
- Barometric altimeter – measures atmospheric pressure to estimate elevation.
- Compass (magnetometer) – detects magnetic fields for direction.
- Temperature sensor – tracks ambient temperature for performance modeling.
Each of these sensors is designed to be self‑adjusting, yet they are still subject to drift or interference over time. Regular calibration aligns the sensor’s internal reference with real‑world values, ensuring accurate metrics during runs, rides, swims, and other activities.
Recognizing Common Calibration Glitches
| Sensor | Typical Symptom | What It Means |
|---|---|---|
| Heart‑Rate | Sudden spike or drop in resting HR, inconsistent HR during steady‑state effort | Optical sensor mis‑aligned or contaminated |
| GPS | Location “jumps” of several meters, speed fluctuations not related to effort | Satellite lock lost or interference |
| Barometric Altimeter | Altitude climbs or drops abruptly despite no change in elevation | Pressure sensor drift or lack of recalibration |
| Compass | Course direction off by 10–20°, navigation errors | Magnetometer needs a new magnetic map |
| Temperature | Temperature values shift by >1 °C, especially after long outdoor sessions | Sensor heating or cooling out of sync |
If you notice any of these behaviors, it is time to run a calibration routine.
Quick Fixes to Try First
-
Restart the Watch
A simple reboot clears temporary glitches. Hold the Power button until the power menu appears, then select Restart. -
Update Firmware
Garmin frequently releases firmware updates that fix sensor bugs. Connect the watch to Garmin Connect and install any available updates. -
Check Band Fit
An ill‑fitted band can cause sensor contact issues, especially for HR. Adjust the strap so that it is snug but not tight, and ensure the HR sensor covers the full sensor area on the wrist. -
Clean the Sensors
Sweat, oil, or dirt can impair sensor performance. Use a soft, damp cloth to wipe the HR sensor, the back of the watch, and the area around the barometer. Dry completely before use.
If these basic steps do not resolve the problem, proceed to the detailed calibration procedures below.
Step‑by‑Step Calibration Guide
Heart‑Rate Sensor
-
Locate the HR Calibration Mode
Press and hold the Up button until the heart‑rate graph appears. Then tap Settings (gear icon) → Health & Sports → Heart Rate → Calibration. -
Follow the On‑Screen Prompt
The watch will ask you to remain still and keep the watch band tight for 30 seconds. Avoid moving your arm during this time. -
Confirm the Calibration
Once the watch indicates “Calibration Successful,” allow the HR sensor to rest for a few minutes before starting any activity.
If the HR reading remains unstable after calibration, try adjusting the strap or replace the battery if the watch is older than two years.
GPS / GLONASS Receiver
-
Open GPS Calibration Settings
Navigate to Settings → Sensors & Accessories → GPS → Calibration. -
Select Calibration Mode
The watch offers Standard and Precise modes. For most users, Standard (default) suffices. Precise mode requires the watch to be stationary for 10 minutes and may use the barometer to correct for elevation. -
Execute the Calibration
Follow the on‑screen steps. The watch will request you to stay in place and may use a built‑in GPS to verify accuracy. This process can take 5–10 minutes. -
Verify Satellite Lock
After calibration, start a short walk. The GPS icon should change to full lock (four dots). If it remains partial or the icon shows a warning, repeat the calibration or check for signal interference (e.g., large buildings, dense foliage).
Barometric Altimeter
-
Access Altimeter Calibration
Go to Settings → Sensors & Accessories → Altimeter → Calibration. -
Choose a Reference Elevation
The watch can auto‑detect current altitude via GPS or let you input a known elevation (e.g., a nearby hilltop or airport). For best results, use GPS. -
Run the Calibration
The watch will adjust its internal pressure reference. If GPS data is unreliable, you may need to manually input the exact altitude and then confirm the adjustment. -
Test the Altimeter
Perform a short climb or hike and monitor the altitude change. Minor variations (±2 m) are normal; larger errors indicate a need to re‑calibrate.
Compass (Magnetometer)
-
Navigate to Compass Settings
Settings → Sensors & Accessories → Compass → Calibration. -
Spin the Watch
The watch will prompt you to rotate it slowly in a figure‑eight pattern for about 30 seconds. Ensure you are in an area free from magnetic interference (no metal objects, cars, or large electronic devices). -
Complete the Process
The watch will display a “Compass Calibration Complete” message. Test by checking the direction icon during a run; it should match your true heading.
Temperature Sensor
Calibration of the temperature sensor is typically handled automatically by the firmware, but you can perform a quick sanity check:
-
Open the Temperature Settings
Settings → Sensors & Accessories → Temperature. -
Compare to Ambient
Open the watch’s Weather widget and note the displayed temperature. If it deviates significantly from a nearby thermometer, consider cleaning the sensor area or updating the firmware.
Advanced Troubleshooting
Using Garmin Connect for Diagnostics
- View Sensor Data: After an activity, open the event in Garmin Connect and review the HR, GPS, and altimeter graphs. Sudden spikes or gaps are visible here.
- Export Logs: Select the activity → Data → Download. Analyze the raw sensor data to pinpoint inconsistencies.
- Contact Support: If logs show consistent anomalies, submit them through the Garmin support portal. Provide details of your device serial number, firmware version, and a description of the issue.
Resetting the Device
If all calibrations fail, a factory reset may resolve deep‑seated firmware bugs.
- Backup Data: Ensure all activities are synced to Garmin Connect.
- Perform Reset: Press and hold the Power button until the power menu appears → Settings → System → Reset → Reset all settings.
- Re‑Sync: Connect the watch to Garmin Connect and restore your preferences.
Note: A factory reset erases all settings but preserves the internal storage of activities.
Prevention Tips
- Keep Sensors Clean: Sweat and debris can obscure sensor readings. Wipe the HR sensor and the watch back with a soft cloth after each workout.
- Wear Properly: The band should sit snugly but comfortably. A loose band reduces HR sensor contact; an overly tight band can distort readings.
- Avoid Magnetic Interference: When calibrating the compass, stay away from metal objects, smartphones, and other devices that emit magnetic fields.
- Maintain Battery Health: Low battery voltage can affect sensor performance, especially for GPS and barometer. Replace the battery at the end of its life cycle (typically 3–4 years).
- Update Regularly: Garmin releases firmware that refines sensor algorithms. Check for updates at least once per month.
Common Misconceptions Debunked
| Myth | Reality |
|---|---|
| “If the watch is on my wrist, it must be calibrated.” | Sensors drift over time and require periodic recalibration. |
| “Calibrating GPS will fix altitude errors.” | Altitude errors stem from barometric sensor drift, not GPS. |
| “A full battery guarantees accurate HR.” | Low battery voltage can still impair HR sensor accuracy. |
| “Resetting the watch will erase all data.” | A factory reset clears settings only; activities remain in internal storage. |
When to Seek Professional Help
- Persistent Glitches: If after multiple calibrations the problem remains, the sensor hardware might be defective.
- Hardware Damage: Physical impact, water damage, or a cracked display can affect sensor integrity.
- Warranty Claims: For devices under warranty, contact Garmin’s authorized service centers rather than attempting DIY fixes.
Final Thoughts
Managing sensor calibration glitches on the Garmin Forerunner 945 doesn’t have to be intimidating. By following a systematic approach—starting with simple resets and updates, moving through targeted calibrations for each sensor, and finally employing advanced diagnostics—you can maintain data fidelity across all training sessions. Clean sensors, proper wear, and routine firmware updates will keep your watch performing at its best for years to come.
Discussion (10)
Join the Discussion
Your comment has been submitted for moderation.
Random Posts

Reassessing the Audio Jack Dropout on LG Velvet 2
Explore why the LG Velvet 2's 3.5mm jack glitches, what triggers audio dropouts, user fixes, and LG's stance: essential insight for current and future Android phones.
1 year ago

Philips HP700 Fan Stalls Quietly Even At Low Speed Why This Happens And What To Do
Discover why your Philips HP700 quietly stalls at low speed, spot early signs, and fix the issue to keep steady airflow.
2 weeks ago

How to Stop Sharp LC-40M from Producing Audio Sync Issues While Gaming
Fix your Sharp LC-40M so game audio stays in sync. Learn quick settings tweaks, cable checks, and audio-output fixes that keep sound matching action for a flawless gaming experience.
6 months ago

Solve Arlo Pro 4 Wireless Connection Problems
Discover quick fixes for offline Arlo Pro 4 cameras. Check power, Wi, Fi, firmware, reset steps, and more get your live feed back up fast.
4 months ago

Panasonic D45 Dryer Timer Skips Final Drying Cycle
Discover why your Panasonic D45 dryer skips its final cycle, learn the symptoms, root causes, and easy fixes to keep clothes dry, save energy, and avoid extra runs.
5 months ago
Latest Posts

Fixing the Eufy RoboVac 15C Battery Drain Post Firmware Update
Fix the Eufy RoboVac 15C battery drain after firmware update with our quick guide: understand the changes, identify the cause, and follow step by step fixes to restore full runtime.
5 days ago

Solve Reolink Argus 3 Battery Drain When Using PIR Motion Sensor
Learn why the Argus 3 battery drains fast with the PIR sensor on and follow simple steps to fix it, extend runtime, and keep your camera ready without sacrificing motion detection.
5 days ago

Resolving Sound Distortion on Beats Studio3 Wireless Headphones
Learn how to pinpoint and fix common distortion in Beats Studio3 headphones from source issues to Bluetooth glitches so you can enjoy clear audio again.
6 days ago