Maytag MWI07B Microwave Turntable Won’t Rotate - Repair Steps Explained
Understanding the Problem
When the turntable in a Maytag MWI07B microwave stops rotating, heating can become uneven, food may burn on one side, and the overall cooking experience suffers. The turntable mechanism is simple in concept but involves several parts that can fail independently. Before calling a technician, it is worth walking through a systematic diagnosis. This guide explains the most common reasons for a stalled turntable, the tools you will need, and a step‑by‑step repair process that can be completed by a confident DIYer.
Safety First
Any work on a microwave must begin with the proper safety precautions. The high‑voltage capacitor inside the unit can hold a charge for minutes after the appliance is unplugged, posing a shock hazard.
- Unplug the microwave from the wall outlet.
- Wait at least five minutes before opening the interior.
- Wear safety glasses and insulated gloves.
- Keep a multimeter on hand to verify that the capacitor is discharged.
If you are uncomfortable with any step, stop and call a qualified service professional. The instructions below assume a basic comfort level with electrical appliances and access to common household tools.
Tools and Materials
Gather the following items before you start:
- Phillips and flathead screwdrivers (various sizes)
- Nut driver or socket set (typically 5 mm and 6 mm)
- Needle‑nose pliers
- A digital multimeter
- A small brush or vacuum for cleaning debris
- Replacement turntable motor, coupler, or belt (if needed)
- Replacement turntable rollers or plastic support ring (optional)
- Electrical contact cleaner (optional)
Having everything within reach will keep the repair flow smooth and prevent you from having to pause midway.
Initial Visual Inspection
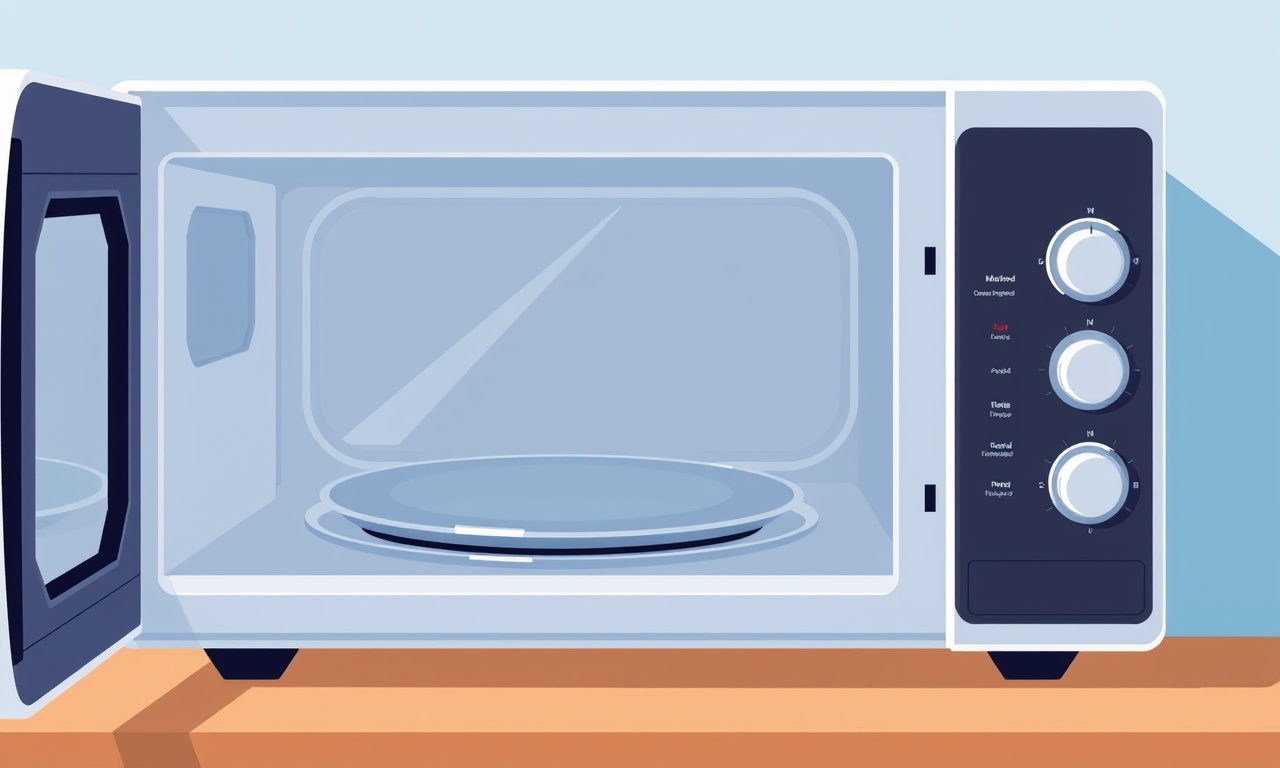
- Check the turntable plate – Remove the glass plate and look for stains, food particles, or broken pieces. A warped plate can bind the rollers and prevent smooth motion.
- Examine the rollers – The turntable sits on two small plastic rollers that spin on a metal shaft. Look for cracks, broken teeth, or grit that could jam the mechanism.
- Inspect the coupler – This small plastic piece connects the motor shaft to the turntable shaft. If it is cracked or missing teeth, the motor may spin without moving the plate.
If any of these components show obvious damage, replace them before moving on to electrical testing.
Testing the Motor
The turntable motor is the most common failure point. It receives low‑voltage AC power from the control board and drives the rotation. To test it:
- Access the motor – Remove the bottom front panel of the microwave. This usually requires unscrewing three to four screws and lifting the panel upward.
- Locate the motor – It is a small cylindrical unit, typically mounted on the right side of the cavity, with two wires leading to the control board.
- Disconnect the wires – Use needle‑nose pliers to gently pull the connectors apart.
- Set the multimeter – Switch to continuity or resistance mode.
- Measure the motor windings – Place the probes on the two motor terminals. A healthy motor will show resistance between 10 Ω and 30 Ω. An infinite reading indicates an open winding, while a zero reading suggests a short.
If the motor fails the resistance test, replace it. If it passes, the issue may lie elsewhere in the drive system.
Checking the Control Board
Even with a functional motor, the control board can prevent the turntable from receiving power. The board contains a dedicated relay or solid‑state switch for the turntable circuit.
- Locate the board – It is usually mounted behind the front panel, with a series of colored wires. The turntable circuit is often labeled “TT” or “TR”.
- Visual inspection – Look for burnt marks, bulging capacitors, or loose solder joints.
- Voltage test – With the microwave still unplugged, re‑connect the power cord, plug it in, and set the microwave to “defrost” (the simplest cycle that engages the turntable). Use a multimeter set to AC voltage and carefully probe the turntable relay terminals. You should see 120 V AC when the cycle is active.
- Interpret results – If voltage is present at the board but not at the motor, the motor is likely defective. If voltage never appears, the board may need repair or replacement.
Do not attempt to repair a burnt control board yourself unless you have advanced electronics experience.
Cleaning the Turntable Drive Path
Dust, grease, and small food fragments can accumulate in the groove that the turntable roller follows. Over time, this buildup creates enough friction to halt rotation.
- Remove the turntable plate and rollers – Take the plate off and gently lift the rollers out of their slots.
- Vacuum the cavity – Use a handheld vacuum or a brush to clear loose debris from the underside of the cavity and the roller tracks.
- Apply contact cleaner – Lightly spray an electrical contact cleaner on the roller shafts and the motor spindle. Rotate the shafts manually to spread the cleaner evenly.
- Re‑install the rollers – Ensure they spin freely before placing the plate back.
A clean drive path often restores smooth motion without any component replacement.
Re‑assembling the Microwave
After diagnosing and fixing the faulty part, it is time to put everything back together.
- Reconnect motor wires – Make sure the connectors snap firmly into place.
- Secure the front panel – Align the panel with the screw holes and tighten the fasteners.
- Place the rollers back – Insert them into their slots, ensuring they sit squarely on the shaft.
- Set the turntable plate – Position the glass plate on top of the rollers, aligning the small ridge on the underside of the plate with the central spindle.
- Plug in the microwave – Restore power and run a quick test cycle.
Listen for the familiar humming and watch as the turntable begins to spin. If it rotates smoothly, your repair was successful.
Troubleshooting Checklist
If the turntable still does not turn after following the steps above, work through this short checklist:
- Power supply – Verify that the outlet provides correct voltage with a multimeter.
- Door latch – Some models will not engage the turntable if the door latch sensor registers an open door. Ensure the door closes firmly and the latch clicks.
- Control knob or touchpad – A faulty keypad may fail to send the turntable command. Test other functions on the microwave to confirm the control board is responsive.
- Motor shaft alignment – Make sure the motor spindle aligns perfectly with the turntable coupler. Misalignment can cause the motor to spin without moving the plate.
- Loose screws – Loose mounting screws can cause vibration that prevents proper engagement. Tighten all screws that hold the motor and roller assembly.
If none of these items resolve the issue, the problem may be internal to the high‑voltage circuitry, and professional service is recommended.
When to Replace the Entire Unit
Repairing a turntable is generally cost‑effective, but consider replacing the microwave in the following scenarios:
- The control board is damaged and the cost of a new board approaches 50 % of a new appliance.
- Multiple components (motor, coupler, rollers) have failed simultaneously, indicating extensive wear.
- The microwave is more than 10 years old and exhibits other performance issues, such as uneven heating or erratic timer behavior.
A new Maytag microwave or a comparable model will often come with a warranty, providing peace of mind for the next several years.
Preventive Maintenance Tips
Keeping the turntable mechanism clean and well‑lubricated can extend its life dramatically.
- Wipe after each use – Remove splatters from the glass plate and the cavity walls before they dry.
- Use microwave‑safe dishes – Heavy metal or oddly shaped dishes can strain the motor.
- Avoid over‑loading – Placing too much weight on the turntable can overwork the motor and rollers.
- Schedule a quarterly clean – Take out the plate and rollers, vacuum the cavity, and spray a light mist of contact cleaner.
By incorporating these habits, you reduce the likelihood of future turntable failures.
Summary
The Maytag MWI07B microwave turntable can stop rotating for a handful of common reasons: a failed motor, a broken coupler, worn rollers, a dirty drive path, or a malfunctioning control board. By following a systematic approach—starting with a visual inspection, proceeding to electrical testing, cleaning the drive area, and finally re‑assembling—you can often resolve the issue yourself. Essential safety steps, proper tools, and a clear troubleshooting checklist help ensure the repair is both safe and effective. If the problem persists after these measures, professional service or replacement may be the most economical choice. With regular cleaning and mindful usage, your microwave’s turntable should continue to spin reliably for many meals to come.
Discussion (4)
Join the Discussion
Your comment has been submitted for moderation.
Random Posts

Rebooting Google Nest Hub (3rd Gen) to Resolve App Sync Glitches
Stuck with delayed notifications, unresponsive tiles, or stale smart, home data? A simple reboot of your Nest Hub 3rd Gen clears cache, resets processes, and restores smooth app sync.
3 months ago

Fixing Bluetooth Signal Drops on Apple AirPods Pro
Tired of AirPods Pro disconnecting during walks or workouts? Learn why Bluetooth drops happen, how to spot them, and quick fixes - no coding required - to keep audio flowing.
11 months ago

Fixing the Duplexer Failure on a Brother MFC‑J805DW
Learn how to diagnose and replace a faulty duplexer on your Brother MFC, J805DW, restoring double, sided printing with step, by, step instructions for tech, savvy users.
10 months ago

Solving Apple iPhone 13 Pro Camera Rolling Shutter With External Lens
Stop the slanted look from rolling shutter when adding external lenses to your iPhone 13 Pro by tweaking camera settings, choosing the right lens, and using proper stabilization.
9 months ago

Restoring Bandwidth on Amazon Eero Mesh 6 Pro After a Firmware Update
After an Eero Mesh 6 Pro firmware update, bandwidth often drops. This guide explains why the change occurs and walks you through quick steps to restore full speed and a stable connection for work and play.
8 months ago
Latest Posts

Fixing the Eufy RoboVac 15C Battery Drain Post Firmware Update
Fix the Eufy RoboVac 15C battery drain after firmware update with our quick guide: understand the changes, identify the cause, and follow step by step fixes to restore full runtime.
5 days ago

Solve Reolink Argus 3 Battery Drain When Using PIR Motion Sensor
Learn why the Argus 3 battery drains fast with the PIR sensor on and follow simple steps to fix it, extend runtime, and keep your camera ready without sacrificing motion detection.
5 days ago

Resolving Sound Distortion on Beats Studio3 Wireless Headphones
Learn how to pinpoint and fix common distortion in Beats Studio3 headphones from source issues to Bluetooth glitches so you can enjoy clear audio again.
6 days ago