Microsoft HoloLens 4 Light Sensor Error Repair
Background
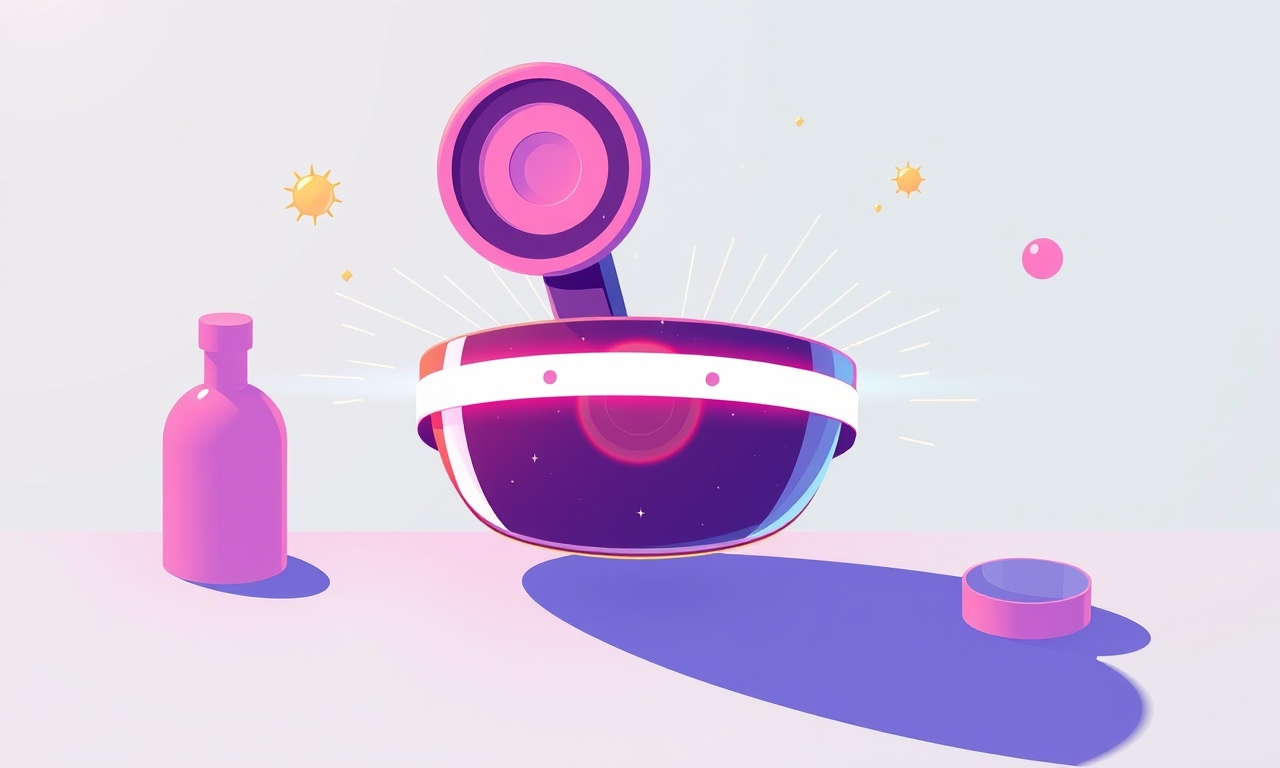
The Microsoft HoloLens 4 represents the latest leap in mixed‑reality eyewear, offering a sleek design, high‑resolution displays, and a sophisticated sensor suite. Among these sensors, the ambient light sensor plays a critical role: it detects environmental brightness to adjust the headset’s display and camera exposure. When that sensor malfunctions, users experience sudden dimming, over‑exposure, or a complete loss of visual input. These issues can cripple everyday tasks—whether a professional developer is debugging code or a gamer is exploring a virtual world.
The good news is that a light sensor error is rarely a hardware failure. Most of the time it is a software glitch, a firmware mismatch, or a simple miscalibration. The following guide walks you through diagnosing the problem, preparing the device for repair, and executing the fix in a methodical way. By the time you finish, you’ll have a fully calibrated HoloLens 4 that responds accurately to the world’s light.
Symptoms to Watch For
Recognizing the light sensor error early saves time and frustration. Common indicators include:
- Automatic brightness jumps: The display suddenly goes from very dark to very bright, regardless of the surrounding lighting.
- Camera feed distortion: When using the built‑in camera, the image appears washed out or under‑exposed.
- Inconsistent tracking: The headset’s spatial mapping struggles in brightly lit rooms, causing jittery motion or sudden freezes.
- On‑screen error prompts: A banner stating “Light Sensor Failure” or “Ambient Light Calibration Required” appears during startup.
- Unresponsive “Set up” wizard: The initial calibration process stalls or skips the light sensor step entirely.
If you notice one or more of these symptoms, proceed with the troubleshooting steps outlined below.
Preparation
Before you touch any components, gather the necessary tools and information. A clean, static‑free environment is essential, especially when dealing with optical sensors.
- Device and firmware check: Ensure the HoloLens 4 is running the latest firmware. A mismatch between firmware and sensor firmware can trigger errors.
- Power supply: Connect the headset to a reliable charger. Many calibration tasks require the device to stay powered for extended periods.
- Access to a PC: You’ll need a Windows PC with the HoloLens Developer Tooling installed to upload firmware updates and run diagnostics.
- Antistatic wrist strap: While the light sensor is not highly sensitive to static, a wrist strap minimizes the risk of damage.
- Micro‑screwdriver set: If you ever need to open the device (rare for light sensor issues), use a precision screwdriver.
Tip: Before performing any physical checks, try the software reset procedure described in the next section. It often resolves the problem without any disassembly.
Software Reset Procedure
A soft reset clears temporary caches and can reinitialize the light sensor.
- Press and hold the Power button until the device powers off.
- Wait at least 30 seconds, then press the Power button again to turn the headset on.
- During boot, the system will automatically run a quick health check, including a self‑test of the light sensor.
- If the sensor reports an error, proceed to firmware verification.
If the reset does not clear the issue, move to the firmware and sensor configuration steps.
Firmware Verification and Update
Outdated or corrupted firmware is a common culprit. Follow these steps to confirm and update the firmware:
- Launch the HoloLens Device Portal on your PC. It can be accessed through a web browser by entering the device’s IP address.
- Navigate to Software > Updates. If an update is available, the portal will show the version and release notes.
- Download and install the latest firmware. Pay close attention to the “Sensor Firmware” section; this must match the device’s hardware revision.
- After installation, reboot the headset. The system will perform a post‑update health scan, verifying the light sensor’s functionality.
If the firmware is current but the error persists, proceed to the sensor calibration routine.
Sensor Calibration
The HoloLens 4 offers a built‑in calibration wizard that recalibrates the ambient light sensor and the camera exposure settings. Calibration must be performed in a well‑lit environment that mimics typical use scenarios.
- Open the Settings app on the HoloLens. Use the hand gesture to swipe to the right, then tap the gear icon.
- Navigate to System > Light. Tap Calibrate Light Sensor.
- The headset will display a series of on‑screen prompts. Position the device so that the sensor faces a neutral surface (white wall, glass pane, or a plain desk).
- Hold the headset steady for 15–20 seconds as the sensor collects ambient data.
- If the calibration completes successfully, you will see a “Calibration Successful” message. If not, the portal will display an error code.
Common Calibration Pitfalls
- Too bright or too dim: Calibration requires moderate lighting (between 100 and 600 lux). If you calibrate in direct sunlight or a very dark room, the sensor may fail to register the correct range.
- Obstructed sensor: Keep the front of the headset free from dust, fingerprints, or any attachments that may block the light path.
- Motion during calibration: Even small hand movements can throw off the sensor. Remain as still as possible.
If calibration fails after multiple attempts, the problem may lie deeper in the hardware.
Advanced Diagnostic: Using the Device Portal
The Device Portal provides detailed diagnostics that can help identify hardware faults.
- Open the portal and go to Diagnostics.
- Select Light Sensor Test. The portal will run a series of self‑tests and provide a pass/fail status.
- If the test indicates a hardware failure, the device will show the sensor’s serial number and error codes.
- Export the diagnostics report and contact Microsoft support with the details. The support team can verify if the sensor is out of warranty or requires replacement.
What to Expect From the Report
- Sensor health: A percentage rating (e.g., 95 %) indicates normal operation.
- Error logs: Lines starting with “E:” denote errors, while “W:” denotes warnings.
- Calibration data: Shows the last recorded ambient light levels.
When the sensor fails hardware diagnostics, the only recourse is a hardware repair or replacement.
Physical Inspection (When Necessary)
Physical inspection is rarely required for a light sensor error, but if software and firmware checks have failed, you may need to look inside. Note that opening the HoloLens may void the warranty, so proceed only if you’re comfortable with potential consequences.
- Secure the headset on a flat surface. Use a gentle, static‑free mat to prevent accidental scratching of the lenses.
- Remove the front cover. The cover is attached with four screws located at the bottom corners. Use a 1.6 mm precision screwdriver.
- Carefully lift the cover to expose the internal board. The light sensor is a small infrared photodiode array near the front.
- Inspect for dust, debris, or scratches. Use a can of compressed air to blow away any foreign particles. Avoid using a brush, as this may damage the delicate sensor elements.
- If the sensor looks physically damaged (e.g., cracked or missing components), it must be replaced. Contact a certified service center for replacement parts.
When to Seek Professional Service
Even if the light sensor seems physically intact, a malfunctioning sensor can be caused by a subtle hardware defect that is beyond DIY repair. Microsoft’s official service centers have the tools and expertise to replace sensors without damaging the optical path.
- Warranty status: If your HoloLens 4 is still under warranty, the repair will likely be free of charge. Verify your warranty status in the Device Portal under Support > Warranty.
- Service request: If you’re outside the warranty period, you can still request a paid repair. Fill out the support form with the device’s serial number and the diagnostic report.
- Parts availability: The light sensor is a proprietary component; third‑party replacements may not meet the same performance standards.
When arranging a repair, be sure to back up all your data, including custom apps, user profiles, and spatial maps. The repair process typically involves reformatting the device, which wipes all local content.
Preventive Measures for the Future
Once you’ve restored the light sensor, adopt a few habits to keep it functioning correctly:
- Regular firmware updates: Enable automatic updates or check monthly for new releases. Microsoft frequently improves sensor stability in firmware patches.
- Clean the lenses and sensor: Wipe the front glass with a microfiber cloth when the device is not in use. Avoid harsh chemicals.
- Avoid extreme lighting: Prolonged exposure to direct sunlight or high‑intensity LEDs can stress the sensor. When using the headset outdoors, consider a shaded area or a light filter.
- Use a protective case: When transporting the HoloLens, keep it in a case that protects the front panel from impacts and dust.
- Monitor battery health: Low battery can cause power fluctuations that affect sensor readings. Keep the device adequately charged during use.
Conclusion
A Microsoft HoloLens 4 light sensor error is often a solvable software issue. By following a structured approach—starting with a simple reset, verifying firmware, performing a thorough calibration, and using the Device Portal for diagnostics—you can usually restore full sensor functionality without any hardware intervention. If the problem proves to be hardware‑based, a professional repair is the safest route.
Take the time to maintain your device’s firmware, keep the sensors clean, and avoid extreme lighting conditions. With proper care, your HoloLens 4 will continue to provide seamless mixed‑reality experiences for years to come.
Discussion (9)
Join the Discussion
Your comment has been submitted for moderation.
Random Posts

Addressing Apple iPhone 14 Pro Max Battery Drain During Gaming Sessions
Learn why iPhone 14 Pro Max batteries drain during gaming, how to diagnose the issue, and practical tweaks to keep you playing longer with less power loss.
5 months ago

Curing iPhone 14 Plus Charging Port Wear After Daily Fast Charge Cycles
Fast charging can loosen your iPhone 14 Plus port. Learn to spot slow charging and loose cables, then fix it with simple home tricks or long, term prevention.
6 months ago
Xiaomi Mi SmartGlasses 3 Eye Tracking Error Fix
Fix the eye, tracking issue on Mi SmartGlasses 3 with this step, by, step guide to diagnose, clear errors, and restore functionality without repair.
1 year ago

Overcoming Sony X900H Color Saturation Drift During HDR Playback
Discover how to spot and fix color saturation drift on your Sony X900H during HDR playback, tune settings, correct HDR metadata, and keep your scenes vivid and natural.
4 months ago

Remediating Signal Dropout on Bowers & Wilkins PX8 Noise Cancelling Headphones
Discover why the Bowers & Wilkins PX8 may drop sound and how to fix it by tackling interference, low battery, outdated firmware, obstacles and Bluetooth settings for uninterrupted audio
1 week ago
Latest Posts

Fixing the Eufy RoboVac 15C Battery Drain Post Firmware Update
Fix the Eufy RoboVac 15C battery drain after firmware update with our quick guide: understand the changes, identify the cause, and follow step by step fixes to restore full runtime.
5 days ago

Solve Reolink Argus 3 Battery Drain When Using PIR Motion Sensor
Learn why the Argus 3 battery drains fast with the PIR sensor on and follow simple steps to fix it, extend runtime, and keep your camera ready without sacrificing motion detection.
5 days ago

Resolving Sound Distortion on Beats Studio3 Wireless Headphones
Learn how to pinpoint and fix common distortion in Beats Studio3 headphones from source issues to Bluetooth glitches so you can enjoy clear audio again.
6 days ago