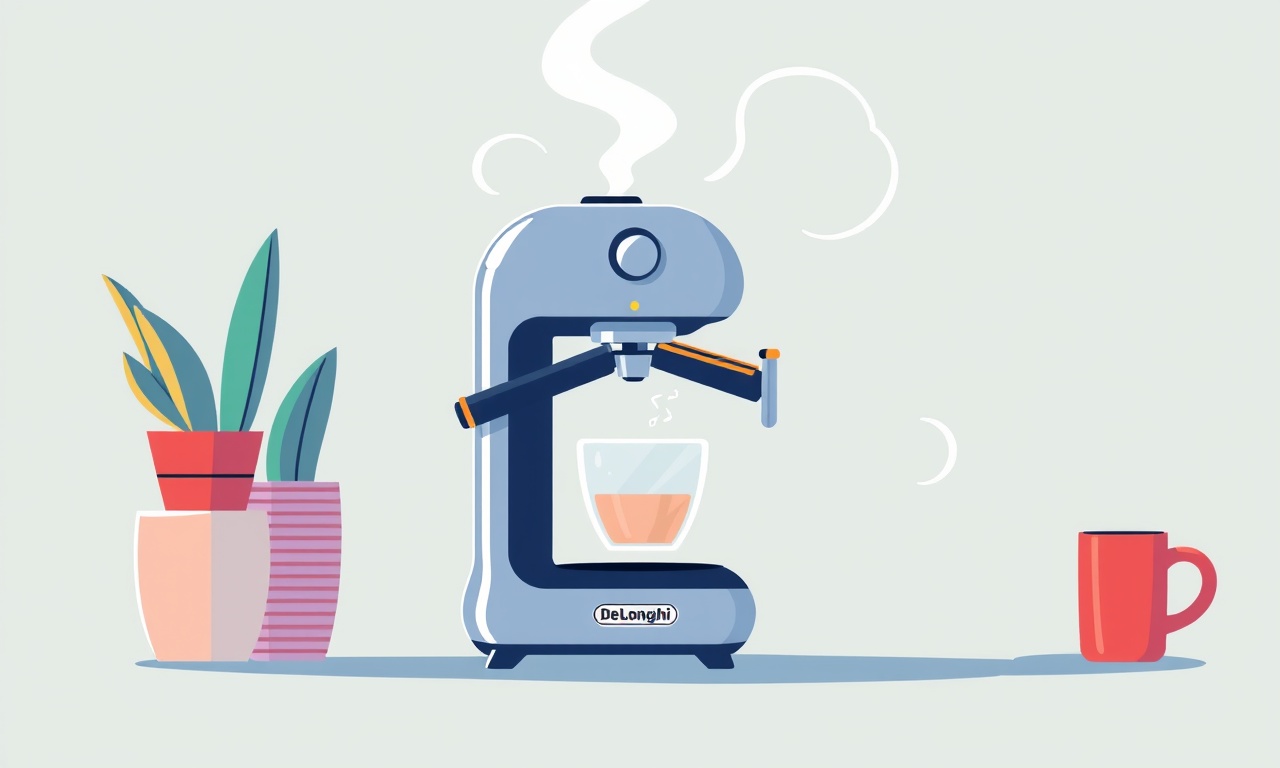
Overcome an Overheat Warning on a De'Longhi Dedica ECAM 220.09
When a De’Longhi Dedica ECAM 220.09 displays an overheat warning, it means the machine has detected a temperature that exceeds its safe operating range. This warning is a built‑in safety feature designed to prevent damage to internal components and to keep the appliance safe for you.
Below is a comprehensive guide that will walk you through every step required to diagnose, address, and ultimately resolve an overheat warning on this model.
Understanding the Overheat Warning
The De’Longhi Dedica ECAM 220.09 is engineered with multiple temperature sensors placed strategically across the boiler, heating element, and brew group. When one of these sensors registers a temperature that is higher than the pre‑programmed threshold, the machine immediately displays an overheat message on its LCD screen and shuts down. The system will remain in this state until the temperature falls back within safe limits or until you take corrective action.
Why does the machine overheat?
- Water supply issues – If the water tank is empty or the fill hose is blocked, the heating element can work harder to reach the desired temperature, causing a spike.
- Clogged brew group or grinder – Dried coffee grounds or a blocked filter can impede water flow, raising pressure and temperature.
- Lack of routine cleaning – Mineral build‑up can insulate the heating element, forcing it to run longer and hotter.
- Environmental factors – Operating in a hot or poorly ventilated room can interfere with the machine’s cooling cycle.
- Electrical problems – A fluctuating voltage supply can cause the heating element to draw excessive current.
By grasping the root causes, you can more quickly pinpoint the culprit and avoid unnecessary back‑and‑forth.
Step‑by‑Step Troubleshooting Guide
1. Turn Off the Machine and Unplug
Safety first. Even if the warning appears to resolve after a short wait, you should still:
- Press the power button to turn the machine off.
- Unplug the appliance from the outlet.
- Let it cool for at least 10 minutes before proceeding.
2. Inspect the Water Supply
-
Check the water tank
Ensure the tank holds at least 50 ml of water. A dry tank causes the heating element to overheat while trying to heat an empty reservoir. -
Verify the fill hose
Examine the hose for kinks or obstructions. Straighten any bends and clear any visible blockage. -
Test the water inlet valve
Some users report the valve sticking closed. Gently tap the inlet area to ensure it moves freely.
3. Examine the Brew Group
- Remove the brew group
Pull it out according to the user manual. - Clean the group
Use a soft brush and warm, soapy water. Rinse thoroughly to remove all residues. - Inspect the filter
A clogged filter will force the machine to compensate by heating more aggressively. Replace if necessary.
Image 1 – Clean brew group
4. Clean the Grinder
The ECAM 220.09 features a pre‑grind system that can accumulate grounds over time.
-
Remove the grinder lid
Place the lid in a dish to catch any stray beans. -
Dislodge beans
Use a small brush or a compressed‑air canister to blow out any residual grounds. -
Check the burrs
Look for uneven wear or jammed burrs. Replace the burr set if worn.
5. Descale the Machine
Mineral deposits are a common cause of overheating because they insulate the heating element.
-
Prepare a descaling solution
Use the recommended De’Longhi descaler or a mixture of 1 part vinegar to 5 parts water. -
Run a descaling cycle
Follow the machine’s instructions: open the water tank, pour the solution into the brew group, and run a full cycle. -
Rinse thoroughly
After descaling, run two cycles with clean water to flush out residue.
Image 2 – Descaling process
6. Check the Ventilation
The machine relies on proper airflow around the heating element and the water reservoir.
- Clear the vent slots
Remove any dust or debris that might block air. - Place the machine on a flat surface
Ensure the vent holes are not blocked by countertops or other appliances.
7. Verify Electrical Supply
A voltage spike can cause the heating element to draw excess power.
-
Check the outlet
Use a multimeter or plug a known stable appliance to confirm voltage (usually 120 V in the U.S., 230 V in Europe). -
Inspect the power cord
Look for frayed wires or kinks. Replace if any damage is found.
8. Reset the Machine
After performing the above checks:
- Plug the machine back in.
- Turn it on.
- If the overheat warning has cleared, let the machine run a short cycle to confirm normal operation.
If the warning reappears:
- Double‑check each step for missed detail.
- Consider contacting De’Longhi support for deeper diagnostics.
Preventive Measures
Once you’ve resolved the overheat warning, you can keep it from returning with these ongoing practices:
- Weekly cleaning – A quick brush‑down of the brew group and grinder every week keeps buildup minimal.
- Monthly descaling – Frequency depends on water hardness; typically every 2–3 months.
- Mind the environment – Keep the machine away from heat sources and ensure it’s not in a cramped space.
- Use fresh beans – Damp or stale beans can cause clogs in the grinder.
- Check the water tank regularly – Never let it get too empty; water temperature changes drastically when the tank is low.
When to Call a Professional
Despite thorough troubleshooting, some problems require expert intervention:
- Persistent overheat after all steps – This may indicate a faulty heating element or sensor.
- Electrical faults – If you suspect a wiring issue, a licensed electrician should inspect the unit.
- Warranty claim – If your machine is still under warranty, reach out to De’Longhi’s service center before attempting major repairs.
Summary
An overheat warning on the De’Longhi Dedica ECAM 220.09 is a protective mechanism that can be triggered by several preventable factors. By methodically checking the water supply, cleaning the brew group and grinder, descaling, ensuring proper ventilation, and confirming a stable power source, most users can resolve the warning on their own. Regular maintenance and mindful operation further reduce the risk of recurrence.
Follow the steps outlined above, and you’ll soon be back to enjoying freshly ground, hot espresso without interruption.
Discussion (9)
Join the Discussion
Your comment has been submitted for moderation.
Random Posts

Rebooting Google Nest Hub (3rd Gen) to Resolve App Sync Glitches
Stuck with delayed notifications, unresponsive tiles, or stale smart, home data? A simple reboot of your Nest Hub 3rd Gen clears cache, resets processes, and restores smooth app sync.
3 months ago

Fixing Bluetooth Signal Drops on Apple AirPods Pro
Tired of AirPods Pro disconnecting during walks or workouts? Learn why Bluetooth drops happen, how to spot them, and quick fixes - no coding required - to keep audio flowing.
11 months ago

Fixing the Duplexer Failure on a Brother MFC‑J805DW
Learn how to diagnose and replace a faulty duplexer on your Brother MFC, J805DW, restoring double, sided printing with step, by, step instructions for tech, savvy users.
10 months ago

Solving Apple iPhone 13 Pro Camera Rolling Shutter With External Lens
Stop the slanted look from rolling shutter when adding external lenses to your iPhone 13 Pro by tweaking camera settings, choosing the right lens, and using proper stabilization.
9 months ago

Restoring Bandwidth on Amazon Eero Mesh 6 Pro After a Firmware Update
After an Eero Mesh 6 Pro firmware update, bandwidth often drops. This guide explains why the change occurs and walks you through quick steps to restore full speed and a stable connection for work and play.
8 months ago
Latest Posts

Fixing the Eufy RoboVac 15C Battery Drain Post Firmware Update
Fix the Eufy RoboVac 15C battery drain after firmware update with our quick guide: understand the changes, identify the cause, and follow step by step fixes to restore full runtime.
5 days ago

Solve Reolink Argus 3 Battery Drain When Using PIR Motion Sensor
Learn why the Argus 3 battery drains fast with the PIR sensor on and follow simple steps to fix it, extend runtime, and keep your camera ready without sacrificing motion detection.
5 days ago

Resolving Sound Distortion on Beats Studio3 Wireless Headphones
Learn how to pinpoint and fix common distortion in Beats Studio3 headphones from source issues to Bluetooth glitches so you can enjoy clear audio again.
6 days ago