Reestablishing Continuous Warmth on the Rinnai R20 Gas Wall Heater
Introduction
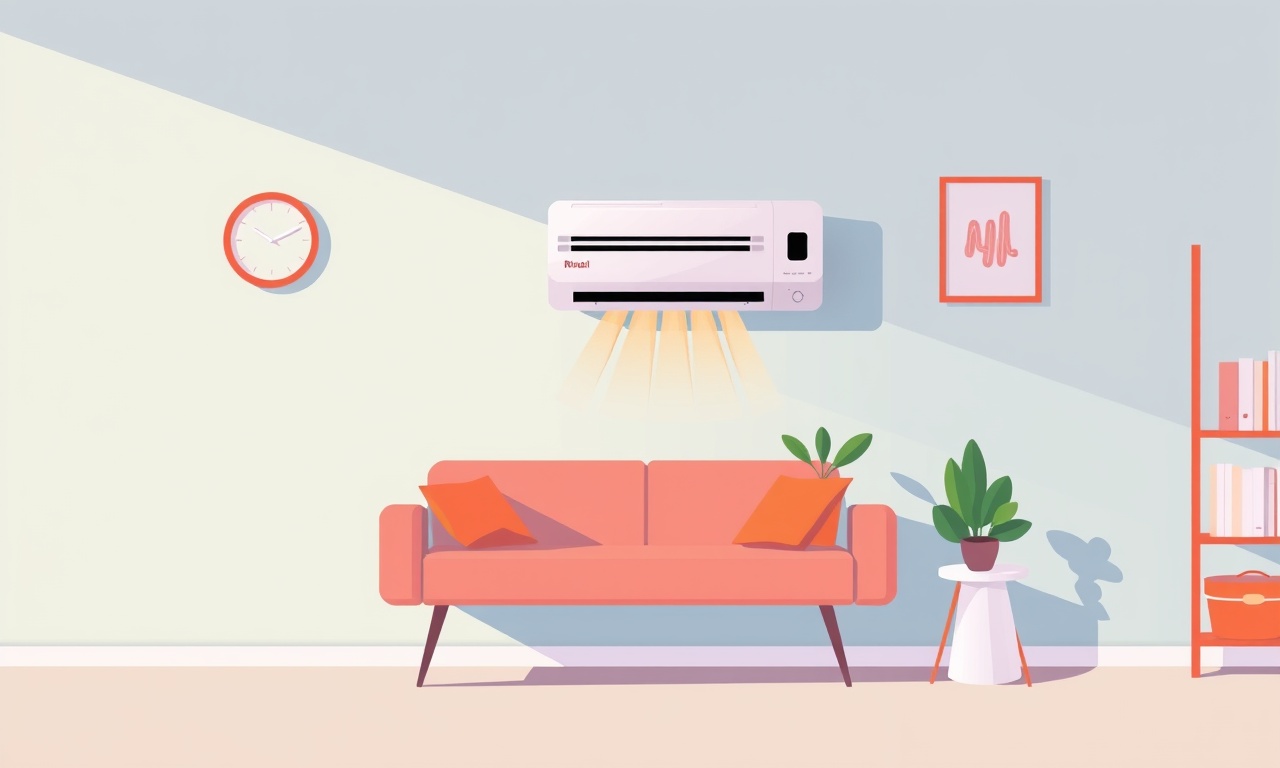
A gas wall heater can be the heart of a cozy living space, offering reliable heat with the convenience of a wall‑mounted unit. The Rinnai R20 is one of the most popular models, prized for its efficient combustion and quiet operation. Yet, even the best appliances can experience intermittent loss of warmth. Whether the heater seems to “take a break” or fails to heat certain rooms, restoring continuous warmth often involves a systematic check of the unit’s key components. This guide walks through that process in clear, practical steps, ensuring that the Rinnai R20 delivers steady heat when you need it most.
Understanding the Rinnai R20
The R20 is a single‑flue, vented gas heater that draws its fuel from a natural gas supply. Its design incorporates a combustion chamber, a heat exchanger, a pilot or igniter assembly, and an air‑flow system that delivers warm air through a vented outlet. Because the heater relies on both proper gas pressure and adequate airflow, any disruption in these pathways can reduce heating output.
Key features that influence performance include:
- Gas pressure regulation – The R20 uses an electronic pressure regulator to maintain a consistent supply.
- Ignition system – Depending on the variant, the unit may employ a pilot flame or a hot‑surface igniter.
- Air intake – A balanced airflow is essential for efficient combustion and heat transfer.
- Thermostatic control – The built‑in thermostat signals the burner to start or stop based on the room temperature.
When warmth drops, the first step is to determine which of these elements is failing.
Common Causes of Warmth Interruption
Before digging into diagnostics, it helps to know the most frequent culprits:
| Cause | Typical Sign | Likely Solution |
|---|---|---|
| Low gas pressure | Heater fires briefly and then shuts off | Check regulator, vent, and gas line pressure |
| Blocked air intake | Air flow feels restricted, burner temperature low | Clean intake screen, ensure no obstructions |
| Faulty igniter or pilot | No flame or weak flame, heater remains off | Replace igniter or reset pilot assembly |
| Thermostat misread | Heater turns on and off quickly | Verify thermostat calibration, replace if necessary |
| Dirty heat exchanger | Lower heat output, increased emissions | Clean or replace exchanger |
These scenarios guide the diagnostic steps that follow.
Diagnosing the Problem
-
Visual Inspection
Start by turning off the heater and letting it cool. Look for obvious signs: soot buildup, warped heat exchanger, cracked ignition panel, or a discolored pilot flame. A thorough visual check can quickly spot major issues. -
Check the Gas Supply
- Regulator Status – Locate the electronic pressure regulator (usually near the gas valve). Verify that it reads within the manufacturer’s specified pressure range.
- Vent Integrity – Inspect the vent pipe for cracks or blockages. A kinked or partially closed vent can restrict airflow and reduce heat output.
-
Test the Ignition System
- Pilot Flame – If the model uses a pilot, observe its steadiness. A weak or flickering flame indicates insufficient gas or a poor air‑gas mix.
- Hot‑Surface Igniter – For models with a hot‑surface igniter, listen for a click when the unit attempts to fire. A missing click may signal a defective igniter.
-
Air Intake Assessment
- Ensure the intake vent is not blocked by dust, debris, or furniture.
- Confirm that the intake flap (if present) is open and not stuck shut.
-
Thermostat Calibration
- Measure room temperature with a reliable thermometer.
- Compare it to the thermostat setting. If the heater cycles on and off rapidly, the thermostat may be miscalibrated or failing.
-
Heat Exchanger Condition
- With the unit off, examine the heat exchanger for corrosion or soot buildup.
- A heavy buildup can reduce heat transfer and increase carbon monoxide risk.
If any of these tests reveal a problem, follow the next section to restore continuous warmth.
Step‑by‑Step Reestablishment
1. Restore Gas Pressure
- Reset the Regulator – Locate the reset button or knob on the pressure regulator. Press or turn it to the “reset” position.
- Flush the Gas Line – Open the gas supply valve, wait a few minutes, then close it to allow trapped air to vent.
- Re‑energize the Heater – Turn the gas back on, then power the unit. The heater should detect the restored pressure and fire normally.
2. Clean or Replace the Air Intake
- Remove the Intake Cover – Use a screwdriver to unscrew the cover plate.
- Sweep Out Debris – Brush out any accumulated dust or lint.
- Replace the Filter (if applicable) – If the unit has a replaceable filter, install a new one.
- Reassemble – Secure the cover plate and ensure the intake flap opens freely.
3. Reignite or Replace the Ignition Assembly
- Pilot Ignition – If the pilot flame is weak, use a propane torch to reignite the pilot. Follow the manufacturer’s procedure for safe reignition.
- Hot‑Surface Igniter – Test the igniter by listening for a click. If silent, replace the igniter module with a compatible part.
4. Verify and Calibrate the Thermostat
- Adjust Settings – Set the thermostat to a temperature higher than the current room temperature.
- Observe Heater Response – The unit should cycle on.
- Fine‑Tune – Once the heater is stable, adjust the thermostat back to the desired temperature.
5. Clean the Heat Exchanger
- Safety First – Ensure the unit is off and cool.
- Remove the Exchanger – Carefully detach the heat exchanger following the service manual.
- Use a Brush or Vacuum – Gently remove soot and debris.
- Inspect for Corrosion – If the exchanger shows signs of rust, consider replacement.
- Reinstall – Reattach the exchanger securely and re‑power the heater.
6. Final Test
- Turn the unit back on.
- Observe that the heater fires and maintains the set temperature without cycling off prematurely.
- Check for any unusual noises or odors.
If the heater now provides consistent warmth, the issue has been resolved.
Maintenance Tips to Keep Warmth Consistent
- Monthly Air Intake Check – Keep the intake clear of debris, especially during the heating season.
- Quarterly Heat Exchanger Cleaning – A clean exchanger improves efficiency and reduces emissions.
- Annual Thermostat Calibration – Verify that the thermostat reads accurately.
- Regular Gas Pressure Testing – Use a manometer to confirm that gas pressure stays within specifications.
- Inspect Vent Paths – Ensure that the vent remains unobstructed by animals or weather elements.
By adhering to these routine checks, homeowners can prevent many common warmth disruptions.
Troubleshooting Common Symptoms
| Symptom | Likely Issue | Quick Fix |
|---|---|---|
| Heater fires but feels cold | Low gas pressure or dirty heat exchanger | Reset regulator, clean exchanger |
| Heater stays off | Ignition failure or pilot misalignment | Reignite pilot, replace igniter |
| Heater cycles on and off frequently | Thermostat miscalibration | Recalibrate or replace thermostat |
| No flame after ignition attempt | Blocked air intake or insufficient pressure | Clean intake, check regulator |
| Heater emits strange odors | Incomplete combustion | Check for blockages, clean burner assembly |
If symptoms persist after following the outlined fixes, it may indicate deeper electrical or mechanical faults.
When to Call a Professional
Even the most diligent homeowner may encounter issues that require expert intervention. Contact a licensed HVAC technician if:
- The gas pressure regulator is damaged or cannot be reset.
- The heat exchanger shows extensive corrosion or cracks.
- There is a suspected gas leak or unusual odor.
- Electrical components, such as the control board, fail to respond.
- The unit displays error codes that cannot be deciphered with the user manual.
Professional technicians have the tools and expertise to safely diagnose and repair complex problems.
Final Thoughts
Restoring continuous warmth on the Rinnai R20 gas wall heater is largely a matter of systematic inspection and targeted repairs. By understanding the unit’s key components, identifying common failure points, and following a clear step‑by‑step restoration guide, homeowners can bring back steady heat to their spaces. Routine maintenance further safeguards against future disruptions, ensuring that the heater remains reliable through every cold season. With these practices, the R20 continues to serve as a dependable source of comfort in any home.
Discussion (6)
Join the Discussion
Your comment has been submitted for moderation.
Random Posts

Rebooting Google Nest Hub (3rd Gen) to Resolve App Sync Glitches
Stuck with delayed notifications, unresponsive tiles, or stale smart, home data? A simple reboot of your Nest Hub 3rd Gen clears cache, resets processes, and restores smooth app sync.
3 months ago

Fixing Bluetooth Signal Drops on Apple AirPods Pro
Tired of AirPods Pro disconnecting during walks or workouts? Learn why Bluetooth drops happen, how to spot them, and quick fixes - no coding required - to keep audio flowing.
11 months ago

Fixing the Duplexer Failure on a Brother MFC‑J805DW
Learn how to diagnose and replace a faulty duplexer on your Brother MFC, J805DW, restoring double, sided printing with step, by, step instructions for tech, savvy users.
10 months ago

Solving Apple iPhone 13 Pro Camera Rolling Shutter With External Lens
Stop the slanted look from rolling shutter when adding external lenses to your iPhone 13 Pro by tweaking camera settings, choosing the right lens, and using proper stabilization.
9 months ago

Restoring Bandwidth on Amazon Eero Mesh 6 Pro After a Firmware Update
After an Eero Mesh 6 Pro firmware update, bandwidth often drops. This guide explains why the change occurs and walks you through quick steps to restore full speed and a stable connection for work and play.
8 months ago
Latest Posts

Fixing the Eufy RoboVac 15C Battery Drain Post Firmware Update
Fix the Eufy RoboVac 15C battery drain after firmware update with our quick guide: understand the changes, identify the cause, and follow step by step fixes to restore full runtime.
5 days ago

Solve Reolink Argus 3 Battery Drain When Using PIR Motion Sensor
Learn why the Argus 3 battery drains fast with the PIR sensor on and follow simple steps to fix it, extend runtime, and keep your camera ready without sacrificing motion detection.
5 days ago

Resolving Sound Distortion on Beats Studio3 Wireless Headphones
Learn how to pinpoint and fix common distortion in Beats Studio3 headphones from source issues to Bluetooth glitches so you can enjoy clear audio again.
6 days ago