Repair LG InstaView Door In Door GLSS320SSS Repair Guide
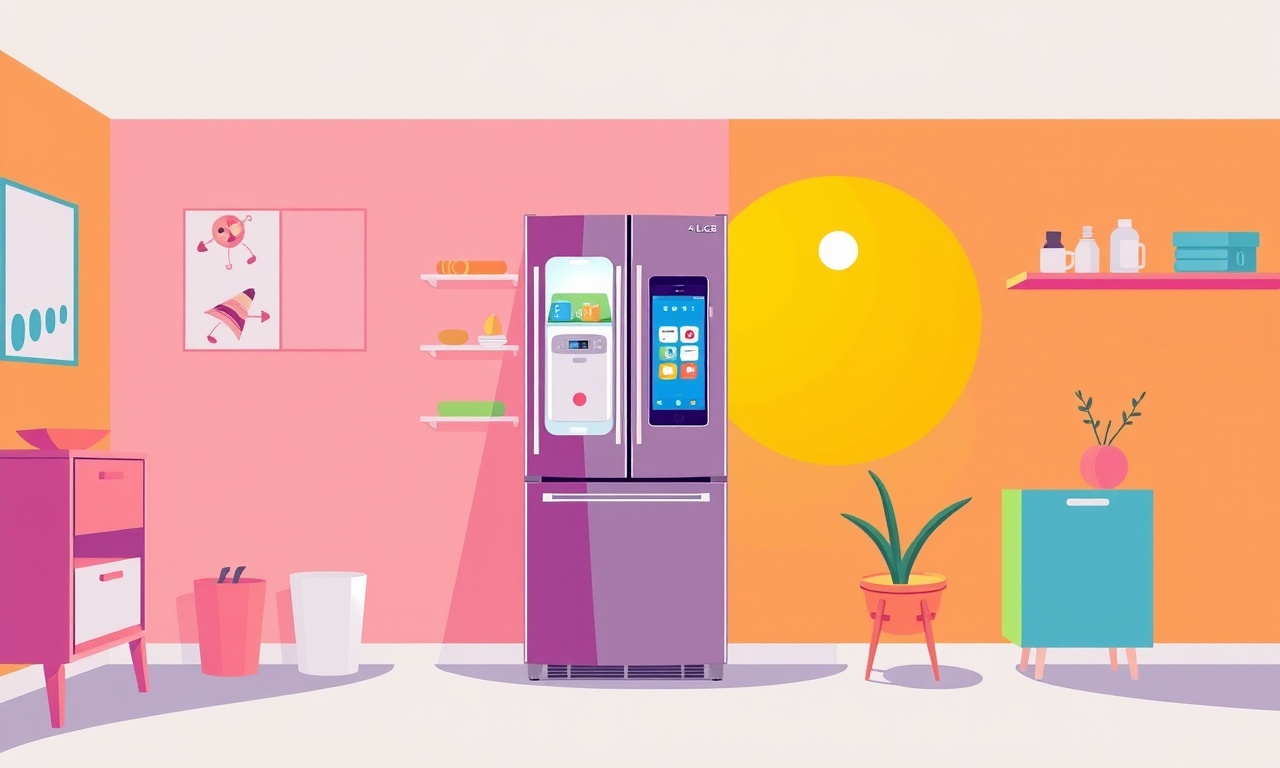
Repair LG InstaView Door In Door GLSS320SSS – A Practical Guide
Safety First
Before you touch anything, make sure the refrigerator is unplugged.
Hold the unit upright if you need to tilt it; avoid bending it, as this can damage the door seals and the glass.
Wear a pair of insulated gloves to protect your hands from any sharp edges or hot components.
Common Issues and What They Mean
| Symptom | Possible Cause | Why It Happens |
|---|---|---|
| The glass panel is cracked or broken | Impact from an object, sudden temperature change, or wear over time | The glass is thin for the InstaView feature; it is fragile under stress |
| The door will not close firmly | Worn hinges or door seal | Hinges can loosen over many cycles; the rubber seal can degrade |
| The InstaView screen is flickering or not lighting | Faulty backlight or electronic control board | The LED strip or the control board can fail with age |
| The refrigerator keeps running or not cooling | Compressor or refrigerant leak | A seal leak, compressor wear, or a blocked evaporator can cause this |
Identify the symptom first; it will guide the rest of the repair process.
Tools and Parts You’ll Need
- Phillips and flat‑head screwdrivers
- Adjustable wrench set
- Replacement door seal (matching model)
- Replacement InstaView glass panel (OEM or certified third‑party)
- Replacement backlight LED strip (specific to GLSS320SSS)
- Replacement electronic control board (if needed)
- New hinges or hinge bolts (if worn)
- Utility knife (for seal removal)
- Safety glasses
- Work light
Step‑by‑Step Repair
1. Inspect the Door Seal
- Lift the door and look for cracks, tears, or missing rubber.
- If the seal is damaged, slide a utility knife along the seam to remove old adhesive.
- Clean the surface with mild soap and water; dry thoroughly.
- Install the new seal, starting at the top and working downward.
- Press firmly and seal any gaps with a rubber squeegee.
2. Replace a Broken Glass Panel
- Carefully remove the broken glass. Hold the frame with a cloth to avoid injury.
- Set the new panel in place; it should snap into the frame.
- Check that the edges are seated evenly.
- If the frame has been damaged, replace it before reinstalling the panel.
3. Tighten or Replace Hinges
- Use the adjustable wrench to check all hinge screws.
- Tighten any loose screws; replace bolts if they show signs of rust.
- If a hinge is bent or broken, replace it with an identical part.
4. Address the InstaView Backlight
- Unplug the refrigerator and locate the backlight strip behind the glass.
- Remove the strip with a screwdriver; note its orientation.
- Install a new strip, aligning the connector pins.
- Test the light before closing the door.
5. Repair the Electronic Control Board
- Power the refrigerator again and navigate to the diagnostic mode (refer to the owner’s manual for the code).
- If a specific error code appears, look it up in the service manual.
- Disconnect the board, remove it, and replace it with the new one.
- Reconnect all cables securely.
6. Check the Compressor and Refrigerant System
- If the fridge is not cooling, inspect the compressor for signs of wear (noise, heat).
- Verify that the condenser coils are clean; vacuum them if necessary.
- A refrigerant leak may require a professional technician.
7. Final Test
- Close all doors and set the temperature to a standard setting (around 37°F/3°C).
- Wait 24 hours to allow the system to stabilize.
- Verify that the InstaView feature operates smoothly and that the fridge cools evenly.
Cleaning and Maintenance Tips
- Clean the condenser coils every 6 months; dust buildup reduces efficiency.
- Check the door seal quarterly; wipe with a damp cloth.
- Avoid placing heavy objects on the door; this can crack the glass.
- Keep the interior light on for 30 minutes after the fridge is turned on; this warms up the interior and improves cooling efficiency.
When a Professional Is Needed
- Refrigerant leaks: Only a licensed technician can safely handle refrigerant.
- Compressor failure: Requires a certified appliance repair service.
- Complex electronic issues: If the diagnostic codes point to deeper hardware problems.
- Warranty service: Contact LG support before making any self‑repair if your unit is still under warranty.
Quick Reference Checklist
- Unplug fridge
- Inspect door seal, glass, hinges, backlight, control board
- Replace any defective parts
- Reassemble and test
Follow these steps carefully, and you should have a fully functioning LG InstaView Door In Door GLSS320SSS in no time. Happy repairing!
Discussion (7)
Join the Discussion
Your comment has been submitted for moderation.
Random Posts

Addressing Apple iPhone 14 Pro Max Battery Drain During Gaming Sessions
Learn why iPhone 14 Pro Max batteries drain during gaming, how to diagnose the issue, and practical tweaks to keep you playing longer with less power loss.
5 months ago

Curing iPhone 14 Plus Charging Port Wear After Daily Fast Charge Cycles
Fast charging can loosen your iPhone 14 Plus port. Learn to spot slow charging and loose cables, then fix it with simple home tricks or long, term prevention.
6 months ago
Xiaomi Mi SmartGlasses 3 Eye Tracking Error Fix
Fix the eye, tracking issue on Mi SmartGlasses 3 with this step, by, step guide to diagnose, clear errors, and restore functionality without repair.
1 year ago

Overcoming Sony X900H Color Saturation Drift During HDR Playback
Discover how to spot and fix color saturation drift on your Sony X900H during HDR playback, tune settings, correct HDR metadata, and keep your scenes vivid and natural.
4 months ago

Remediating Signal Dropout on Bowers & Wilkins PX8 Noise Cancelling Headphones
Discover why the Bowers & Wilkins PX8 may drop sound and how to fix it by tackling interference, low battery, outdated firmware, obstacles and Bluetooth settings for uninterrupted audio
1 week ago
Latest Posts

Fixing the Eufy RoboVac 15C Battery Drain Post Firmware Update
Fix the Eufy RoboVac 15C battery drain after firmware update with our quick guide: understand the changes, identify the cause, and follow step by step fixes to restore full runtime.
5 days ago

Solve Reolink Argus 3 Battery Drain When Using PIR Motion Sensor
Learn why the Argus 3 battery drains fast with the PIR sensor on and follow simple steps to fix it, extend runtime, and keep your camera ready without sacrificing motion detection.
5 days ago

Resolving Sound Distortion on Beats Studio3 Wireless Headphones
Learn how to pinpoint and fix common distortion in Beats Studio3 headphones from source issues to Bluetooth glitches so you can enjoy clear audio again.
6 days ago