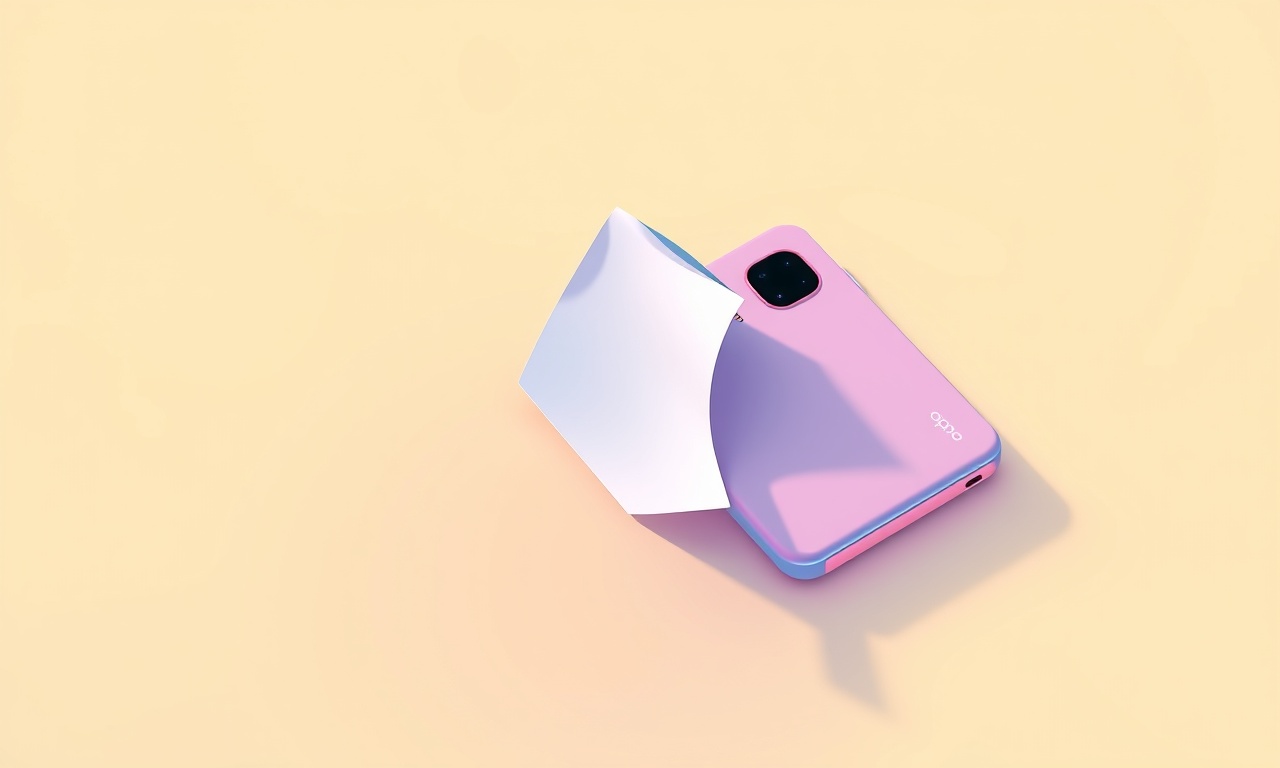
Repair Sticky Surface on Oppo Find X6 Pro Phone Cover
Recognizing a Sticky Phone Cover
When the protective film on your Oppo Find X6 Pro case begins to feel tacky, it can be frustrating. A sticky surface not only looks unclean, it can attract dust, fingerprints, and even bacteria. Before you decide to buy a new case, it’s worth trying a repair. The following guide explains why a case might become sticky, how to identify the problem, and step‑by‑step instructions to restore a smooth finish.
Why Does the Sticky Surface Appear?
Several factors can cause a phone cover to feel tacky:
- Excessive residue – Over time, oils from your skin, sweat, or environmental pollutants build up on the surface. This residue becomes a primer for stickiness.
- Degradation of the protective coating – Many cases are coated with a thin layer of silicone or polymer that protects against scratches. With prolonged use, UV rays, heat, or harsh cleaning chemicals can degrade that layer, leaving a tacky film.
- Improper cleaning – Using harsh soaps or abrasive cloths can remove the protective coating or leave behind residues that cause stickiness.
- Manufacturing defects – Occasionally, a case will have an uneven coating or a low‑grade adhesive that becomes sticky after a few months.
Recognizing the cause helps you choose the right repair strategy.
Gather Your Materials
A successful repair starts with the right tools. Gather the following items before you begin:
- A microfiber cloth (soft and lint‑free)
- A small bowl of warm water
- A mild dish soap or a gentle cleanser
- 99 % isopropyl alcohol (optional)
- A small brush with soft bristles (e.g., a toothbrush)
- A paper towel or a clean cotton rag
- A silicone‑based sealant or clear protective spray (if you plan to add a fresh protective layer)
Tip: Use only alcohol concentrations of 70 % or lower to avoid damaging the case’s finish. High‑concentration alcohol can strip protective coatings.
Step‑by‑Step Repair Process
Follow these steps carefully. Each step prepares the case for the next, ensuring a thorough clean and a durable finish.
1. Initial Inspection
Before you touch the case, hold it up to natural light. Look for:
- Visible grime – dark spots or film.
- Uneven texture – a rough patch or a smooth area that feels tacky.
- Warping or discoloration – signs of thermal damage.
If the case is severely damaged (cracked, warped, or the protective layer is fully gone), consider replacement. A sticky surface alone is not a reason to discard the case, but total degradation may be.
2. Gentle Dry Cleaning
Using a dry microfiber cloth, gently wipe the case surface. This removes loose dust and small particles. Avoid vigorous rubbing that might scratch the finish. A quick dry wipe often removes the majority of visible debris and gives you an idea of how tacky the remaining film is.
3. Create a Soapy Solution
Fill a bowl with warm water. Add a drop or two of mild dish soap or a gentle cleanser. Swirl the water to create a slightly foamy solution. The soap acts as a mild solvent, lifting oil and grime from the case surface.
4. Soft‑Brushing
Dip the soft‑bristle brush into the soapy water. Gently scrub the case in a circular motion, focusing on the tacky spots. The brush helps to lift residue that a cloth might miss. Be careful not to apply too much pressure; the goal is to clean, not to abrade.
5. Rinse Thoroughly
After brushing, use a fresh, damp microfiber cloth to wipe away all soap residue. A second rinse helps prevent soap buildup that can itself feel sticky. Make sure no suds remain on the case.
6. Alcohol‑Based Polish (Optional)
If the surface still feels tacky after the soapy clean, you can use 70 % isopropyl alcohol to remove any remaining oils. Dab a cotton rag lightly with alcohol and gently wipe the case. Alcohol evaporates quickly, leaving a dry surface. Avoid soaking the case; only a light touch is necessary.
7. Dry Completely
Allow the case to air dry completely. You can place it on a clean towel in a well‑ventilated area. Avoid direct sunlight or heat sources that might warp the plastic.
8. Re‑Apply Protective Seal (Optional but Recommended)
If the case had a protective silicone layer that has worn away, consider re‑applying a light film:
- Clear protective spray – Spray a very thin coat over the entire surface. Let it dry per the product’s instructions.
- Silicone‑based sealant – Apply a thin layer with a microfiber cloth, spreading evenly. Allow it to cure fully before using the phone.
The new coating protects against future stickiness and restores a smooth feel.
9. Final Test
Once the case is dry and the sealant has cured, test the surface by running a fingertip across it. It should glide smoothly without any tackiness. If you still feel residue, repeat steps 4–7.
Common Mistakes to Avoid
Even a simple cleaning routine can go wrong if you’re not careful. Here are frequent pitfalls and how to avoid them.
- Using harsh abrasives – Never use a rough sponge, steel wool, or scouring pads. These will scratch the case and create micro‑tears that become new sticky spots.
- Over‑cleaning with alcohol – High‑concentration alcohol strips the protective layer entirely, leaving the case raw and tacky.
- Skipping the final drying – Residual moisture can cause the case to feel damp and attract grime again. Always ensure the case is completely dry.
- Using plastic tools – Metallic tools can leave scratches. Stick to soft brushes and microfiber cloths.
Alternative Solutions
If you prefer a quick fix or if the case has deep wear, consider these alternatives:
Replace the Protective Layer
Some phone case manufacturers sell a replacement silicone film that can be applied to the inside of the case. This is an intermediate step between a full case replacement and a DIY clean.
Use a Cover Protector
Apply a thin protective sleeve (like a clear silicone sleeve) over the case. It restores smoothness and adds a new layer of protection. This can be removed if you later decide to replace the original case.
Buy a New Case
When the case’s structural integrity is compromised, or the sticky residue is impossible to remove, buying a new case may be the most practical solution. Look for cases that come with a UV‑resistant coating to reduce future stickiness.
Long‑Term Care Tips
Preventing stickiness from the start saves you time and frustration.
- Clean regularly – A quick wipe every week keeps grime at bay.
- Store the phone properly – Avoid leaving it in hot or humid environments; temperature extremes accelerate coating wear.
- Use a phone case cleaner – There are commercially available cleaners that are safe for silicone and polymer coatings.
- Remove the case during charging – Heat can degrade protective layers over time. If you leave your phone in the case while charging, it may become sticky faster.
Summary
A sticky surface on your Oppo Find X6 Pro phone cover is not a permanent problem. By understanding the cause, gathering the right tools, and following a systematic cleaning and sealing process, you can restore your case to a smooth, clean state. The key steps—inspection, gentle dry cleaning, soapy brushing, alcohol polish, thorough drying, and optional re‑application of a protective seal—work together to eliminate tackiness and extend the life of your case.
Regular maintenance and mindful storage are the best defenses against future stickiness. Keep your case fresh and your phone protected without the expense of a new cover.
Discussion (7)
Join the Discussion
Your comment has been submitted for moderation.
Random Posts

Addressing Apple iPhone 14 Pro Max Battery Drain During Gaming Sessions
Learn why iPhone 14 Pro Max batteries drain during gaming, how to diagnose the issue, and practical tweaks to keep you playing longer with less power loss.
5 months ago

Curing iPhone 14 Plus Charging Port Wear After Daily Fast Charge Cycles
Fast charging can loosen your iPhone 14 Plus port. Learn to spot slow charging and loose cables, then fix it with simple home tricks or long, term prevention.
6 months ago
Xiaomi Mi SmartGlasses 3 Eye Tracking Error Fix
Fix the eye, tracking issue on Mi SmartGlasses 3 with this step, by, step guide to diagnose, clear errors, and restore functionality without repair.
1 year ago

Overcoming Sony X900H Color Saturation Drift During HDR Playback
Discover how to spot and fix color saturation drift on your Sony X900H during HDR playback, tune settings, correct HDR metadata, and keep your scenes vivid and natural.
4 months ago

Remediating Signal Dropout on Bowers & Wilkins PX8 Noise Cancelling Headphones
Discover why the Bowers & Wilkins PX8 may drop sound and how to fix it by tackling interference, low battery, outdated firmware, obstacles and Bluetooth settings for uninterrupted audio
1 week ago
Latest Posts

Fixing the Eufy RoboVac 15C Battery Drain Post Firmware Update
Fix the Eufy RoboVac 15C battery drain after firmware update with our quick guide: understand the changes, identify the cause, and follow step by step fixes to restore full runtime.
5 days ago

Solve Reolink Argus 3 Battery Drain When Using PIR Motion Sensor
Learn why the Argus 3 battery drains fast with the PIR sensor on and follow simple steps to fix it, extend runtime, and keep your camera ready without sacrificing motion detection.
5 days ago

Resolving Sound Distortion on Beats Studio3 Wireless Headphones
Learn how to pinpoint and fix common distortion in Beats Studio3 headphones from source issues to Bluetooth glitches so you can enjoy clear audio again.
6 days ago