Repairing a Door Seal Leak on the De'Longhi DHC500 Portable Heater
Repairing a Door Seal Leak on the De'Longhi DHC500 Portable Heater
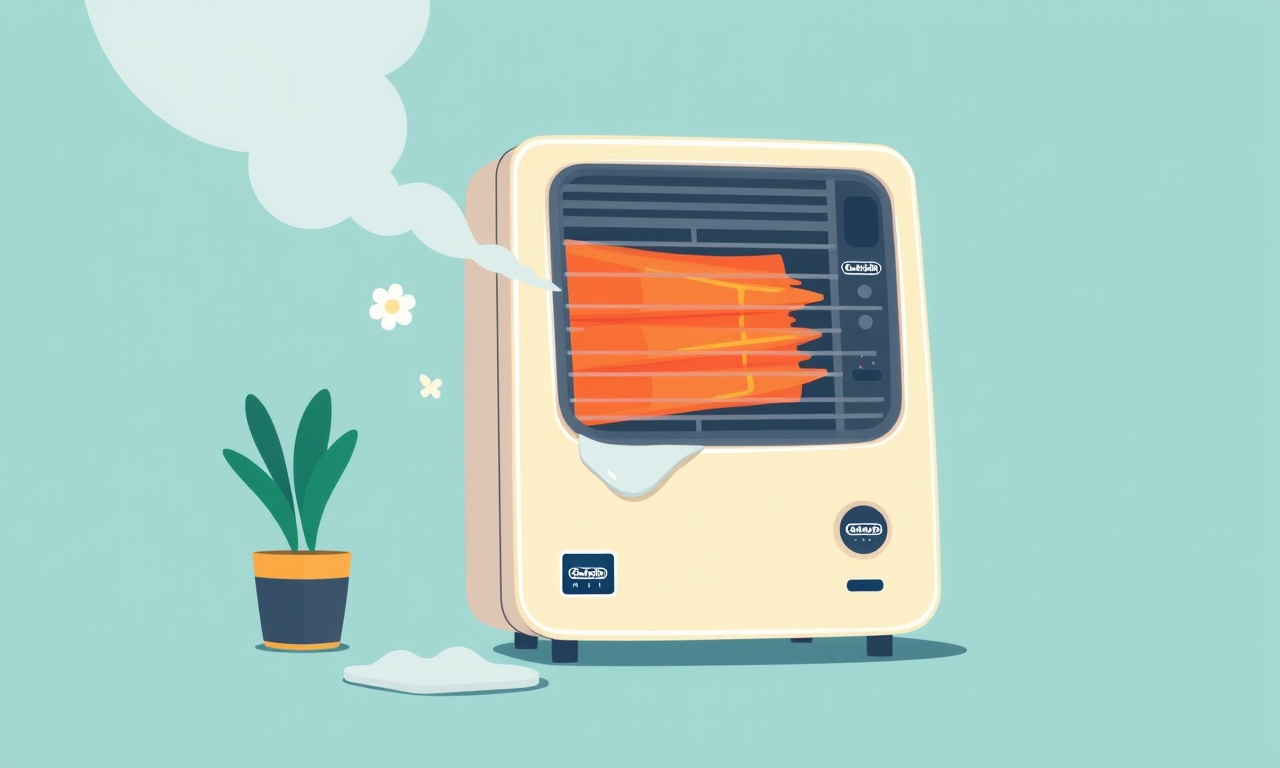
The De Longhi DHC500 is a compact, efficient heating unit that many households rely on during cooler months. One of the most common issues that can diminish its performance is a leaking door seal. A compromised seal not only lets cold air in, it can also increase energy costs and create a draft that makes the room feel chilly. This guide walks you through the entire repair process, from diagnosing the problem to restoring the seal’s integrity. By the end of this tutorial you will have a tighter seal and a heater that keeps its heat where it belongs—inside your living space.
Why a Door Seal Leak Matters
The door seal on a portable heater is designed to create an airtight barrier between the heating chamber and the outside environment. When the seal is intact, the heater can maintain a consistent temperature with minimal heat loss. A leak, however, does the following:
- Reduces heating efficiency – Cold air floods the heating chamber, forcing the unit to work harder.
- Increases electricity consumption – A leaking heater consumes more power to achieve the same temperature.
- Causes drafts – A weak seal lets cold air into your room, making it uncomfortable.
- Potential safety risk – A damaged seal can expose hot surfaces to accidental contact.
Repairing the seal restores the heater’s performance and prolongs its lifespan.
What You’ll Need
- Replacement door seal (compatible with the DHC500)
- Isopropyl alcohol (90 % or higher)
- Small flat‑head screwdriver
- Phillips screwdriver
- Soft cloths or microfiber towels
- Needle‑nose pliers
- Utility knife or scissors
- Adhesive (silicone sealant or double‑sided tape, depending on the seal type)
Make sure the replacement seal matches the original’s dimensions and shape. Check De Longhi’s official parts catalogue or the retailer’s part number that matches your heater.
Safety First
- Unplug the heater – Never work on an energized appliance.
- Let the unit cool – If the heater was recently used, allow it to reach room temperature before starting the repair.
- Work in a well‑ventilated area – Isopropyl alcohol fumes can be strong.
- Avoid metal tools near the heating element – Keep tools away from any exposed electrical components.
Step‑by‑Step Repair Guide
1. Inspect the Leak
Before you open anything, observe where the leak occurs:
- Place a wet cloth around the door frame while the heater is switched on (but not touching the hot elements). If the cloth dries faster near a particular area, that’s likely the leak.
- Look for visible gaps, cracks, or missing portions of the seal.
This quick test confirms that the seal is indeed the culprit and helps you locate the problem area accurately.
2. Remove the Front Panel
- Locate the screws – On the DHC500, the front panel is secured by a mix of Phillips and flat‑head screws.
- Unscrew the panel – Use the appropriate screwdriver to remove all screws.
- Detach the panel – Gently lift the panel away from the body. A small lever or seam may help release the panel if it’s glued or snapped into place.
Once the panel is removed, you’ll see the door and its surrounding frame.
3. Extract the Old Seal
- Identify the seal’s path – The door seal typically runs along the perimeter of the door, attaching to the frame with adhesive or mechanical fasteners.
- Peel or cut the seal – Use needle‑nose pliers to lift one corner of the seal, then peel it back slowly. If the seal is glued, a utility knife may help cut along the adhesive line.
- Clean the adhesive residue – Apply isopropyl alcohol to a cloth and wipe the old adhesive from the door frame. This step ensures that the new seal will stick properly.
4. Prepare the Replacement Seal
- Measure the seal – Use a ruler or measuring tape to confirm the length of the door frame’s perimeter.
- Cut to size – With a utility knife, trim the new seal to match the measured length. Be careful to keep the cut straight; a jagged edge can create gaps.
- Check the seal’s profile – Ensure that the new seal’s thickness and shape match the old one. Some models use a “C‑shaped” or “U‑shaped” profile; mismatched profiles will not fit properly.
5. Apply the Seal
The DHC500 may use either an adhesive‑back seal or one that relies on a mechanical clip:
-
Adhesive‑back seal
- Peel off the protective backing.
- Align the seal’s edge with the door frame.
- Press firmly along the length, ensuring the seal sits flush against the frame.
- Apply light pressure around the entire perimeter to bond the adhesive.
-
Clipped or screwed seal
- Place the seal in position.
- Use the provided clips or screws to secure the seal in place.
- Tighten all fasteners evenly to prevent uneven gaps.
If the seal uses a silicone sealant, apply a thin bead along the frame before placing the seal, then allow it to cure per the manufacturer’s instructions.
6. Reattach the Front Panel
- Position the panel – Line up the panel with the door frame.
- Reinstate screws – Insert all screws back into their original holes.
- Tighten carefully – Tighten each screw just enough to hold the panel securely without warping the frame.
7. Test for Leaks
- Plug in the heater – Allow it to heat to its normal operating temperature.
- Check for drafts – Place a wet cloth around the door frame again. If the cloth remains wet, the seal is intact.
- Listen for unusual sounds – A properly sealed unit should run quietly; any rattling could indicate a misaligned seal or panel.
If you still detect a leak, double‑check the seal placement and ensure there are no remaining gaps.
8. Final Check and Maintenance Tips
- Clean the interior – Before using the heater again, wipe down the inside with a dry cloth. Dust buildup can affect performance.
- Inspect the seal periodically – Once a year, check the seal’s condition and replace it if you notice cracks or wear.
- Avoid overloading the heater – Keep the unit in a well‑ventilated space and avoid placing objects against the door that could compress the seal.
- Keep the heater dry – Moisture can degrade seals; use a dry cloth to wipe any accidental spills.
Troubleshooting Common Issues
| Symptom | Likely Cause | Quick Fix |
|---|---|---|
| Heater still drafts after seal replacement | Seal not aligned correctly | Re‑align and re‑apply |
| Seal is hard to remove | Old adhesive set deeply | Use isopropyl alcohol or a heat gun at low setting |
| Seal breaks during installation | Wrong seal size or type | Verify part number and dimensions before purchasing |
| Heater does not turn on after reassembly | Loose screws or reconnected wiring | Re‑secure all screws and check internal connections |
Final Thoughts
A leaking door seal on the De Longhi DHC500 can be a simple fix that yields noticeable improvements in comfort and energy savings. By following the steps outlined above, you can restore the heater’s performance without needing professional assistance. Remember to handle the appliance with care, maintain regular inspections, and replace the seal before it fully deteriorates. Your home will stay warmer, and your electric bill will thank you.
Discussion (10)
Join the Discussion
Your comment has been submitted for moderation.
Random Posts

Reassessing the Audio Jack Dropout on LG Velvet 2
Explore why the LG Velvet 2's 3.5mm jack glitches, what triggers audio dropouts, user fixes, and LG's stance: essential insight for current and future Android phones.
1 year ago

Philips HP700 Fan Stalls Quietly Even At Low Speed Why This Happens And What To Do
Discover why your Philips HP700 quietly stalls at low speed, spot early signs, and fix the issue to keep steady airflow.
2 weeks ago

How to Stop Sharp LC-40M from Producing Audio Sync Issues While Gaming
Fix your Sharp LC-40M so game audio stays in sync. Learn quick settings tweaks, cable checks, and audio-output fixes that keep sound matching action for a flawless gaming experience.
6 months ago

Solve Arlo Pro 4 Wireless Connection Problems
Discover quick fixes for offline Arlo Pro 4 cameras. Check power, Wi, Fi, firmware, reset steps, and more get your live feed back up fast.
4 months ago

Panasonic D45 Dryer Timer Skips Final Drying Cycle
Discover why your Panasonic D45 dryer skips its final cycle, learn the symptoms, root causes, and easy fixes to keep clothes dry, save energy, and avoid extra runs.
5 months ago
Latest Posts

Fixing the Eufy RoboVac 15C Battery Drain Post Firmware Update
Fix the Eufy RoboVac 15C battery drain after firmware update with our quick guide: understand the changes, identify the cause, and follow step by step fixes to restore full runtime.
5 days ago

Solve Reolink Argus 3 Battery Drain When Using PIR Motion Sensor
Learn why the Argus 3 battery drains fast with the PIR sensor on and follow simple steps to fix it, extend runtime, and keep your camera ready without sacrificing motion detection.
5 days ago

Resolving Sound Distortion on Beats Studio3 Wireless Headphones
Learn how to pinpoint and fix common distortion in Beats Studio3 headphones from source issues to Bluetooth glitches so you can enjoy clear audio again.
6 days ago