Repairing Ear Cup Detachment on Marshall Monitor II ANC Headphones
Introduction
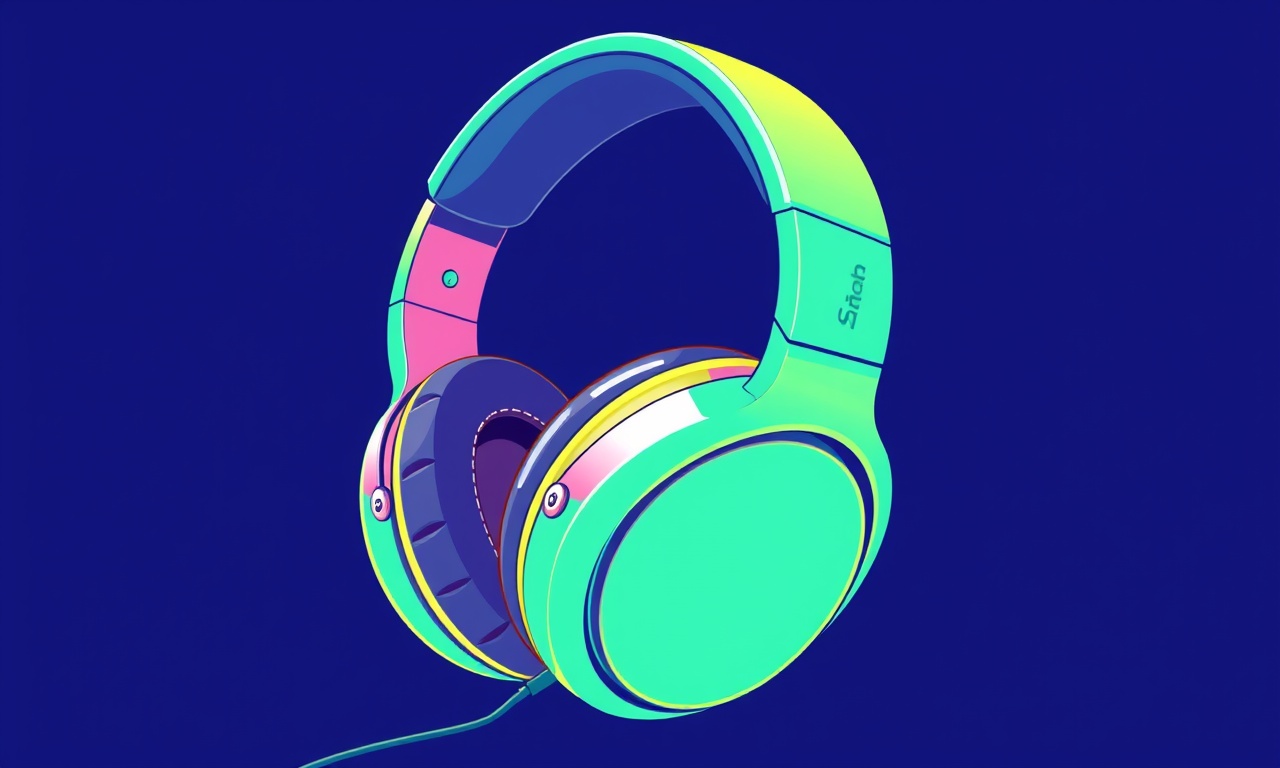
The Marshall Monitor II ANC headphones have become a favorite among audio enthusiasts for their classic rock‑inspired design and solid noise‑canceling performance. Like any product that undergoes repeated movement and stress, the ear cups can loosen over time. When an ear cup detaches, it not only affects comfort but can also expose internal components and reduce the effectiveness of the active‑noise‑cancelling circuitry. Fortunately, the repair is straightforward if you follow a systematic approach.
Below you will find a detailed, step‑by‑step guide that walks you through diagnosing the problem, gathering the right tools, disassembling the headphones, fixing the detachment, and reassembling them for a durable, long‑lasting solution.
What You’ll Need
Before you start, collect the following items. Having everything ready will keep the process smooth and prevent frustration.
- A set of precision screwdrivers (Phillips and Torx, if available)
- A small flat‑head screwdriver or a plastic pry tool
- A replacement set of tiny screws (M2 or M2.5, depending on the model)
- Non‑conductive tweezers
- A gentle adhesive (a small amount of 3‑M 77 or a specialized headphone‑repair glue)
- Isopropyl alcohol (70 % or higher)
- A clean, lint‑free cloth
- Optional: a magnetic mat to hold screws
Step 1: Identify the Detachment
The first thing you want to confirm is exactly where the ear cup is detaching. The Monitor II ANC headphones have two separate ear cups that attach to the main housing through a small set of screws and a molded plastic interface. A detachment can occur at:
- The screw interface
- The molded plastic gasket
- The adhesive that holds the ear cup shell to the housing
Signs of a screw‑related detachment
- The ear cup slides out or feels loose when you pull gently
- You notice missing or stripped screws
- There is a visible gap around the screw head
Signs of a gasket or adhesive failure
- The ear cup feels stuck but can still be pulled out with more force
- The outer shell of the ear cup shows a visible separation from the inner housing
- The plastic around the attachment point looks cracked or missing
If you are unsure, gently lift each ear cup and feel for any slop. A light tug will tell you whether the screws are loose or the attachment is weak.
Step 2: Remove the Ear Cup Safely
- Secure the headphones on a stable surface with the ear cups facing down. This helps prevent accidental damage to the internal components.
- Locate the tiny screws that secure the ear cup. They are usually hidden behind a small plastic tab or seam.
- Use a precision screwdriver that fits the screw head. Apply gentle pressure while turning counter‑clockwise.
- Lift the ear cup gently away from the housing. If you feel resistance, do not force it. Check for any additional screws or tabs that may still be holding it in place.
- Set the screws aside on a magnetic mat or a clean spot. This keeps them from getting lost.
If the ear cup does not come off easily, the adhesive might be bonding the shell to the housing. In that case, proceed with caution:
- Avoid using excessive force that could crack the plastic.
- Use a plastic pry tool to gently lift the ear cup from the edge.
- Do not attempt to separate the adhesive layer with a sharp object that could damage the surrounding area.
Step 3: Inspect the Attachment Point
Now that the ear cup is free, examine the interface carefully.
3.1 Check the Screws
- If a screw is missing, you will need a new one that matches the thread size.
- If a screw is stripped, try tightening it gently. If it still does not hold, replace it.
3.2 Examine the Gasket
The Monitor II ANC headphones use a soft rubber gasket to seal the ear cup against the housing. Look for:
- Signs of wear or cracks.
- A missing gasket that would have allowed the ear cup to slip.
- Residual adhesive or debris that may have prevented a proper seal.
If the gasket is damaged, replace it with a new one. You can source a replacement from the manufacturer or use a compatible OEM part.
3.3 Assess the Adhesive
- Clean the attachment area with isopropyl alcohol to remove old glue or residue.
- Inspect for cracks or gaps that may have widened.
- Check whether the adhesive has fully cured and is still holding the plastic parts together.
If the adhesive is compromised, a small amount of fresh adhesive will be needed.
Step 4: Prepare for Reassembly
4.1 Clean All Surfaces
Use a lint‑free cloth dampened with isopropyl alcohol to wipe the following:
- The inner surface of the ear cup that contacts the housing.
- The corresponding area on the main body.
- Any exposed screw heads or threads.
Allow the surfaces to dry completely before proceeding.
4.2 Reapply Adhesive (If Needed)
If the original adhesive failed:
- Apply a tiny bead of glue to the inner surface of the ear cup, focusing on the contact area.
- Do not spread the glue; it should be minimal to avoid excess that could leak onto internal components.
- Let it sit for a minute to form a tacky layer.
If the gasket is intact and the screws hold, you can skip this step.
4.3 Check the Gasket Fit
Place the new gasket over the attachment point, ensuring it sits snugly between the ear cup shell and the housing. The gasket should be centered and not bunched up or folded.
Step 5: Reattach the Ear Cup
- Align the ear cup with the mounting hole, making sure the screw holes line up.
- Insert the screw through the new or existing thread. Hand tighten to secure it.
- Apply gentle pressure to the ear cup to compress the gasket.
- Finish tightening the screw with the screwdriver. Do not overtighten; just enough to hold the cup firmly in place.
Repeat the same process for the other ear cup.
Tip: If you are using a magnetic mat, you can hold the screws while you work on the ear cups. This prevents loss of small components.
Step 6: Final Check
- Gently test the fit of each ear cup. They should be firm and not wobble.
- Inspect the adhesive if used. A small bead should be visible only around the contact area and not spread into the interior.
- Reconnect the headphones to a power source and verify that the ANC is functioning correctly.
- Play a piece of music to confirm that the sound pressure and noise cancellation are as expected.
Common Pitfalls and How to Avoid Them
| Issue | Cause | Prevention |
|---|---|---|
| Screws stripped | Using a screwdriver that is too large | Use a precision screwdriver that fits snugly |
| Gasket missing | Deliberate or accidental removal during previous repairs | Keep the gasket in a small pouch; label it |
| Adhesive leaks | Excessive glue application | Apply a minimal bead; let it set |
| Misaligned ear cup | Incorrect screw placement | Align the holes carefully before tightening |
Tips for Longevity
- Avoid excessive pressure on the ear cups while wearing them. The headphones are designed to fit snugly but not to be forced.
- Store the headphones in a protective case when not in use. This protects the soft gasket and keeps the screws from loosening.
- Inspect periodically. A quick check every few months can catch screw loosening early.
- Keep spare screws on hand. A small container or magnetic tray is a good way to hold them.
Conclusion
A detachment of the ear cup on the Marshall Monitor II ANC headphones is a common issue that can be resolved without professional assistance. By carefully disassembling the headphones, inspecting the attachment interface, replacing worn parts, and reassembling with precision, you can restore the fit and performance of your earbuds.
The process requires patience, a set of proper tools, and a gentle touch. Once you’ve successfully repaired the headphones, you can enjoy uninterrupted listening sessions and keep your headphones in pristine condition for years to come.
Discussion (10)
Join the Discussion
Your comment has been submitted for moderation.
Random Posts

Addressing Apple iPhone 14 Pro Max Battery Drain During Gaming Sessions
Learn why iPhone 14 Pro Max batteries drain during gaming, how to diagnose the issue, and practical tweaks to keep you playing longer with less power loss.
5 months ago

Curing iPhone 14 Plus Charging Port Wear After Daily Fast Charge Cycles
Fast charging can loosen your iPhone 14 Plus port. Learn to spot slow charging and loose cables, then fix it with simple home tricks or long, term prevention.
6 months ago
Xiaomi Mi SmartGlasses 3 Eye Tracking Error Fix
Fix the eye, tracking issue on Mi SmartGlasses 3 with this step, by, step guide to diagnose, clear errors, and restore functionality without repair.
1 year ago

Overcoming Sony X900H Color Saturation Drift During HDR Playback
Discover how to spot and fix color saturation drift on your Sony X900H during HDR playback, tune settings, correct HDR metadata, and keep your scenes vivid and natural.
4 months ago

Remediating Signal Dropout on Bowers & Wilkins PX8 Noise Cancelling Headphones
Discover why the Bowers & Wilkins PX8 may drop sound and how to fix it by tackling interference, low battery, outdated firmware, obstacles and Bluetooth settings for uninterrupted audio
1 week ago
Latest Posts

Fixing the Eufy RoboVac 15C Battery Drain Post Firmware Update
Fix the Eufy RoboVac 15C battery drain after firmware update with our quick guide: understand the changes, identify the cause, and follow step by step fixes to restore full runtime.
5 days ago

Solve Reolink Argus 3 Battery Drain When Using PIR Motion Sensor
Learn why the Argus 3 battery drains fast with the PIR sensor on and follow simple steps to fix it, extend runtime, and keep your camera ready without sacrificing motion detection.
5 days ago

Resolving Sound Distortion on Beats Studio3 Wireless Headphones
Learn how to pinpoint and fix common distortion in Beats Studio3 headphones from source issues to Bluetooth glitches so you can enjoy clear audio again.
6 days ago