Repairing Speaker Wiring on Bose Soundbar 700
Understanding the Basics of Speaker Wiring
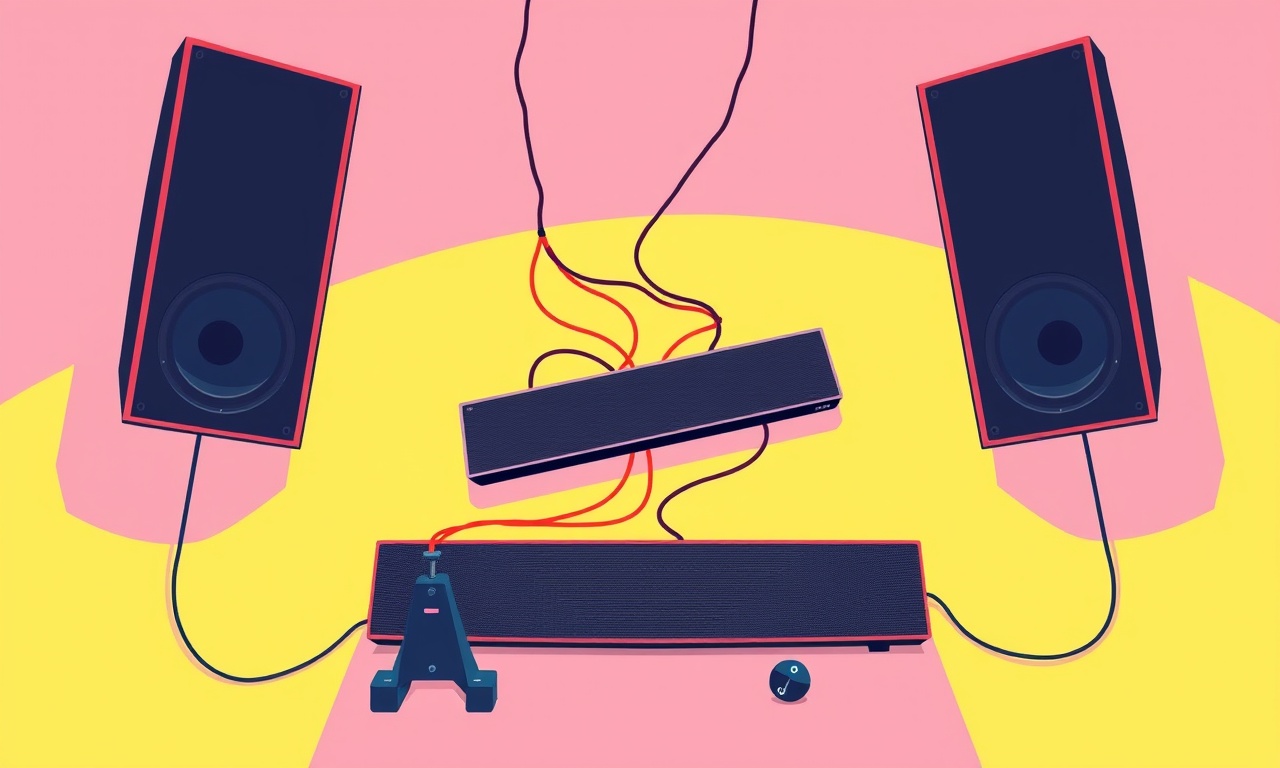
The Bose Soundbar 700 is engineered to deliver crisp, room‑wide sound, but even the best designs can encounter a wiring hiccup. Whether the issue is a sudden drop in volume, distortion, or one channel going silent, a faulty internal wire is often the culprit. The good news is that the soundbar’s wiring can be inspected, tested, and repaired without needing a professional every time. Below is a comprehensive, step‑by‑step guide that walks you through the process, from preparing your tools to re‑assembling the unit.
Gather the Right Tools
Before you lift a panel or touch a wire, make sure you have the equipment that will make the job smooth and safe. The list is short, but each item is essential.
- A Phillips‑head screwdriver (size 0 or 00)
- A set of precision tweezers
- A small flathead screwdriver
- A multimeter with a 10‑volt DC probe
- A pair of insulated wire cutters
- Heat‑shrink tubing or electrical tape
- Replacement speaker wire (28‑AWG stranded copper is typical)
- A clean, flat work surface
- A flashlight or headlamp for better visibility
Safety First: Power Down and Isolate
Even though the Bose Soundbar 700 is a low‑voltage device, the speaker drivers can still carry enough energy to cause a shock if mishandled. Here’s how to keep yourself safe.
- Unplug the unit from the wall outlet and any HDMI or audio cables.
- Press the power button to ensure the internal circuitry is completely discharged. Let it sit for a few minutes.
- Hold the unit on a stable surface, and keep a clear path to the service panel. Avoid any conductive surfaces.
Locate the Service Panel
The Bose Soundbar 700’s wiring harness is tucked behind a small, removable panel on the rear or side of the unit. Here’s how to access it.
- Turn the soundbar over, or rotate it to view the side where the panel is attached.
- Use the Phillips screwdriver to loosen the two screws that hold the panel.
- Carefully slide or lift the panel away. A small rubber gasket may remain; set it aside.
- You should now see a small rectangular area that contains the speaker wiring.
Inspecting the Wiring
Once the panel is open, you will see a set of connectors and wires that feed each speaker driver. Follow these steps to identify the problem.
1. Visual Check
- Look for frayed insulation, exposed copper, or signs of corrosion.
- Verify that all wires are firmly seated in their connectors. A loose connection can mimic a wire fault.
2. Test with a Multimeter
- Set the multimeter to the lowest DC voltage range.
- Place the red probe on one end of a speaker wire and the black probe on the other.
- A healthy wire should read around 4 V–5 V. Anything significantly lower suggests a break or high resistance.
3. Document Findings
- Note which speaker(s) have issues: left, right, center, or surround.
- Take a photo of the wiring arrangement before you start disassembling. This will serve as a reference for re‑assembly.
Deciding Whether to Repair or Replace
Most wiring problems stem from a single broken segment or a poor connection. If you find a short or an intact but frayed section, you can often repair it. If the wire is severed, replacement is the safest route.
Repairing a Frayed Wire
- Trim the frayed section back to clean copper using the wire cutters.
- Strip about 1 cm of insulation from the new wire ends with a wire stripper.
- Twist the exposed copper strands together with a pair of tweezers for a solid connection.
- Slide a small piece of heat‑shrink tubing over the twisted area, then apply a soldering iron to melt the solder. If you don’t have a soldering iron, a high‑quality electrical tape can be used, though solder is preferred for durability.
Replacing a Severed Wire
- Cut out the damaged section, leaving enough slack on both ends for a new wire to attach.
- Use the same gauge (usually 28‑AWG) to ensure impedance matches.
- Connect the new wire to the existing connector by following the steps above for a frayed wire.
Re‑Connecting the Wires
After the repair, reconnect the wires to their respective terminals. Keep the following guidelines in mind.
- Polarity Matters: Speaker wires are usually color‑coded or marked with a dot. The black wire often represents the negative (-) side, and the red or white is positive (+). Ensure the repaired section maintains correct polarity.
- Secure Tight Connections: Use tweezers to hold the wire firmly while you tighten the terminal screw. A loose screw can cause intermittent sound loss.
- Avoid Twisting Wires: Keep the wiring neat and organized. Twist‑over connections can create future hazards.
Tightening the Service Panel
Once all wires are re‑connected and secure, replace the panel.
- Align the gasket and slide the panel back into place.
- Tighten the screws evenly with the Phillips screwdriver.
- Double‑check that the panel is sealed to avoid dust ingress.
Powering Up and Testing
With the panel closed, it’s time to see if the repair solved the problem.
- Reconnect the HDMI or optical cable that carries audio to the soundbar.
- Plug the unit back into the wall and power it on.
- Play a test track—preferably a stereo mix that covers all channels (music or a movie with surround sound).
- Listen for any distortion or missing channels. If the issue persists, double‑check the wiring for any missed connections or damaged wires that may have been overlooked.
Troubleshooting Common Issues
Even after a careful repair, some problems can linger. Use the checklist below to isolate the root cause.
- One Channel Still Dead: The repaired wire may not be connected to the correct speaker driver. Verify that the connector matches the labeled port on the unit’s back panel.
- Distortion or Clipping: Over‑driving a single driver can cause clipping. Check that the amplifier settings are balanced across all channels.
- Intermittent Sound: A loose terminal screw or a broken connector can cause the sound to cut in and out. Tighten all connections and replace any worn connector housing.
- No Sound at All: This indicates a deeper problem, perhaps with the amplifier board itself. In this case, professional service may be required.
Preventive Measures
Preventing future wiring issues involves routine maintenance and careful handling. Adopt these habits for long‑term reliability.
- Keep the Soundbar Clean: Dust accumulation can corrode connectors. Wipe the exterior with a dry microfiber cloth.
- Avoid Excessive Cable Stress: Do not pull on cables when connecting or disconnecting. Use the built‑in cable clips on the soundbar to manage tension.
- Store During Long‑Term Inactivity: If you plan to leave the soundbar unused for months, remove the power cord and store the unit in a dust‑free environment.
- Regular Inspections: Every few months, power down the unit and give the rear panel a quick look to catch any loose wires early.
Final Thoughts
Repairing speaker wiring on the Bose Soundbar 700 can seem daunting, but with the right tools, a methodical approach, and a little patience, you can restore your sound system’s performance without costly professional help. By understanding the layout, safely handling the components, and meticulously reconnecting each wire, you preserve the unit’s audio integrity and extend its lifespan.
Remember, if at any point you feel unsure or uncomfortable, it’s wise to consult a qualified audio technician. Your safety and the longevity of your soundbar depend on careful work.
Discussion (7)
Join the Discussion
Your comment has been submitted for moderation.
Random Posts

Reassessing the Audio Jack Dropout on LG Velvet 2
Explore why the LG Velvet 2's 3.5mm jack glitches, what triggers audio dropouts, user fixes, and LG's stance: essential insight for current and future Android phones.
1 year ago

Philips HP700 Fan Stalls Quietly Even At Low Speed Why This Happens And What To Do
Discover why your Philips HP700 quietly stalls at low speed, spot early signs, and fix the issue to keep steady airflow.
2 weeks ago

How to Stop Sharp LC-40M from Producing Audio Sync Issues While Gaming
Fix your Sharp LC-40M so game audio stays in sync. Learn quick settings tweaks, cable checks, and audio-output fixes that keep sound matching action for a flawless gaming experience.
6 months ago

Solve Arlo Pro 4 Wireless Connection Problems
Discover quick fixes for offline Arlo Pro 4 cameras. Check power, Wi, Fi, firmware, reset steps, and more get your live feed back up fast.
4 months ago

Panasonic D45 Dryer Timer Skips Final Drying Cycle
Discover why your Panasonic D45 dryer skips its final cycle, learn the symptoms, root causes, and easy fixes to keep clothes dry, save energy, and avoid extra runs.
5 months ago
Latest Posts

Fixing the Eufy RoboVac 15C Battery Drain Post Firmware Update
Fix the Eufy RoboVac 15C battery drain after firmware update with our quick guide: understand the changes, identify the cause, and follow step by step fixes to restore full runtime.
5 days ago

Solve Reolink Argus 3 Battery Drain When Using PIR Motion Sensor
Learn why the Argus 3 battery drains fast with the PIR sensor on and follow simple steps to fix it, extend runtime, and keep your camera ready without sacrificing motion detection.
5 days ago

Resolving Sound Distortion on Beats Studio3 Wireless Headphones
Learn how to pinpoint and fix common distortion in Beats Studio3 headphones from source issues to Bluetooth glitches so you can enjoy clear audio again.
6 days ago