Repairing Speaker Wiring on Onkyo HTS 3900
Understanding the Onkyo HTS 3900
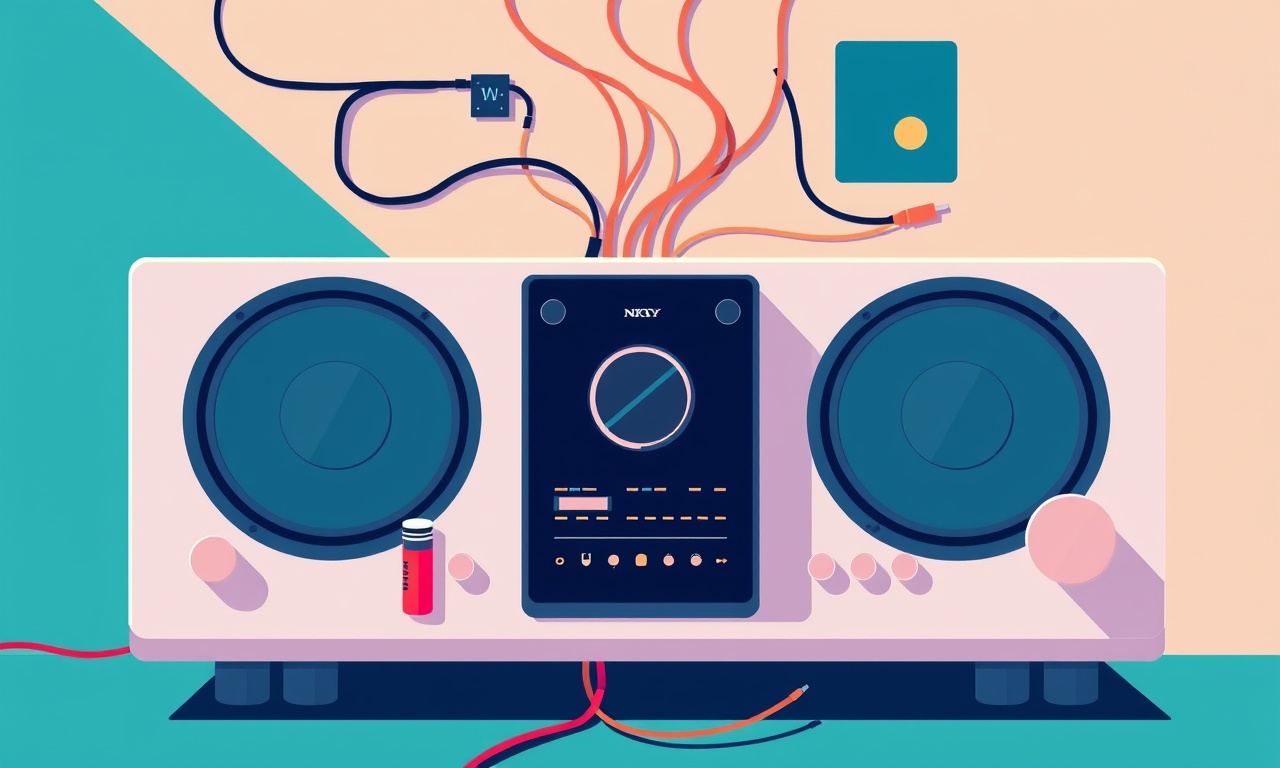
The Onkyo HTS 3900 is a popular home theater soundbar that delivers clear dialogue and immersive surround sound. Like any electronic device, it can develop faults over time. One common issue is a loss of audio from one or more speaker channels. In many cases the culprit is damaged or loose wiring inside the soundbar. Replacing or repairing these wires can restore full functionality without the expense of a new unit.
The following guide walks you through the process step‑by‑step. It covers the tools you need, safety precautions, how to locate the speaker connections, how to diagnose the problem, the exact steps to repair or replace the wires, and how to test the soundbar after you’re done. All instructions are written in plain English and follow the required format.
Tools and Safety
Before you begin, gather the supplies below and take a moment to read the safety warnings.
Supplies Needed
- Phillips‑head screwdriver (size 2 or 3)
- Flat‑head screwdriver or a small pry tool
- Wire strippers (2‑inch or 3‑inch)
- Heat shrink tubing (1‑inch or 1.5‑inch) and a heat source (like a small hair dryer or soldering iron)
- Electrical tape
- Replacement speaker wire (15‑AWG or 16‑AWG, depending on the original)
- Multimeter (for checking continuity)
- Small plastic or rubber gloves (optional but recommended)
- A clean, flat work surface
Safety Tips
- Unplug the unit: Disconnect the soundbar from the wall outlet and from any audio source. Let it sit for at least five minutes so that any stored charge can dissipate.
- Work in a dry area: Avoid working near water or other liquids.
- Keep your work area free of clutter: A tidy workspace reduces the risk of dropping tools or damaging delicate components.
- Wear gloves: If you have sensitive skin or want to avoid accidental cuts, put on gloves.
- Follow polarity: Speaker wires have a positive (+) and a negative (−) side. Reassembling with the wrong polarity can damage the drivers or cause distortion.
Locating the Speaker Connections
The soundbar’s internal layout hides the speaker connections behind a removable panel. Accessing them is a simple mechanical task, but it requires patience.
Step 1 – Remove the Front Panel
- Look at the front of the soundbar. You’ll see a small rectangular area around the lower edge.
- Hold the soundbar with one hand. With the other hand, insert a flat‑head screwdriver into the seam at the top of this area.
- Apply gentle pressure and turn the screwdriver to pry the panel open.
- Once the panel is lifted, you’ll see a series of black plastic connectors and wires.
Step 2 – Identify the Speaker Leads
The HTS 3900 contains a rear sub‑woofer, a left surround speaker, a right surround speaker, and a center channel. Each channel has two wires: a positive and a negative. They are usually color‑coded or labeled:
- Center channel: Often marked with a “C” or a single color.
- Left surround: May have a blue or green marker.
- Right surround: Usually a red or yellow marker.
- Sub‑woofer: Often a black or white pair with no additional labeling.
If you are unsure about the wire colors, proceed to the next section for diagnostics.
Diagnosing Wiring Issues
Before replacing any wire, confirm that the problem is indeed a broken or loose connection. A multimeter is your best friend for this.
Step 1 – Check for Continuity
- Set the multimeter to the continuity or resistance setting.
- Touch one probe to the positive terminal of a speaker and the other probe to the corresponding negative terminal.
- A beep or a reading close to zero indicates a good connection.
- Repeat for each channel.
- If a probe does not pick up a reading or you hear a faint click, that pair is likely damaged.
Step 2 – Inspect for Physical Damage
- Frayed wires: Look for strands of copper exposed or twisted.
- Cracked insulation: Any break in the plastic coating can cause a short or a loss of signal.
- Loose connections: The wires may not be seated firmly in the connector.
If you discover a damaged wire or a loose connection, you’re ready to repair.
Steps to Repair
Below is a systematic approach to replace or repair the affected speaker wire. The process is similar regardless of which channel is affected.
Step 1 – Remove the Damaged Wire
- Carefully pull the wire away from its connector.
- Use a pair of pliers to gently bend the wire away from the plastic housing if it is stuck.
- Once free, use the flat‑head screwdriver to lift the plastic connector and remove the wire completely.
Step 2 – Cut a New Wire Segment
- Measure the length of the old wire.
- Cut a piece of replacement wire that is slightly longer (about 1‑inch extra).
- Strip approximately 1‑inch of insulation from each end using the wire strippers.
- Make sure you expose enough copper to create a solid connection.
Step 3 – Attach the New Wire
- Insert the stripped end of the new wire into the same slot where the old wire was removed.
- Use a small clamp or a plastic connector to secure the wire.
- If the original connector is a spring clip, press the new wire in place until it clicks.
Step 4 – Apply Heat Shrink Tubing
- Slide a piece of heat shrink tubing over the new connection, ensuring it covers at least 1‑inch of the stripped area.
- Use the heat source to shrink the tubing.
- Once it is firmly attached, wrap the exposed area with electrical tape for extra protection.
Step 5 – Repeat for the Negative Wire
The negative wire is usually identical to the positive wire. Follow the same process, paying close attention to the polarity.
Important: If you are uncertain about the positive or negative side, test the polarity with a small multimeter set to DC voltage before finalizing the connection.
Step 6 – Reassemble the Front Panel
- Align the plastic connector back into the panel.
- Press firmly until the panel snaps back into place.
- Verify that all connectors are seated and that no wires are pinched.
Reassembling and Testing
After the repairs are complete, you must test the soundbar to confirm that audio is restored.
Step 1 – Power On
- Plug the soundbar back into the wall outlet.
- Connect it to an audio source (e.g., TV or streaming device).
Step 2 – Check Each Channel
- Play a test tone or a movie with distinct left, right, center, and surround sounds.
- Move the sound source from one side of the room to the other to test each speaker.
- If any channel remains silent, double‑check the corresponding wire for continuity.
Step 3 – Verify Sub‑woofer
- Some models allow you to play a dedicated sub‑woofer test tone.
- Ensure the low‑frequency sound is present and clear.
Step 4 – Final Safety Check
- Inspect the repaired areas for any loose heat shrink or exposed copper.
- Make sure the soundbar is stable and that no tools are left inside the unit.
If everything sounds correct, you’ve successfully repaired the speaker wiring.
Common Mistakes and Tips
Even a careful repair can go wrong if you overlook a small detail. Here are some pitfalls to avoid and tips that can help you finish with a perfect result.
Mistake #1 – Using the Wrong Wire Gauge
If the replacement wire is too thin, it may sag under tension and eventually break. Too thick a wire may not fit in the original connector. Stick to the original gauge (typically 15‑AWG or 16‑AWG for this model).
Mistake #2 – Incorrect Polarity
Connecting the positive and negative wires reversed can cause distortion or a short. A quick continuity test before final assembly can catch this error.
Mistake #3 – Leaving Exposed Copper
When the heat shrink tubing shrinks, it should cover all exposed copper. Any visible strands increase the risk of short circuits.
Mistake #4 – Not Securing the Panel
A loose front panel can vibrate and damage the internal connectors over time. Make sure the panel clicks firmly back into place.
Tip – Keep a Spare Wire
It’s good practice to keep a spare speaker wire in a toolbox. Should another channel fail in the future, you can replace it quickly without needing to purchase new parts.
Tip – Label the New Wire
If you’re unsure about which wire belongs to which channel, write a small note on the wire or use a piece of masking tape to mark the positive and negative ends. This saves confusion if you need to make another repair later.
Conclusion
Repairing speaker wiring on an Onkyo HTS 3900 is a straightforward task when approached methodically. By following the steps above—removing the front panel, diagnosing the fault with a multimeter, replacing the damaged wire with proper gauge and insulation, and finally testing each channel—you can restore full audio performance to your soundbar.
This guide provides a thorough, step‑by‑step approach that respects safety, precision, and the specific design of the HTS 3900. With patience and the right tools, a small repair can breathe new life into a beloved home entertainment system.
Discussion (9)
Join the Discussion
Your comment has been submitted for moderation.
Random Posts

Maytag M2011 Microwave Error Code 12, Troubleshooting Tips
Error Code 12 on a Maytag M2011 signals a power or high voltage fault. Follow a step by step guide to inspect the transformer, diode, and connections, and restore your microwave without costly repairs.
4 weeks ago

Strategy to Avoid Unresponsive Power Button on Sonoff Smart Plug S40
Keep your Sonoff S40 button responsive by learning why it fails and how to prevent it with simple care, firmware updates, and smart habits.
1 year ago

AVer CAM3400 Microphone Silences Voice When Using Zoom
Find out why your AVer CAM3400 mic cuts out on Zoom, learn step-by-step fixes, and know when to call a pro to keep your audio loud and clear.
9 months ago

Correcting a Fan Speed Oscillation on the Lasko LS7500 Tower Heater
Learn how to stop the Lasko LS7500 fan from wavering by clearing dust, checking bearings and tightening connections, simple steps that restore steady heat and prolong your heater’s life.
9 months ago

Fix Sony SmartCam Indoor Noise Interference
Discover why your Sony SmartCam hisses, crackles, or distorts indoors, learn to spot power, cord and wireless culprits, and fix the noise with simple, lasting solutions.
3 weeks ago
Latest Posts

Fixing the Eufy RoboVac 15C Battery Drain Post Firmware Update
Fix the Eufy RoboVac 15C battery drain after firmware update with our quick guide: understand the changes, identify the cause, and follow step by step fixes to restore full runtime.
5 days ago

Solve Reolink Argus 3 Battery Drain When Using PIR Motion Sensor
Learn why the Argus 3 battery drains fast with the PIR sensor on and follow simple steps to fix it, extend runtime, and keep your camera ready without sacrificing motion detection.
5 days ago

Resolving Sound Distortion on Beats Studio3 Wireless Headphones
Learn how to pinpoint and fix common distortion in Beats Studio3 headphones from source issues to Bluetooth glitches so you can enjoy clear audio again.
6 days ago