Repairing Speaker Wiring on TCL HT7K Home Theater
Understanding the Wiring in Your TCL HT7K Home Theater
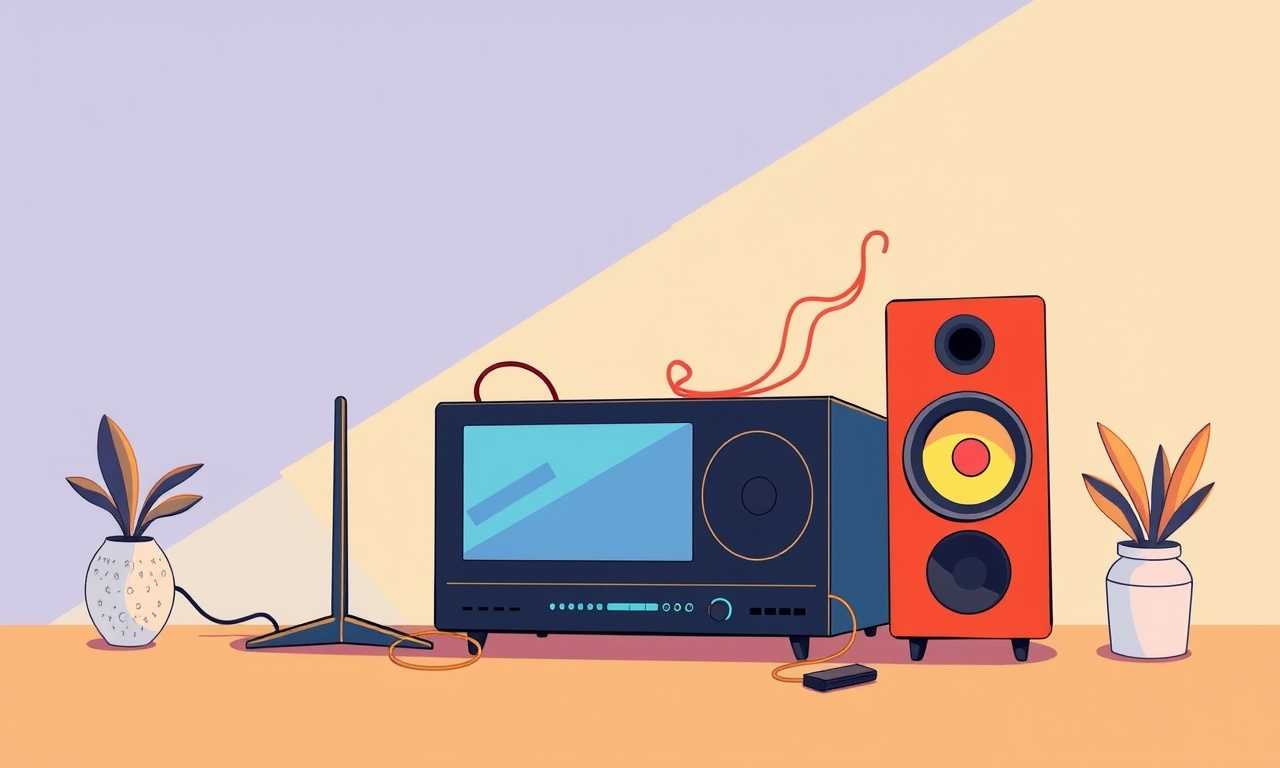
The TCL HT7K is a compact, integrated home theater system that delivers immersive audio through a built‑in 5.1 speaker layout. Over time, the wiring that connects the internal speaker modules can loosen, fray, or break, especially if the unit is moved or bumped. A faulty speaker connection can manifest as a missing channel, a distorted sound, or a complete loss of audio on one side of the room.
Repairing the speaker wiring is a safe, straightforward task that can restore your system to its original performance without the need for expensive parts or a professional technician. This guide walks you through every step, from diagnosis to final testing, with clear instructions and helpful visuals.
What You’ll Need
- Small Phillips screwdriver (size #0)
- Flat‑head screwdriver (small)
- Wire strippers
- Electrical tape or heat‑shrink tubing
- Multimeter (for continuity testing)
- Replacement speaker wire (if required, 20 AWG or 18 AWG)
- Permanent marker
- Optional: small flashlight or headlamp for better visibility
Safety First
-
Power Off
Unplug the HT7K from the wall outlet. A power source running through the unit can cause electrical shock if you touch live components. -
Avoid Static
Work on a non‑conductive surface. If you have an anti‑static wrist strap, use it to prevent static discharge that could damage sensitive electronics. -
Handle with Care
The internal components are fragile. Apply gentle force when separating plastic housings or unplugging connectors. Avoid pulling on cables; instead, pull on the connector housings.
Step 1: Open the Back Cover
The back panel of the HT7K is held together by two small Phillips screws on the bottom edge.
- Remove the screws with your Phillips screwdriver.
- Slide the back panel gently outward. A small notch on the panel guides it away from the main body.
- Lift the panel to expose the internal circuitry.
Tip: If the panel feels stuck, a flashlight will help you locate any additional screws or clips that might be holding it in place.
Step 2: Identify the Speaker Connections
The HT7K houses five main speakers: front left, front right, center, subwoofer, and rear surround (right and left). Each speaker is connected to a dedicated port on the internal board.
- Locate the speaker cable bundles. They are typically grouped by channel and run along the side of the board.
- Each bundle ends in a tinned copper connector that plugs into the board.
Tip: Use a permanent marker to label each cable with its corresponding speaker (e.g., FL, FR, C, SW, RL, RR). This will prevent confusion during reassembly.
Step 3: Inspect for Visible Damage
-
Check the Connectors
- Look for bent pins, missing contacts, or corrosion.
- Inspect the solder joints on the board for cracks or cold solder joints (they look dull and may have a small gap).
-
Examine the Wire Traces
- Follow each cable to the board.
- Ensure there are no frayed strands or exposed metal.
-
Look for Physical Strain
- The cables should not be under tension. If a cable appears pulled tight, it may have been strained during a recent move or mishap.
Step 4: Remove Faulty Connectors
If a connector is damaged or loose:
- Loosen the connector housing: Hold the cable and gently twist the housing counter‑clockwise.
- Pull the cable out of the socket. Avoid tugging on the wire; instead, pull on the connector housing.
If the connector is stuck:
- Use a small flat‑head screwdriver to pry the housing slightly.
- Do not force it; use gentle pressure.
Step 5: Test Continuity
A multimeter set to the continuity mode lets you confirm whether the wire is intact between the cable end and the board.
- Place one probe on the soldered terminal on the board.
- Place the other probe on the corresponding spot on the cable end.
- Listen for a click (or watch the LED indicator).
- If no continuity is detected, the wire is broken and must be replaced or rewired.
Step 6: Repair or Replace the Wire
Option A: Simple Re‑Soldering
If the problem is a cold solder joint:
- Heat the solder joint with a soldering iron at 350 °C.
- Add fresh solder and re‑flow the joint.
- Ensure the connection is smooth and has no gaps.
Option B: Replace the Wire Segment
If the wire is frayed or broken:
-
Cut the damaged section with a wire cutter.
-
Strip about 5 mm of insulation from both ends.
-
Twist the copper strands together to create a neat braid.
-
Tin the twisted ends by applying a small amount of solder.
-
Attach the new wire segment to the board:
- Insert the tinned end into the board socket.
- Re‑solder the joint for a solid connection.
-
Secure the new wire with a short piece of heat‑shrink tubing or electrical tape to prevent future fraying.
Step 7: Re‑Connect the Speakers
- Align the connector housing with the board socket.
- Insert the housing until it clicks into place.
- Press gently to ensure a snug fit.
- Confirm that each cable is in its correct channel, referencing your labels.
Step 8: Reassemble the Back Panel
- Place the back panel back over the unit.
- Align the mounting holes.
- Press the panel firmly to seat the clips.
- Secure the screws back in place.
Step 9: Test the System
- Plug the unit back in and power it on.
- Play a test track or use the built‑in test tones to evaluate each speaker channel.
- Listen for correct sound placement:
- Front left/right should produce clear audio.
- Center should carry dialogue.
- Surround should deliver ambient effects.
- Subwoofer should produce low‑frequency bass.
- Check for distortion or dead channels.
- Re‑test continuity if you suspect any residual issues.
Troubleshooting Common Issues
| Symptom | Likely Cause | Fix |
|---|---|---|
| No audio from one speaker | Loose connector or broken wire | Re‑solder or replace the cable |
| Distorted or low‑quality audio | Poor solder joint or frayed wire | Clean and re‑solder |
| Audio only on one side of the room | Cable frayed on one side | Replace the damaged segment |
| Power flickering when speaker changes | Overloaded internal power rail | Not recommended to repair; consult a professional |
Helpful Tips and Best Practices
- Label all wires before starting. It saves time and reduces mistakes.
- Use proper tools: Cheap or worn tools can damage connectors.
- Work in a well‑lit area: Even a small flashlight can help you see small solder joints.
- Keep a clean workspace: Avoid attracting dust or debris onto the board.
- Avoid over‑tightening screws; they should hold the panel securely but not crush the plastic.
- Document the process: Take a photo of the wiring before you begin. It helps you verify your work when you reassemble.
Final Thoughts
Repairing the speaker wiring in a TCL HT7K home theater is a practical way to extend the life of your system and maintain the sound quality you enjoy. By following these steps carefully, you can address common wiring issues without costly repairs or replacements. Remember that patience and precision are key: small mistakes in soldering or connector placement can lead to larger problems down the line.
With your HT7K back in top shape, you can dive back into movies, music, and gaming with the confidence that your audio system is delivering the immersive experience it was designed for.
Discussion (5)
Join the Discussion
Your comment has been submitted for moderation.
Random Posts

Maytag M2011 Microwave Error Code 12, Troubleshooting Tips
Error Code 12 on a Maytag M2011 signals a power or high voltage fault. Follow a step by step guide to inspect the transformer, diode, and connections, and restore your microwave without costly repairs.
4 weeks ago

Strategy to Avoid Unresponsive Power Button on Sonoff Smart Plug S40
Keep your Sonoff S40 button responsive by learning why it fails and how to prevent it with simple care, firmware updates, and smart habits.
1 year ago

AVer CAM3400 Microphone Silences Voice When Using Zoom
Find out why your AVer CAM3400 mic cuts out on Zoom, learn step-by-step fixes, and know when to call a pro to keep your audio loud and clear.
9 months ago

Correcting a Fan Speed Oscillation on the Lasko LS7500 Tower Heater
Learn how to stop the Lasko LS7500 fan from wavering by clearing dust, checking bearings and tightening connections, simple steps that restore steady heat and prolong your heater’s life.
9 months ago

Fix Sony SmartCam Indoor Noise Interference
Discover why your Sony SmartCam hisses, crackles, or distorts indoors, learn to spot power, cord and wireless culprits, and fix the noise with simple, lasting solutions.
3 weeks ago
Latest Posts

Fixing the Eufy RoboVac 15C Battery Drain Post Firmware Update
Fix the Eufy RoboVac 15C battery drain after firmware update with our quick guide: understand the changes, identify the cause, and follow step by step fixes to restore full runtime.
5 days ago

Solve Reolink Argus 3 Battery Drain When Using PIR Motion Sensor
Learn why the Argus 3 battery drains fast with the PIR sensor on and follow simple steps to fix it, extend runtime, and keep your camera ready without sacrificing motion detection.
5 days ago

Resolving Sound Distortion on Beats Studio3 Wireless Headphones
Learn how to pinpoint and fix common distortion in Beats Studio3 headphones from source issues to Bluetooth glitches so you can enjoy clear audio again.
6 days ago