Resolve Nest Cam IQ Outdoor Power Issues
Introduction
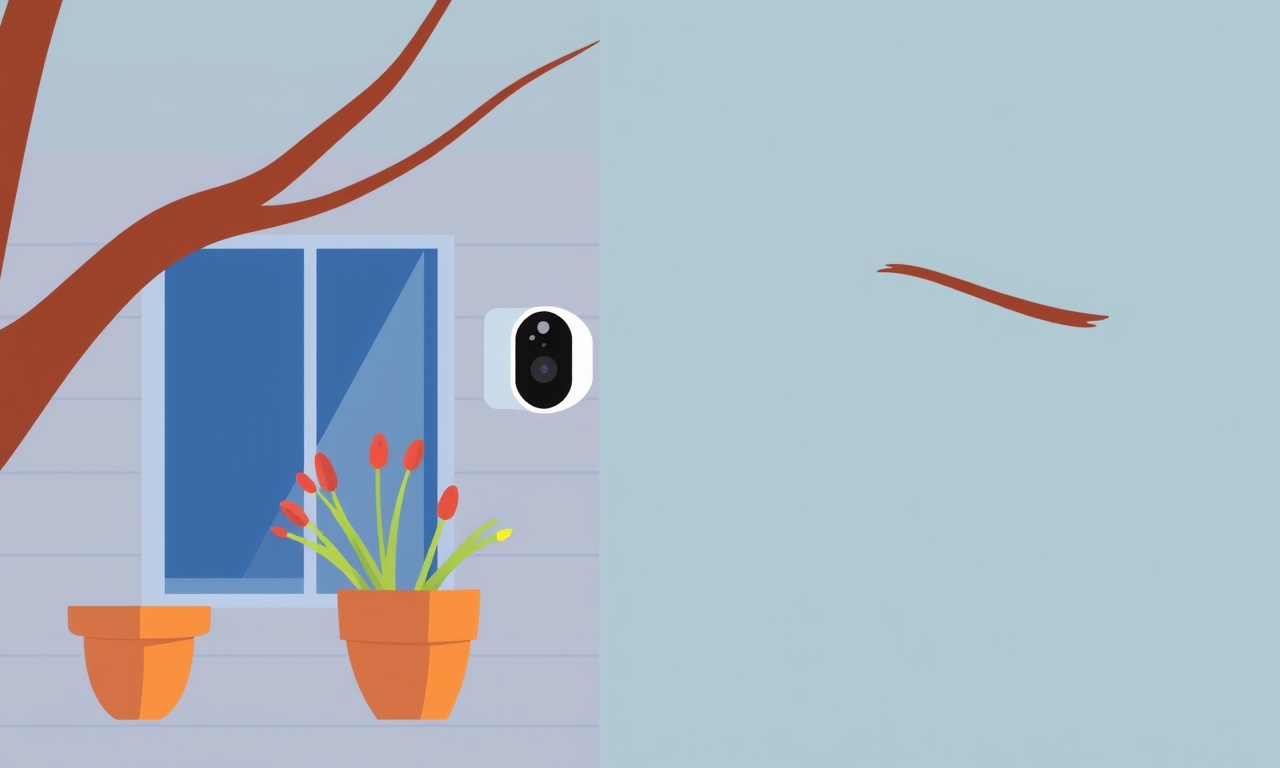
When you first install a Nest Cam IQ Outdoor, the sense of peace that comes from knowing your home is being watched 24/7 is undeniable. Yet, the very next day a flickering light or an unexplained disconnect can quickly erode that calm. Power problems are among the most common headaches that owners face with this high‑end security camera.
This article walks you through every step you need to know to diagnose, fix, and prevent power issues with your Nest Cam IQ Outdoor. From simple wiring checks to advanced power‑conditioning techniques, you’ll be equipped to keep the camera running smoothly for years to come.
Nest Cam IQ Outdoor Power Architecture
Before diving into troubleshooting, it’s useful to understand how the camera gets its juice. The Nest Cam IQ Outdoor is designed to be installed outdoors, which means it must tolerate a wide range of temperatures, humidity, and weather conditions while maintaining a stable power supply.
What powers the camera?
| Component | Power source | Typical voltage | Current draw |
|---|---|---|---|
| Main camera unit | 12‑V AC adapter (wall‑mounted) | 12 V | 600 mA |
| Backup battery | Lithium‑ion 4.8 V, 1.4 Ah | 4.8 V | ~0.6 A during charging |
| Power supply circuit | Internal switching regulator | 12 V to 5 V conversion | 0.4 A at peak |
- AC Adapter – The most common setup. The camera is supplied by a 12‑V AC adapter that plugs into a 110‑V/220‑V wall outlet. The adapter’s rating is usually 12 V/1 A.
- Battery Backup – A built‑in lithium‑ion battery stores energy during outages. When the AC supply fails, the camera automatically switches to the battery.
- Regulation – Inside the camera, a switching regulator converts 12 V to the 5 V required for the internal processor and sensors.
Why do power issues happen?
- Loose or corroded connections – Outdoor exposure can cause connectors to loosen or corrode, leading to intermittent power.
- Voltage drop – Long cable runs or thin gauge wiring can drop voltage below the minimum needed.
- Adapter failure – Even a seemingly functional adapter can have internal faults that only show up under load.
- Environmental stress – Temperature extremes and moisture can affect both the adapter and the cable.
- Battery aging – Over time the internal battery loses capacity, reducing backup runtime and potentially causing false power‑failure signals.
Common Power Symptoms
Recognizing the symptom early can save time and prevent data loss.
- Red LED flashing – Indicates a low‑power state or charging issue.
- Camera disconnects every few minutes – Suggests a loose connection or voltage drop.
- Battery icon on the app remains low – May mean the backup battery is dying or not charging.
- “No power” message in the Nest app – Could point to a failed adapter or wiring problem.
If you see any of these, start with the basic checks below.
Step‑by‑Step Troubleshooting Guide
1. Inspect the AC Adapter
- Visual check – Look for fraying, kinks, or discoloration on the cable.
- Connector integrity – Ensure the plug fits snugly into both the wall outlet and the camera’s power socket.
- Adapter output – Use a multimeter to confirm the adapter outputs 12 V ±5 %. A drop below 11.4 V is a red flag.
If the adapter shows any sign of failure, replace it with a new one that matches the original spec (12 V/1 A).
2. Examine the Cable Path
- Cable gauge – The camera’s spec sheet recommends at least 18‑AWG for distances up to 30 ft. Anything thicker reduces voltage drop.
- Length – Every 10 ft of cable adds roughly 0.2 V drop at 0.6 A.
- Protection – Outdoor cables should be UV‑protected and buried at least 12 in below the surface.
- Connectors – Tighten all screw terminals and remove any corrosion with a contact cleaner.
If your cable exceeds the recommended length or gauge, consider replacing it with a thicker one or installing a power distribution box closer to the camera.
3. Verify the Camera’s Power Indicator
- LED status – A steady green LED means the camera is fully powered.
- Red LED – A blinking red LED typically means the battery is not charging or the adapter output is too low.
- No LED – Either no power or a complete failure of the power module.
Check the indicator immediately after plugging in. A change within the first minute often points to an adapter or cable problem.
4. Test the Battery Backup
- Check battery health – In the Nest app, tap the camera’s battery icon. If it shows “Battery low” repeatedly, the battery may be near the end of its life.
- Remove the battery – Power the camera solely through the AC adapter for 24 hrs. If the camera stays online, the battery is likely at fault.
- Recharge cycle – Disconnect the adapter, let the camera run until the battery depletes, then reconnect. Monitor charging time. A significantly longer charge time signals battery degradation.
If the battery is failing, contact Nest support for a replacement. Many batteries last 5–7 years in normal use.
5. Check for Environmental Interference
- Temperature extremes – The camera is rated for −10 °C to 50 °C. If it operates outside this range, power regulation can falter.
- Moisture – Inspect the power socket for condensation. If present, let the camera dry out before reconnecting.
- Wind and vibration – A camera mounted on a weak pole may have its cable move enough to loosen the plug. Secure the cable with zip ties.
Advanced Power Fixes
If basic checks don’t resolve the issue, try these more technical solutions.
A. Add a UPS or Power Conditioner
- Uninterruptible Power Supply (UPS) – A small UPS can smooth voltage spikes and provide backup when the mains cut out.
- Power conditioner – This device cleans noise and filters surges, protecting the camera’s regulator.
Place the UPS between the wall outlet and the camera adapter.
B. Use a Dedicated Outdoor Power Module
Some installers opt for a weather‑sealed power distribution box that houses the adapter, surge protection, and a cable pass‑through. This keeps the delicate camera plug isolated from the elements.
C. Upgrade to a Higher‑Current Adapter
If you’re running multiple Nest cameras from a single circuit, consider a 12 V/2 A adapter. The extra headroom reduces the chance of voltage sag during peak load times.
D. Replace the Camera’s Power Socket
Sometimes the problem lies inside the camera. A faulty power jack can be replaced by a qualified technician. If you’re comfortable with electronics, you can desolder the old socket and solder a new, higher‑quality one. However, this may void your warranty.
Power‑Management Tips for Long‑Term Reliability
- Regularly Clean Connectors – Dust, salt, and grime accumulate. Use a compressed‑air duster or a dry cloth.
- Use Outdoor‑Grade Cables – Invest in cables rated for outdoor use; they have better insulation and UV resistance.
- Install Weather‑Sealed Enclosures – If your camera is in a harsh environment, mount it inside a small enclosure with a ventilation hole.
- Schedule Battery Health Checks – Every 6 months, use the Nest app to review battery status and plan replacements early.
- Keep Firmware Updated – Nest often releases updates that include power‑management improvements.
- Avoid Over‑loading Circuits – A single 12 V outlet should not feed more than three cameras to prevent voltage sag.
Common Questions
What should I do if my camera still shows “No Power” after replacing the adapter and cable?
If the LED remains off and the Nest app reports no power, the problem likely lies inside the camera. Contact Nest support or a certified technician. It could be a broken internal power board or a failed regulator.
Is it safe to use a higher‑current adapter?
Yes, as long as the voltage remains at 12 V ±5 %. A 12 V/2 A adapter will not harm the camera; it merely offers more margin. Avoid adapters that output 5 V or 15 V, as those are outside the camera’s specifications.
Can I install the camera on a solar panel?
The Nest Cam IQ Outdoor is not designed for direct solar power. However, you can use a small solar panel to charge the backup battery if you connect it to an appropriate solar charger. This setup requires careful voltage regulation and is not officially supported by Nest.
Why does my camera’s battery icon keep flashing low even when plugged in?
The camera may be unable to charge the battery because the adapter’s output is insufficient or the internal charger is malfunctioning. Replace the adapter or seek professional repair.
Should I use a surge protector?
Yes, especially if your area experiences frequent lightning strikes or electrical surges. A surge protector rated for 12 V systems can shield the camera from voltage spikes.
Final Thoughts
A Nest Cam IQ Outdoor should be a reliable line of defense for your home, not a source of constant worry. By understanding the camera’s power architecture, recognizing the symptoms of trouble, and following the systematic troubleshooting steps outlined above, you can quickly identify and fix most power‑related issues.
Even after repairs, maintaining good habits—cleaning connectors, monitoring battery health, and protecting the power supply from the elements—will keep your camera running smoothly. Remember that the Nest ecosystem is designed to be user‑friendly, but a little know‑how goes a long way in preserving that convenience.
With these tools in your arsenal, you’ll be able to keep your Nest Cam IQ Outdoor powered up and ready to guard your home every day.
Discussion (9)
Join the Discussion
Your comment has been submitted for moderation.
Random Posts

Analyzing iPhone 13 Pro Max Apple Pay Transaction Declines After Software Update
After the latest iOS update, iPhone 13 Pro Max users see more Apple Pay declines. This guide explains the technical cause, how to diagnose the issue, and steps to fix payment reliability.
2 months ago

Dyson AM15 Mist Not Spreading What Causes It And How To Repair
Find out why your Dyson AM15 Mist isn’t misting, learn the common causes, and follow our step, by, step guide to restore full misting performance quickly.
2 months ago

Adjusting the Neato Botvac D6 for Unexpected Cleaning Pause
Learn why your Neato Botvac D6 pauses, diagnose the issue, and tweak settings for smooth, uninterrupted cleaning.
11 months ago

Quelling LG OLED G1 Picture Loop at Startup
Stop the LG OLED G1 picture loop that stutters at startup, follow these clear steps to diagnose software glitches, adjust settings, and restore a smooth launch every time.
4 months ago

Resolving Room Acoustics Calibration on Samsung HW Q990T
Calibrate your Samsung HW, Q990T to your room's acoustics and unlock true cinema-quality sound, every dialogue and subtle score becomes crystal clear.
1 month ago
Latest Posts

Fixing the Eufy RoboVac 15C Battery Drain Post Firmware Update
Fix the Eufy RoboVac 15C battery drain after firmware update with our quick guide: understand the changes, identify the cause, and follow step by step fixes to restore full runtime.
5 days ago

Solve Reolink Argus 3 Battery Drain When Using PIR Motion Sensor
Learn why the Argus 3 battery drains fast with the PIR sensor on and follow simple steps to fix it, extend runtime, and keep your camera ready without sacrificing motion detection.
5 days ago

Resolving Sound Distortion on Beats Studio3 Wireless Headphones
Learn how to pinpoint and fix common distortion in Beats Studio3 headphones from source issues to Bluetooth glitches so you can enjoy clear audio again.
6 days ago