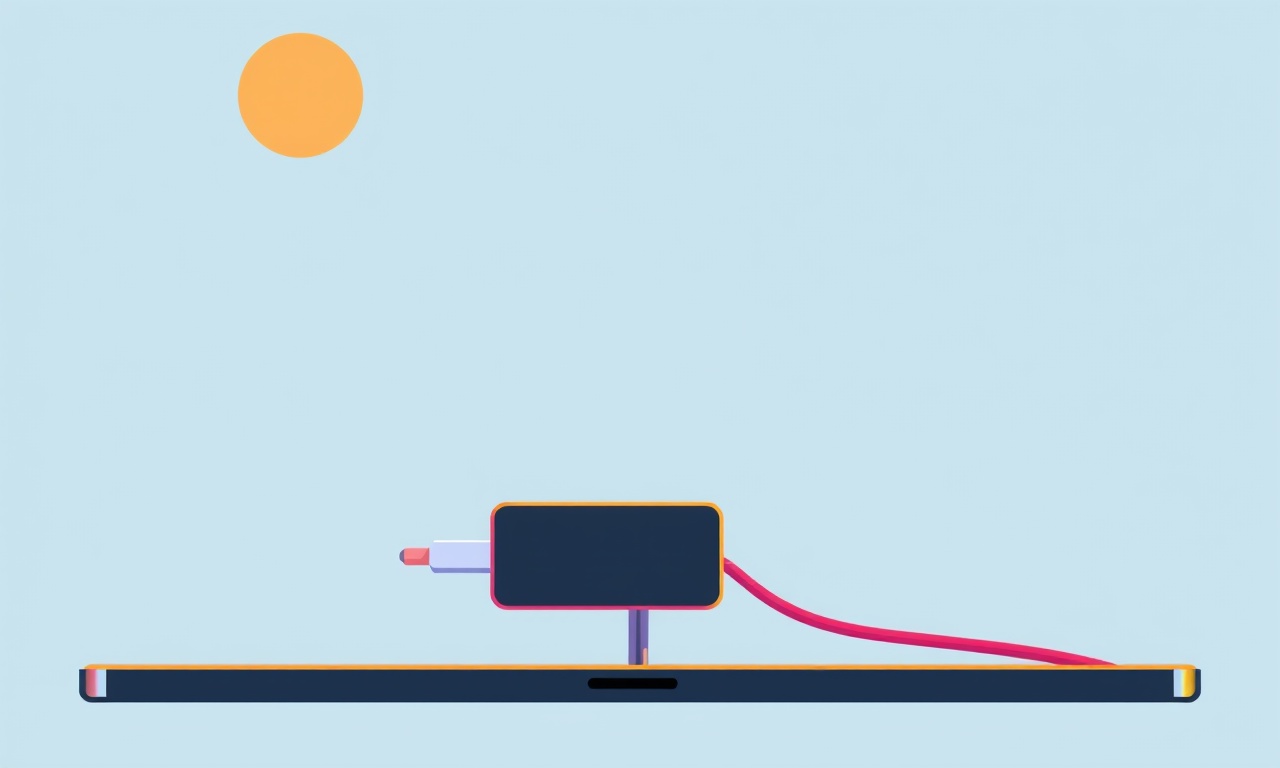
Restoring Apple iPhone 15 Pro Power Delivery Issues With MagSafe Charger
The Role of Power Delivery in the iPhone 15 Pro Experience
A fast, reliable charge is not just a convenience; it is a core part of the iPhone 15 Pro’s user experience. Apple’s implementation of Power Delivery (PD) with MagSafe charging has set a new standard for wireless power transfer, combining the magnetic alignment of MagSafe with the high‑power capabilities of USB‑C PD. When the system works as intended, a single 15 W MagSafe charger can bring the battery from zero to about 50 % in under 30 minutes. However, a growing number of users report intermittent charging, lower power output, or the dreaded “Charging not supported” message. Understanding the root causes and knowing how to address them can save time, frustration, and potentially expensive repairs.
Why Power Delivery Matters for the iPhone 15 Pro
The iPhone 15 Pro’s battery is larger than its predecessors, but it also supports higher peak wattage. The device’s firmware negotiates power levels with any PD‑compliant source. When the charger and phone agree, the phone requests the maximum wattage the charger can safely supply—typically 15 W for the stock MagSafe charger. If either side fails to communicate properly, the phone falls back to lower wattage or refuses to charge.
Several factors influence this negotiation:
- The physical state of the MagSafe magnet and connector
- The integrity of the USB‑C PD cable
- The firmware version on the phone
- External heat or ambient temperature
- The presence of other accessories attached to the charger
When one or more of these variables is off, the phone may report “Power Delivery not supported” or “Unable to charge,” and the battery percentage may plateau or decline while the phone is plugged in.
Common Symptoms of MagSafe Power Delivery Problems
Before diving into fixes, it helps to identify the specific symptom you are experiencing. The following list covers the most frequent problems reported by iPhone 15 Pro users:
- No charging indicator – The status bar shows a battery icon but the charge level does not increase.
- Battery percentage stops at a certain point – The phone charges to 60 % then stalls.
- Error message on the lock screen – “Power Delivery not supported” or “Unable to charge.”
- Slow charging – Reaching 50 % takes longer than 30 minutes.
- Phone heats up excessively – The device becomes noticeably warm during charging.
Each symptom points to different potential causes, so a systematic approach is essential.
Step‑by‑Step Troubleshooting Guide
Below is a comprehensive checklist that starts with the simplest solutions and progresses to more advanced techniques. Working through the steps in order maximizes the likelihood of resolving the issue without unnecessary effort.
1. Verify the Charger Is Intact and Rated Correctly
- Confirm that you are using the official Apple 15 W MagSafe charger. Third‑party chargers often lack the proper magnetic alignment or power rating.
- Inspect the charging block for visible damage, scorch marks, or an odor of burnt plastic.
2. Check the MagSafe Connector on the Phone
- Ensure the magnetic surface on the back of the iPhone 15 Pro is clean. Use a microfiber cloth to remove fingerprints or dust.
- Look for scratches, dents, or any foreign objects that could interfere with the magnetic attachment.
3. Inspect and Clean the Charging Cable
- The MagSafe charger comes with a USB‑C to Lightning cable that must be intact. Look for kinks, frayed insulation, or broken connectors.
- Use a flashlight to examine the cable’s interior for any internal damage.
4. Test With a Different Power Source
- Connect the MagSafe charger to a different wall outlet or power strip. Some outlets provide inconsistent voltage, which can affect PD negotiation.
- If you have access to a USB‑C charger rated at 20 W or higher, plug the MagSafe cable into it to see if the phone charges at a higher wattage.
5. Try a Direct Wired Charge
- Disconnect the MagSafe charger and plug the USB‑C cable directly into a USB‑C power adapter (e.g., 20 W).
- If the phone charges properly, the issue likely lies with the MagSafe magnetic attachment rather than the cable or charger.
6. Update iOS to the Latest Version
- Navigate to Settings → General → Software Update.
- Install any pending updates. Apple often releases fixes for charging bugs, especially after a new iOS release.
7. Restart the iPhone
- Press and hold the side button and either volume button until the slider appears.
- Slide to power off, wait 10 seconds, then power on by pressing the side button.
8. Reset All Settings
- Go to Settings → General → Transfer or Reset iPhone → Reset → Reset All Settings.
- This action does not delete apps or data but clears network, privacy, and personalization settings that might interfere with PD.
9. Restore the iPhone via iTunes or Finder
- Connect the iPhone to a computer, open iTunes (macOS Mojave or earlier) or Finder (macOS Catalina or later).
- Select the device and choose “Restore iPhone.”
- After the restore, set up the device as new and test the MagSafe charger.
Note: Always back up your data before performing a full restore.
10. Inspect the USB‑C Port for Damage
- Look inside the USB‑C port for bent pins or debris.
- Gently blow or use a compressed‑air brush to clear any obstructions.
11. Test With a Third‑Party MagSafe‑Compatible Charger
- If you have access to a reputable third‑party MagSafe charger (e.g., Anker, Belkin) that matches the 15 W rating, try it.
- A successful charge with a different charger indicates the original charger is defective.
Advanced Diagnostic Techniques
If the basic troubleshooting steps do not resolve the issue, more detailed diagnostics are necessary. These methods involve deeper inspection of the device’s hardware and firmware, often requiring professional tools or expertise.
A. Use Diagnostic Software to Read Power Data
Apple’s “Diagnostics and Usage” feature, accessible via a wired connection to a Mac, can log power delivery parameters. While Apple does not publicly document these logs, third‑party tools (e.g., iMazing, Dr.Fone) can retrieve battery health and charging statistics. Analyzing this data can reveal whether the phone is requesting lower wattage than the charger is capable of delivering.
B. Check for Physical Damage to the Charging Circuitry
In rare cases, the charging IC on the logic board may be damaged due to accidental drops or exposure to moisture. Signs include:
- The phone does not charge at all, even with a new charger and cable.
- The phone charges intermittently, sometimes only when the phone is on low‑power mode.
A professional repair technician can use a magnifying glass or microscope to inspect the charging pads on the logic board for cracks or corrosion.
C. Evaluate Heat Generation Patterns
Excessive heat during charging often points to a mismatch in power negotiation. If the phone’s temperature rises above 35 °C (95 °F) while charging, consider:
- Removing any heavy accessories (e.g., cases) that may trap heat.
- Charging in a cooler environment.
Consistent overheating during charging, regardless of the charger used, is a strong indicator of hardware failure.
Hardware Repair Options
When software solutions fail, hardware repairs may be necessary. The following steps outline the typical repair workflow and options for the consumer.
1. Contact Apple Support
- Apple’s warranty covers accidental damage only if you have AppleCare+.
- If the device is still under the standard 90‑day warranty, Apple can replace the charging port or entire logic board at no charge.
2. Visit an Apple Store or Authorized Service Provider
- Bring the iPhone and charger to the store.
- Request a diagnostic test; the technician will confirm whether the issue lies with the charger, cable, or phone.
3. DIY Repair (Not Recommended for Most Users)
If you have technical expertise, you can attempt to replace the charging port:
- Acquire a compatible iPhone 15 Pro charging port replacement kit.
- Use a precision screwdriver set to remove the rear glass panel.
- Disconnect the logic board carefully, then replace the port.
Caution: This process voids any remaining warranty and carries the risk of damaging the logic board.
Preventive Measures to Avoid Future Power Delivery Issues
Even if you have already solved a charging problem, following these best practices can help prevent recurrence.
- Use only Apple‑approved accessories: Stick to Apple’s MagSafe chargers, cables, and cases that specify compatibility.
- Keep the charging area clean: Regularly wipe the back of the phone and the charger with a dry microfiber cloth.
- Avoid extreme temperatures: Charge in a room with a temperature between 15 °C and 35 °C.
- Handle with care: Do not force the charger into the port; the magnet should guide it into place.
- Update software promptly: Apple’s updates often include fixes for charging bugs and hardware compatibility improvements.
- Monitor battery health: In Settings → Battery → Battery Health, keep the maximum capacity above 80 % to ensure optimal charging efficiency.
When to Seek Professional Help
While many charging issues can be resolved with the steps above, some situations warrant professional intervention:
- Persistent charging failures after firmware updates
- Physical damage to the phone’s rear glass or frame
- Repeated overheating during charging
- Unknown error codes or messages that do not correspond to standard iOS error screens
Professional technicians have access to specialized diagnostic tools and replacement parts that are not available to consumers. Contacting Apple Support or visiting an authorized service provider is the safest route.
Final Thoughts
The iPhone 15 Pro’s integration of Power Delivery with MagSafe offers a convenient, fast charging experience that is hard to beat. When the system malfunctions, the frustration is understandable, but it is rarely permanent. By following a structured troubleshooting path—starting with the charger, cable, and phone’s software, then moving to advanced diagnostics and hardware repair—most users can restore full charging functionality.
Remember that many power delivery problems are caused by a single, easily identified factor such as a damaged cable or outdated firmware. Investing a little time in a methodical check can save you from costly repairs and give you back the seamless charging experience that Apple promises.
Discussion (9)
Join the Discussion
Your comment has been submitted for moderation.
Random Posts

Rebooting Google Nest Hub (3rd Gen) to Resolve App Sync Glitches
Stuck with delayed notifications, unresponsive tiles, or stale smart, home data? A simple reboot of your Nest Hub 3rd Gen clears cache, resets processes, and restores smooth app sync.
3 months ago

Fixing Bluetooth Signal Drops on Apple AirPods Pro
Tired of AirPods Pro disconnecting during walks or workouts? Learn why Bluetooth drops happen, how to spot them, and quick fixes - no coding required - to keep audio flowing.
11 months ago

Fixing the Duplexer Failure on a Brother MFC‑J805DW
Learn how to diagnose and replace a faulty duplexer on your Brother MFC, J805DW, restoring double, sided printing with step, by, step instructions for tech, savvy users.
10 months ago

Solving Apple iPhone 13 Pro Camera Rolling Shutter With External Lens
Stop the slanted look from rolling shutter when adding external lenses to your iPhone 13 Pro by tweaking camera settings, choosing the right lens, and using proper stabilization.
9 months ago

Restoring Bandwidth on Amazon Eero Mesh 6 Pro After a Firmware Update
After an Eero Mesh 6 Pro firmware update, bandwidth often drops. This guide explains why the change occurs and walks you through quick steps to restore full speed and a stable connection for work and play.
8 months ago
Latest Posts

Fixing the Eufy RoboVac 15C Battery Drain Post Firmware Update
Fix the Eufy RoboVac 15C battery drain after firmware update with our quick guide: understand the changes, identify the cause, and follow step by step fixes to restore full runtime.
5 days ago

Solve Reolink Argus 3 Battery Drain When Using PIR Motion Sensor
Learn why the Argus 3 battery drains fast with the PIR sensor on and follow simple steps to fix it, extend runtime, and keep your camera ready without sacrificing motion detection.
5 days ago

Resolving Sound Distortion on Beats Studio3 Wireless Headphones
Learn how to pinpoint and fix common distortion in Beats Studio3 headphones from source issues to Bluetooth glitches so you can enjoy clear audio again.
6 days ago