Samsung RF28R7202SR Oven Door Lock Malfunction, Quick Resolution
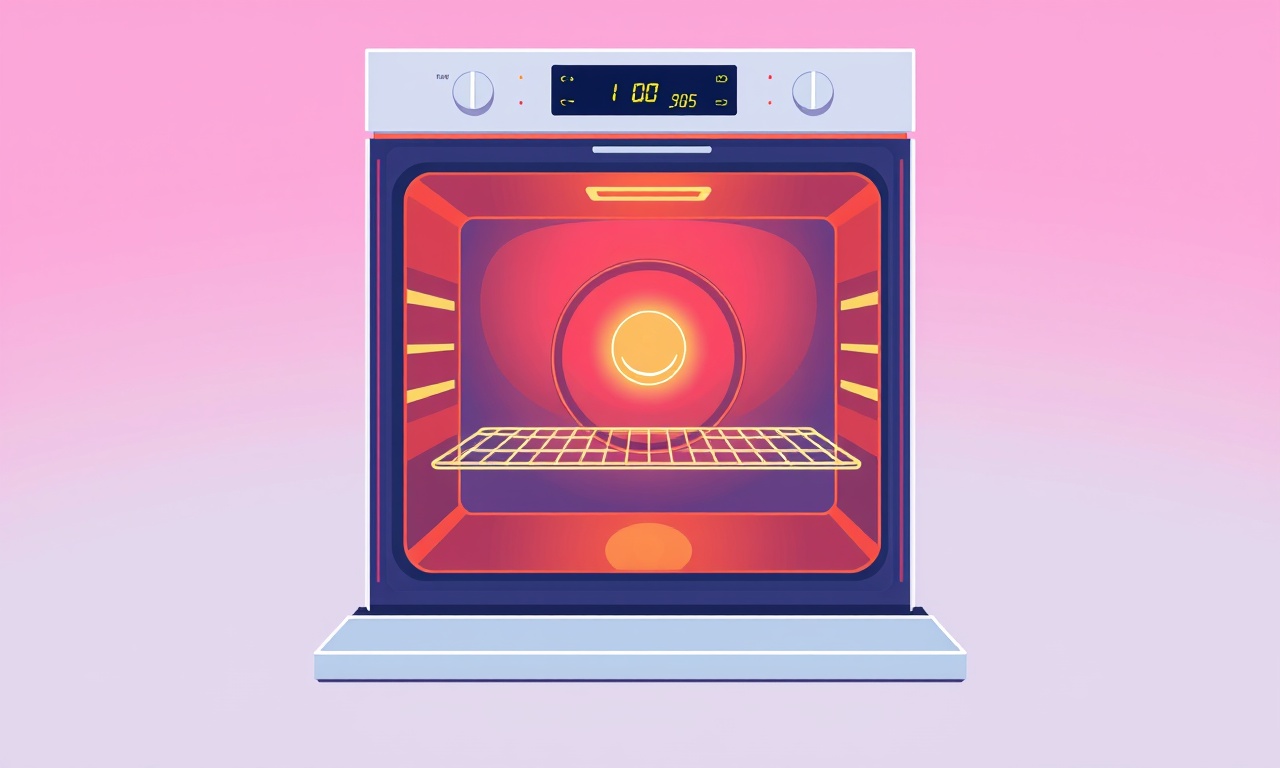
Samsung RF28R7202SR Oven Door Lock Malfunction, Quick Resolution
When a kitchen appliance stops functioning correctly, it can turn a routine meal preparation into a frustrating ordeal. One common problem reported by Samsung RF28R7202SR owners is a malfunctioning oven door lock. A stuck or unresponsive lock not only prevents you from using the oven but can also pose a safety hazard. In this guide, we’ll walk you through a clear, step‑by‑step method to diagnose and resolve the issue quickly, keeping your kitchen running smoothly.
Understanding the Door Lock System
The RF28R7202SR is a combination microwave and convection oven. Its door lock mechanism is designed to secure the door while the appliance is in operation, ensuring safety and preventing accidental burns. The lock engages when the oven is powered on and disengages when the door is opened or the power cycle is completed.
Key components of the lock system
- Electric solenoid – pulls the locking bar into place when activated.
- Control board – sends power to the solenoid based on sensor input.
- Door latch – the physical bar that clicks into the door frame.
- Safety sensors – detect whether the door is fully closed before allowing power to flow.
When any of these components fail or become misaligned, the lock will not engage or disengage as expected.
Symptom Checklist
Before diving into repairs, confirm that the problem matches the door lock malfunction scenario. Check for the following symptoms:
- The door cannot be opened after the oven finishes cooking.
- The oven display shows “Door Locked” or “Lock Engaged” even though the door is open.
- You hear a faint click when trying to open the door, but the latch remains stuck.
- The oven does not start or stops mid‑cycle with a lock error.
- You observe a small gap between the door and the frame when it is supposedly closed.
If only one of these symptoms appears, the issue may be related to a sensor or a simple reset problem. If multiple symptoms coexist, deeper troubleshooting is warranted.
Quick Check: Power Cycle and Safety Reset
The first step in any appliance malfunction is a simple power reset. Most Samsung ovens will release the lock when the system is restarted.
- Turn the oven off – Press the power button or unplug it from the wall outlet.
- Wait – Leave the appliance disconnected for at least 60 seconds.
- Reconnect – Plug the oven back in or press the power button again.
- Test – Close the door gently and let the oven start a short cycle (30 seconds).
- Open – Try to open the door after the cycle completes.
If the lock disengages normally, you have a temporary fix. However, if the problem persists, proceed to the next steps.
Step‑by‑Step Troubleshooting
Below is a comprehensive guide that covers all possible causes, from electrical faults to mechanical misalignment. Use the bullet list to keep track of each step.
1. Inspect the Door Latch Mechanism
- Remove the front panel – Open the oven door fully, then locate the screws securing the front panel on the interior side.
- Detach the panel – Carefully pry it off to expose the latch assembly.
- Check for obstructions – Ensure no debris or food residue has jammed the latch or the solenoid housing.
- Test the latch manually – Move the latch bar back and forth. It should slide smoothly without resistance.
- Realign if necessary – If the latch is slightly crooked, adjust the mounting screws to bring it back in line with the frame.
2. Verify Solenoid Functionality
The electric solenoid is the heart of the lock system. It is usually a small rectangular component with two wires.
- Locate the solenoid – It sits near the latch housing.
- Check wiring – Look for frayed or disconnected wires. Tighten any loose connections with a screwdriver.
- Measure voltage – Using a multimeter set to AC voltage, test the solenoid terminals while the oven is powered on and the door is closed. You should see about 120 V (or the local mains voltage).
- No voltage? – If the solenoid shows no voltage, the control board may be faulty, or a fuse may have blown.
3. Examine Control Board and Sensors
The control board interprets signals from door sensors and supplies power to the solenoid. A failure here can lock the door permanently.
- Locate the main control board – Usually at the top or rear of the oven.
- Check for visible damage – Look for burn marks, blown capacitors, or loose components.
- Test the door sensor – The sensor is often a small magnet and a reed switch on the door frame.
- Use a multimeter set to continuity.
- With the door closed, the reed switch should close (show continuity).
- With the door open, it should open (no continuity).
- If continuity does not change, replace the sensor.
4. Reset Safety Interlock
Many Samsung ovens have a safety interlock that prevents operation when the door is not fully closed.
- Locate the interlock switch – It is a small lever or button on the door edge.
- Check for free movement – Ensure the lever moves freely without sticking.
- Clean the switch – Apply a small amount of contact cleaner.
- Test the oven – Start a brief cycle to see if the interlock now clears.
5. Replace Faulty Components
If the steps above identify a damaged part, replace it. Typical replacements include:
- Door latch – Available from Samsung parts dealers or authorized retailers.
- Solenoid – Must match the model number.
- Door sensor – Usually a magnet and reed switch pair.
- Control board – Should be replaced only if all other components test fine.
Always disconnect power before replacing any part. Use the correct screw sizes and keep track of any retaining clips.
Quick Fix: Manual Release
If you cannot access the inside of the oven immediately, a temporary manual release can help.
- Turn the oven off – Ensure the power is off.
- Press and hold the “Cancel” button – This may reset the lock state.
- Attempt to open – Some models allow manual unlocking by pulling a lever located near the base of the door.
This method is not a permanent solution but can free the oven for immediate use while you arrange for a proper repair.
When to Call Professional Service
Even with thorough troubleshooting, some issues remain beyond a DIY fix. Contact a Samsung service technician if:
- The control board shows internal damage or cannot be re‑programmed.
- The oven exhibits other electrical faults (e.g., random power loss).
- The door lock remains engaged after all components have been replaced.
- You are uncomfortable performing any electrical work.
A certified technician can safely disassemble, diagnose, and replace components while ensuring warranty coverage remains intact.
Preventive Maintenance Tips
Prevent future lock malfunctions with regular upkeep:
- Keep the door and latch clean – Wipe the latch area after each use.
- Inspect the door seal – A worn seal can prevent proper latch engagement. Replace the silicone gasket every 12 months.
- Avoid overloading – Do not force the door open or closed; this can strain the latch.
- Regular power checks – Periodically test the oven’s power cycling to catch early electrical issues.
- Schedule annual service – Professional cleaning can spot potential sensor or wiring problems before they fail.
Frequently Asked Questions
Q: How long does it take to replace a faulty door latch?
A: For a homeowner with basic tools, replacement typically takes 30 minutes, provided you have the correct part on hand.
Q: Is the RF28R7202SR compatible with aftermarket door locks?
A: It’s best to use OEM Samsung parts to maintain safety standards and avoid warranty voidance.
Q: Can I use a generic solenoid instead of a Samsung part?
A: No. Solenoids are calibrated to the oven’s voltage and timing specifications. A mismatch can damage the control board.
Q: Will a reset fix a mechanical lock that’s jammed?
A: No. Mechanical jams require physical inspection and adjustment.
Final Thoughts
A door lock malfunction on the Samsung RF28R7202SR can be unsettling, but with a systematic approach you can often resolve it without professional help. Start with a simple power reset, inspect the latch and solenoid, verify sensor continuity, and replace any faulty parts. When in doubt, reach out to a licensed service technician. By maintaining the door system and addressing issues early, you’ll keep your oven safe and functional for years to come.
Discussion (10)
Join the Discussion
Your comment has been submitted for moderation.
Random Posts

Addressing Apple iPhone 14 Pro Max Battery Drain During Gaming Sessions
Learn why iPhone 14 Pro Max batteries drain during gaming, how to diagnose the issue, and practical tweaks to keep you playing longer with less power loss.
5 months ago

Curing iPhone 14 Plus Charging Port Wear After Daily Fast Charge Cycles
Fast charging can loosen your iPhone 14 Plus port. Learn to spot slow charging and loose cables, then fix it with simple home tricks or long, term prevention.
6 months ago
Xiaomi Mi SmartGlasses 3 Eye Tracking Error Fix
Fix the eye, tracking issue on Mi SmartGlasses 3 with this step, by, step guide to diagnose, clear errors, and restore functionality without repair.
1 year ago

Overcoming Sony X900H Color Saturation Drift During HDR Playback
Discover how to spot and fix color saturation drift on your Sony X900H during HDR playback, tune settings, correct HDR metadata, and keep your scenes vivid and natural.
4 months ago

Remediating Signal Dropout on Bowers & Wilkins PX8 Noise Cancelling Headphones
Discover why the Bowers & Wilkins PX8 may drop sound and how to fix it by tackling interference, low battery, outdated firmware, obstacles and Bluetooth settings for uninterrupted audio
1 week ago
Latest Posts

Fixing the Eufy RoboVac 15C Battery Drain Post Firmware Update
Fix the Eufy RoboVac 15C battery drain after firmware update with our quick guide: understand the changes, identify the cause, and follow step by step fixes to restore full runtime.
5 days ago

Solve Reolink Argus 3 Battery Drain When Using PIR Motion Sensor
Learn why the Argus 3 battery drains fast with the PIR sensor on and follow simple steps to fix it, extend runtime, and keep your camera ready without sacrificing motion detection.
5 days ago

Resolving Sound Distortion on Beats Studio3 Wireless Headphones
Learn how to pinpoint and fix common distortion in Beats Studio3 headphones from source issues to Bluetooth glitches so you can enjoy clear audio again.
6 days ago