Thermador TSO3650 Microwave Keypad Unresponsive - Restoration Tips
Overview
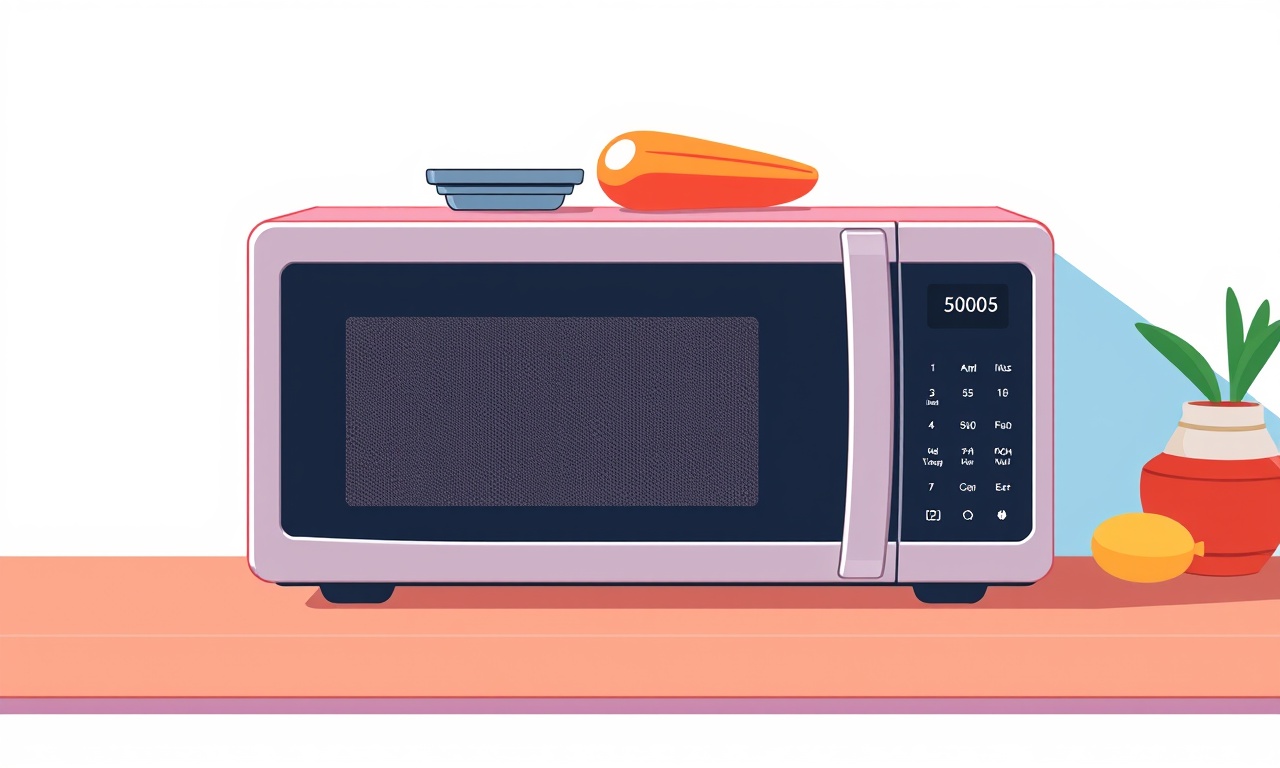
The Thermador TSO3650 microwave is a premium appliance that combines sleek design with powerful performance. When the keypad becomes unresponsive, cooking schedules are disrupted and frustration builds quickly. This guide walks you through a systematic approach to diagnose the issue, perform basic troubleshooting, and decide when professional service is required. By following the steps outlined here, most homeowners can restore full keypad functionality without opening the microwave’s interior.
Common Causes of an Unresponsive Keypad
Understanding why the keypad stops working helps you target the right remedy. The most frequent culprits include:
- Power interruptions – Sudden loss of power or voltage spikes can corrupt the microwave’s electronic memory.
- Moisture exposure – Steam or spilled liquids can seep under the keypad, causing short circuits.
- Dirty contacts – Food residue, grease, or cleaning agents left on the keypad surface can prevent the underlying membrane from making proper contact.
- Faulty ribbon cable – The thin ribbon that links the keypad to the control board can become loose or develop internal breaks.
- Control board failure – Although less common, the electronic control board can develop component failures that manifest as a dead keypad.
Preliminary Checks
Before diving into disassembly, perform a few quick checks that often resolve the problem.
Verify Power Supply
- Ensure the microwave is plugged firmly into a functioning outlet. Test the outlet with a lamp or a voltage tester.
- Look at the microwave’s power cord for signs of wear, fraying, or scorch marks. Replace the cord if any damage is evident.
- If the home has a dedicated circuit breaker for the kitchen, confirm that the breaker is not tripped. Reset it if necessary.
Observe Indicator Lights
- When you press any key, a faint click or a brief illumination of the display should occur. Absence of any response suggests either a power issue or a deeper electronic fault.
Reset the Appliance
A simple power cycle can clear transient errors.
- Turn off the microwave at the wall switch or circuit breaker.
- Wait 60 seconds – this allows capacitors to discharge fully.
- Turn the power back on and test the keypad.
If the keypad still does not respond, move on to the cleaning phase.
Cleaning the Keypad
Dust, grease, and spilled liquids are notorious for interfering with the pressure‑sensitive membrane beneath the keypad. A careful cleaning routine can revive the tactile contacts.
Gather Materials
- Soft, lint‑free cloth
- Mild dish soap
- Warm water
- Isopropyl alcohol (70 % or higher)
- Cotton swabs
- Small flat‑head screwdriver (optional, for gently prying)
Cleaning Procedure
- Unplug the microwave – safety first. Disconnect the appliance from the power source.
- Remove the front panel – most Thermador models feature a removable outer trim that snaps off. Use a flat‑head screwdriver or a plastic pry tool to release the clips around the perimeter. Keep the clips in a safe place.
- Lift the keypad assembly – the keypad is usually held by a few screws and a ribbon cable connector. Unscrew the mounting screws and carefully disconnect the ribbon cable by lifting the locking tab.
- Wipe the surface – dampen the cloth with warm soapy water, wring it out, and gently rub the keypad surface. Avoid soaking the membrane; excess moisture can seep into the electronics.
- Detail cleaning – dip a cotton swab in isopropyl alcohol and clean around each key’s edges. Alcohol evaporates quickly and removes sticky residues that water cannot.
- Dry thoroughly – let the keypad air‑dry for at least 10 minutes. You can also use a dry lint‑free cloth to pat away remaining moisture.
- Reassemble – reconnect the ribbon cable, screw the keypad back in place, snap the outer trim back on, and plug the microwave back in.
- Test – press several keys to verify that each now registers a click and the display updates.
If cleaning does not restore responsiveness, the issue likely resides in the connection between the keypad and the control board.
Inspecting the Ribbon Cable and Connectors
The ribbon cable carries signals from the keypad to the microwave’s main control board. Over time, it can become misaligned or develop internal breaks.
Accessing the Ribbon Cable
- Safety first – unplug the microwave.
- Remove the microwave’s rear panel – most models use four to six Phillips screws. Keep track of the screws; they differ in length.
- Locate the control board – it is a rectangular printed circuit board (PCB) with a series of connectors on one side.
- Identify the keypad connector – it is a thin, flat, black ribbon cable with a small white locking tab.
Inspection Steps
- Visual check – Look for any bent pins, discoloration, or debris on the connector. A loose or dirty connector can prevent signal transmission.
- Firmness test – Gently press the ribbon cable into its socket and then release. It should stay seated without wobbling.
- Cable continuity – If you have a multimeter, set it to continuity mode. Place one probe on the first pin of the ribbon and the other on the corresponding pin on the PCB. A continuous beep indicates a good connection. Repeat for several pins across the cable. Missing continuity suggests a break in the ribbon.
Repair or Replacement
- If the ribbon appears damaged (cracked, torn, or with broken pins), you will need a replacement part. Thermador parts catalogs list the exact ribbon cable number for the TSO3650 model.
- For a loose connector, clean the pins with a small brush and a drop of isopropyl alcohol, then reseat the cable firmly.
After addressing the ribbon, reassemble the microwave and test the keypad again.
Resetting the Control Board
When the keypad hardware checks out but the microwave still does not respond, resetting the control board can clear internal error states.
Hard Reset Procedure
- Unplug the microwave for a full power drain.
- Press and hold the “Start” button for about 10 seconds while the unit remains unplugged. This discharges any residual charge stored in the board’s capacitors.
- Reconnect power and wait a few seconds before trying the keypad.
If the keypad continues to be unresponsive, a firmware glitch or board component failure may be present.
When to Call Professional Service
While many keypad issues are solvable with the steps above, certain conditions warrant a qualified technician’s involvement.
- Persistent failure after cleaning and ribbon inspection – indicates a likely fault within the control board’s microprocessor or power supply module.
- Visible burnt components – any scorch marks, melted plastic, or blown capacitors on the PCB are a safety hazard.
- Microwave does not power on at all – this could be a main fuse or high‑voltage transformer issue, which requires specialized tools.
- Loss of other functions – if the microwave’s display, timer, or turntable motor also stop working, the problem may be systemic.
Thermador’s authorized service network provides certified technicians who can diagnose and replace internal components while maintaining the appliance’s warranty coverage.
Preventive Maintenance Tips
Regular care reduces the likelihood of keypad problems and extends the microwave’s lifespan.
- Wipe the control panel after each use – a damp cloth with mild soap removes steam‑induced residue before it dries.
- Avoid harsh chemicals – bleach, abrasive cleaners, or oil‑based solvents can damage the membrane beneath the keys.
- Use a protective screen – a silicone keyboard cover designed for microwaves shields the keypad from spills while still allowing tactile feedback.
- Check the vent – proper airflow prevents overheating of electronic components, which can cause intermittent failures.
- Schedule annual inspections – a quick visual check by a qualified service technician can catch loose connections before they become a problem.
Frequently Asked Questions
Q: Can a blown fuse cause the keypad to stop working?
A: Yes. The microwave’s main fuse protects the entire appliance, and if it blows, power never reaches the control board. Replacing the fuse restores power to all functions, including the keypad. However, a fuse usually blows due to a larger electrical fault, so investigate the root cause as well.
Q: Is it safe to use water to clean the keypad?
A: Use only a lightly dampened cloth. Excess water can seep into the membrane and cause short circuits. Always unplug the appliance before cleaning.
Q: What does a flashing error code mean?
A: Thermador microwaves display error codes that point to specific problems. For example, “E01” often signals a keypad communication error, while “E04” may indicate a thermal sensor fault. Consult the user manual for a full list of codes and their meanings.
Q: Can I replace the keypad myself?
A: Yes, the keypad assembly is designed for user replacement. Follow the cleaning section’s disassembly steps, purchase the correct OEM part, and reattach the ribbon cable securely. If you are uncomfortable working with the appliance’s interior, seek professional assistance.
Q: Why does the microwave make a clicking sound but the keypad does not light up?
A: The click may come from the magnetron’s internal relay, which can still operate even if the control board receives no keypad input. This situation typically points to a failing control board or a broken keypad ribbon.
Summary
An unresponsive keypad on the Thermador TSO3650 microwave is usually the result of power irregularities, moisture, dirt, or a loose ribbon cable. By systematically performing power verification, cleaning the keypad, inspecting the ribbon, and resetting the control board, most homeowners can restore full functionality without costly repairs. Should these measures fail, professional service is recommended to address potential board failures or safety‑related faults. Regular cleaning, gentle use of the control panel, and periodic inspections will help keep the keypad responsive for years to come.
Discussion (4)
Join the Discussion
Your comment has been submitted for moderation.
Random Posts

Rebooting Google Nest Hub (3rd Gen) to Resolve App Sync Glitches
Stuck with delayed notifications, unresponsive tiles, or stale smart, home data? A simple reboot of your Nest Hub 3rd Gen clears cache, resets processes, and restores smooth app sync.
3 months ago

Fixing Bluetooth Signal Drops on Apple AirPods Pro
Tired of AirPods Pro disconnecting during walks or workouts? Learn why Bluetooth drops happen, how to spot them, and quick fixes - no coding required - to keep audio flowing.
11 months ago

Fixing the Duplexer Failure on a Brother MFC‑J805DW
Learn how to diagnose and replace a faulty duplexer on your Brother MFC, J805DW, restoring double, sided printing with step, by, step instructions for tech, savvy users.
10 months ago

Solving Apple iPhone 13 Pro Camera Rolling Shutter With External Lens
Stop the slanted look from rolling shutter when adding external lenses to your iPhone 13 Pro by tweaking camera settings, choosing the right lens, and using proper stabilization.
9 months ago

Restoring Bandwidth on Amazon Eero Mesh 6 Pro After a Firmware Update
After an Eero Mesh 6 Pro firmware update, bandwidth often drops. This guide explains why the change occurs and walks you through quick steps to restore full speed and a stable connection for work and play.
8 months ago
Latest Posts

Fixing the Eufy RoboVac 15C Battery Drain Post Firmware Update
Fix the Eufy RoboVac 15C battery drain after firmware update with our quick guide: understand the changes, identify the cause, and follow step by step fixes to restore full runtime.
5 days ago

Solve Reolink Argus 3 Battery Drain When Using PIR Motion Sensor
Learn why the Argus 3 battery drains fast with the PIR sensor on and follow simple steps to fix it, extend runtime, and keep your camera ready without sacrificing motion detection.
5 days ago

Resolving Sound Distortion on Beats Studio3 Wireless Headphones
Learn how to pinpoint and fix common distortion in Beats Studio3 headphones from source issues to Bluetooth glitches so you can enjoy clear audio again.
6 days ago