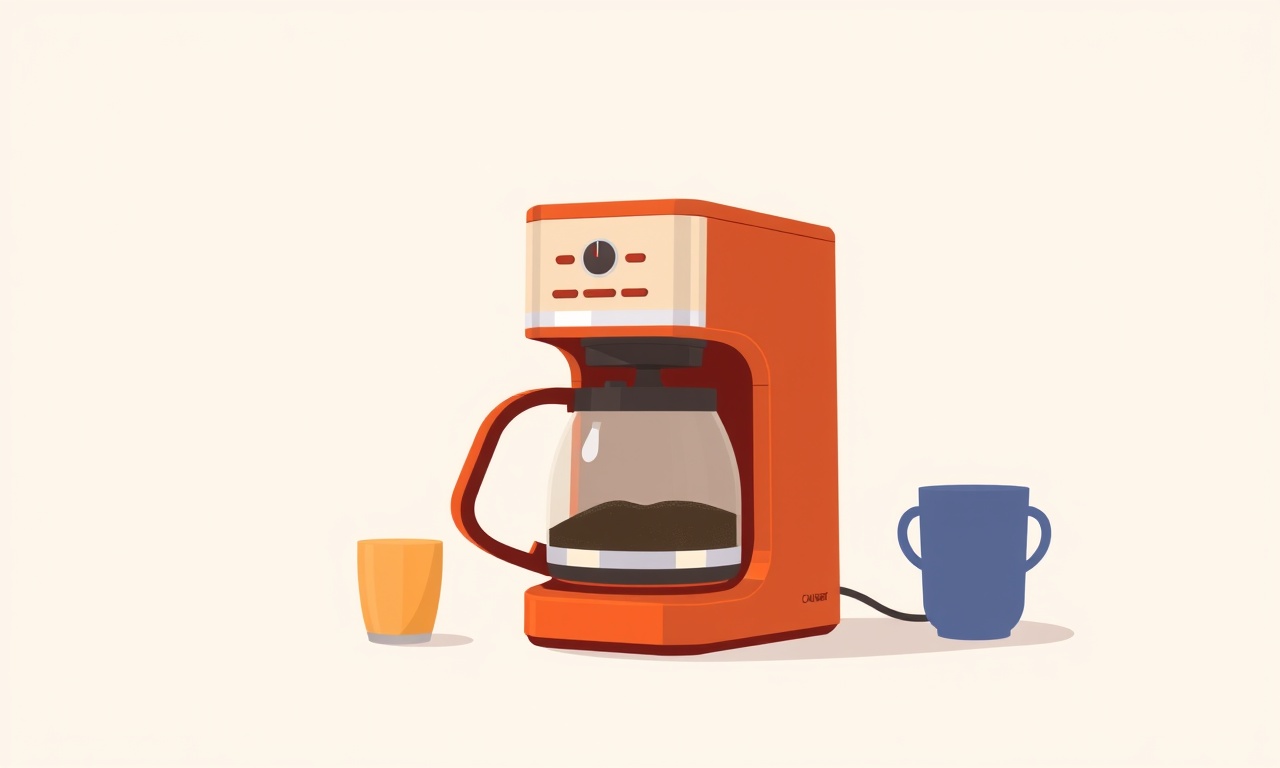
Troubleshoot a Leak on a Cuisinart DCC 3200 Coffee Maker
Welcome to a comprehensive guide on diagnosing and fixing a leak in your Cuisinart DCC 3200 coffee maker.
A dripping machine can ruin your morning routine, waste water, and may indicate a more serious problem.
Follow these instructions carefully, and you’ll likely restore your brewer to full working order without needing a replacement.
Common Causes of Leaks
- Loose or damaged water reservoir seal
- Cracked or warped reservoir
- Mis‑aligned brew basket or filter
- Clogged or bent water pump hoses
- Faulty door latch or gasket
- Mineral buildup in the heating element or water line
- Wear‑and‑tear on internal valves or connections
Knowing the typical culprits helps you narrow down the inspection to the most probable areas.
Safety First
Before you touch any components:
- Unplug the machine from the outlet.
- Let it cool completely; the heating element and internal water can be hot.
- Wait at least 10 minutes after unplugging to allow any residual pressure to release.
- Keep a towel or a container handy in case water runs out during the disassembly.
These simple steps protect you from electrical shock and avoid splashing hot water.
Preparation Checklist
-
Gather tools
- Small flat‑head screwdriver (for the reservoir screws)
- Soft sponge or cloth
- Mild dish soap or a vinegar solution (1:1 vinegar to water)
- Towel or shallow tray
- Replacement gasket or seal if needed (available from Cuisinart’s parts catalog)
-
Clear the workspace
- Place the coffee maker on a stable, water‑proof surface.
- Have a container ready to catch any leaking water.
-
Read the manual
- The user manual contains diagrams and part numbers specific to your model.
- Locate the section on “Cleaning and Maintenance” and “Common Issues.”
With the groundwork laid, you’re ready to identify the source of the leak.
Inspecting the Water Reservoir
The reservoir is the first suspect in most leakage cases.
Step‑by‑Step
- Remove the reservoir by lifting it straight up; the Cuisinart DCC 3200 is designed for quick release.
- Inspect the inner rim for cracks, chips, or warping. A visibly distorted reservoir will need replacement.
- Check the rubber seal that sits around the rim. If it looks brittle, swollen, or uneven, it’s time to replace it.
- Clean the reservoir with warm soapy water, rinse, and dry thoroughly before re‑installing.
If the reservoir appears intact but still leaks, the problem might be with the sealing mechanism where it meets the main body.
Checking the Door Seal
The door seal ensures no water escapes while the machine is in use. A worn seal can be the culprit.
- Close the reservoir lid firmly and look for any gaps or discoloration on the rubber gasket.
- Gently press the seal; it should compress and snap back. If it flexes too easily or feels loose, replace it.
- Verify that the latch engages correctly. A mis‑aligned latch can leave the reservoir slightly open, causing seepage.
Replacing the gasket is straightforward:
- Loosen the screws holding the reservoir in place (usually two on the side).
- Slide out the old gasket and slide in the new one.
- Tighten the screws and re‑install the reservoir.
A snug, intact seal will eliminate minor leaks that often appear at the bottom of the reservoir.
Examining the Brew Basket and Filter
The brew basket is where grounds sit, and the filter holds water in. Leaks can also originate here.
- Remove the basket and check for dents or cracks.
- Inspect the filter holder; if it’s warped, the water will bypass the filter.
- If the basket or holder is damaged, replace them with OEM parts.
- Verify that the basket sits evenly in its compartment; a tilted basket can cause uneven water flow.
After cleaning, re‑install the basket and fill the reservoir again. Monitor for leaks before proceeding.
Inspecting the Pump and Hose
The water pump and its hoses deliver water to the heating element. A kinked or damaged hose can be a source of leakage.
- Locate the hoses: one connects the reservoir to the pump, and another runs from the pump to the water reservoir.
- Gently flex each hose; it should be flexible but not overly stiff.
- Look for visible kinks, cracks, or bulges.
- If you spot damage, replace the hose.
- For the pump, check the inlet and outlet connections; they should be snug. Tighten any loose fittings.
Because the pump is a more complex component, ensure you have a clean, dry work area and avoid touching the electrical contacts with wet hands.
Looking for Cracked or Damaged Parts
Beyond the reservoir and hoses, other internal parts can develop cracks.
- Heating element: If the element is corroded or cracked, it may leak.
- Water inlet valve: A faulty valve can cause water to seep onto the base.
- Internal piping: If you’re comfortable opening the unit, check for loose or broken joints.
If you notice any significant damage, contacting Cuisinart support or a professional repair technician is advised. Many of these parts require specialized tools to replace.
Cleaning and Reassembly
Mineral buildup is a frequent cause of leaks, especially in regions with hard water.
- Create a cleaning solution: Mix one cup of white vinegar with four cups of water.
- Run a cleaning cycle: With the reservoir full of the vinegar solution, start the machine as if brewing coffee. Let the cycle complete.
- Rinse: Empty the reservoir, refill with fresh water, and run another cycle to flush out the vinegar taste.
- Dry: Wipe down all accessible surfaces with a clean cloth.
- Reassemble: Put the reservoir back in place, ensuring the gasket is seated correctly.
- Test: Plug the machine in, run a short brew cycle, and observe if water is still leaking.
A thorough cleaning often resolves minor leaks caused by residue buildup that interferes with seals.
Testing the Machine
After reassembly:
- Fill the reservoir to the maximum line.
- Close the lid and start the machine.
- Watch for leaks at the base, the reservoir seal, and the brew basket.
- Allow the machine to complete the brew cycle, then inspect for any residual water or drips.
If no leakage is observed, your troubleshooting was successful. If leaks persist, revisit the earlier steps; sometimes a subtle misalignment can be the source.
Preventative Maintenance Tips
Keeping your coffee maker in top shape reduces the likelihood of future leaks.
- Descale monthly: Use a descaling solution or a vinegar‑water mix to remove mineral deposits.
- Check the gasket regularly: Inspect for wear after every few months of use.
- Avoid overfilling: Stick to the maximum water line; excess water can force leaks.
- Use filtered or bottled water: Hard water accelerates mineral buildup.
- Clean the filter holder: Residue can cause the holder to loosen over time.
- Inspect hoses annually: Replace any that appear stiff or damaged.
By integrating these habits, you’ll enjoy consistently leak‑free operation.
When to Call a Professional or Replace the Unit
If your troubleshooting did not stop the leak, consider the following options:
- Repair costs exceed 50% of the purchase price: Sometimes replacement is more economical.
- Frequent leaks after cleaning: Indicates deep internal damage.
- Electrical issues: If you notice sparking or malfunctioning switches, discontinue use.
- Warranty coverage: If your coffee maker is still under warranty, contact Cuisinart for service.
Professional technicians have the tools to inspect hidden components and can replace parts that are difficult to reach.
Frequently Asked Questions
Q: Can I use bleach to clean the reservoir?
A: No. Bleach can damage the plastic and leave harmful residues. Stick to soap or vinegar solutions.
Q: Why does water seep out of the side of the reservoir?
A: This usually signals a cracked reservoir or a misaligned seal. Replace the affected part.
Q: Does the leak affect the coffee flavor?
A: Not directly, but mineral buildup can alter taste. Regular descaling preserves flavor.
Q: How often should I replace the gasket?
A: Once every 12–18 months, or sooner if you notice signs of wear.
Q: Is there a risk of electrical shock if water leaks?
A: Yes. Always unplug the machine before inspecting or cleaning any component.
Conclusion
Leaking coffee makers can be frustrating, but most issues are solvable with a systematic approach. By inspecting the reservoir, seals, hoses, and internal components, cleaning thoroughly, and testing carefully, you can often restore your Cuisinart DCC 3200 to leak‑free operation. Follow the maintenance tips to keep your brewer in peak condition, and don’t hesitate to seek professional help when the problem persists. Enjoy a steady stream of fresh coffee, free from unexpected drips.
Discussion (9)
Join the Discussion
Your comment has been submitted for moderation.
Random Posts

Addressing Apple iPhone 14 Pro Max Battery Drain During Gaming Sessions
Learn why iPhone 14 Pro Max batteries drain during gaming, how to diagnose the issue, and practical tweaks to keep you playing longer with less power loss.
5 months ago

Curing iPhone 14 Plus Charging Port Wear After Daily Fast Charge Cycles
Fast charging can loosen your iPhone 14 Plus port. Learn to spot slow charging and loose cables, then fix it with simple home tricks or long, term prevention.
6 months ago
Xiaomi Mi SmartGlasses 3 Eye Tracking Error Fix
Fix the eye, tracking issue on Mi SmartGlasses 3 with this step, by, step guide to diagnose, clear errors, and restore functionality without repair.
1 year ago

Overcoming Sony X900H Color Saturation Drift During HDR Playback
Discover how to spot and fix color saturation drift on your Sony X900H during HDR playback, tune settings, correct HDR metadata, and keep your scenes vivid and natural.
4 months ago

Remediating Signal Dropout on Bowers & Wilkins PX8 Noise Cancelling Headphones
Discover why the Bowers & Wilkins PX8 may drop sound and how to fix it by tackling interference, low battery, outdated firmware, obstacles and Bluetooth settings for uninterrupted audio
1 week ago
Latest Posts

Fixing the Eufy RoboVac 15C Battery Drain Post Firmware Update
Fix the Eufy RoboVac 15C battery drain after firmware update with our quick guide: understand the changes, identify the cause, and follow step by step fixes to restore full runtime.
5 days ago

Solve Reolink Argus 3 Battery Drain When Using PIR Motion Sensor
Learn why the Argus 3 battery drains fast with the PIR sensor on and follow simple steps to fix it, extend runtime, and keep your camera ready without sacrificing motion detection.
5 days ago

Resolving Sound Distortion on Beats Studio3 Wireless Headphones
Learn how to pinpoint and fix common distortion in Beats Studio3 headphones from source issues to Bluetooth glitches so you can enjoy clear audio again.
6 days ago