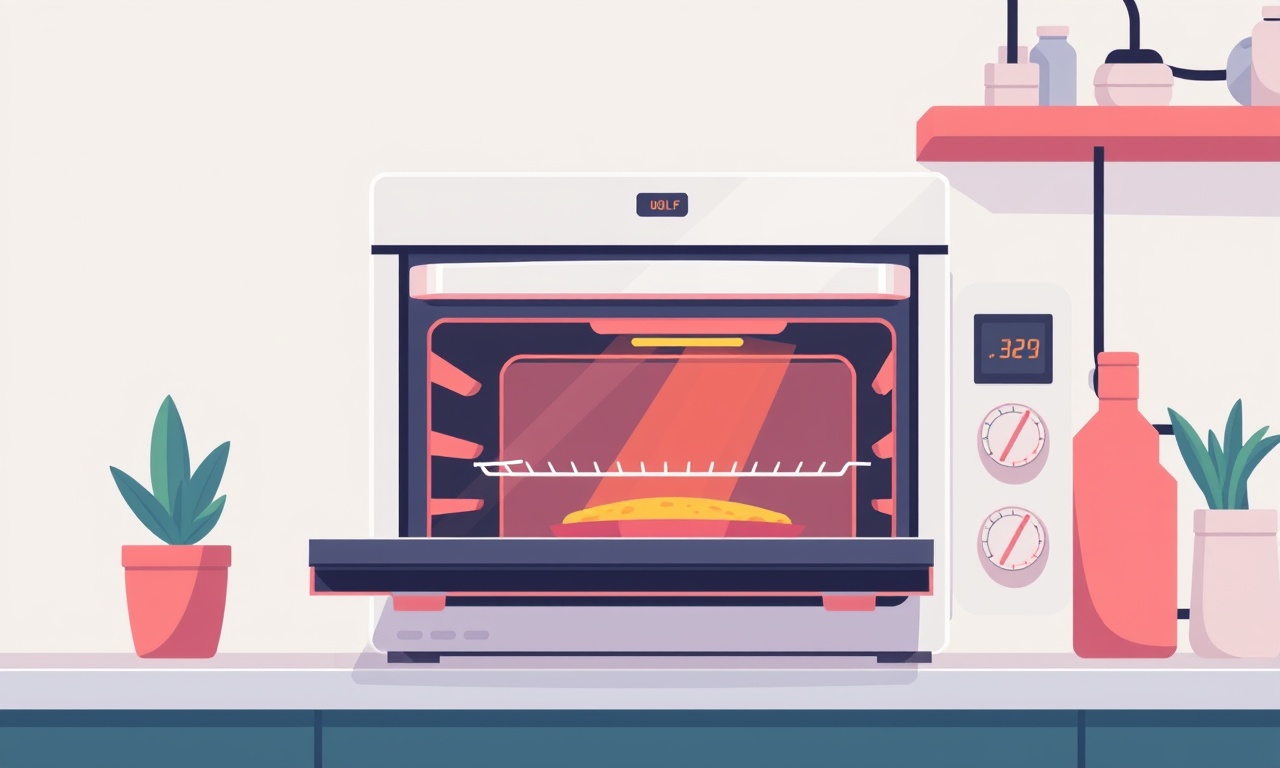
Wolf WCO1010 Oven Light Circuit Triggers Power Surge
A frequent complaint from homeowners who own a Wolf WCO1010 oven is that the oven light appears to trigger a power surge, causing the appliance to shut down or the electrical circuit to trip. Though the problem may seem mysterious, it often points to a straightforward electrical issue within the oven’s internal wiring or lighting system. Below is a comprehensive guide that explains why this happens, how to identify it, and what steps you can take to diagnose and fix the problem safely.
The Problem Overview
When the oven light is turned on, the appliance’s power supply spikes beyond normal operating levels. This sudden increase can overload the breaker or cause the oven’s internal safety systems to shut down. In many cases, the surge is modest but enough to trip a sensitive circuit breaker, especially if the wiring has degraded or a component has become faulty.
The key symptoms are:
- The oven lights up briefly and then the oven shuts off.
- The circuit breaker trips when you switch the oven on or when the light is activated.
- You hear a “click” from the breaker or feel a faint electric shock at the plug when the oven starts.
These symptoms point to an issue in the oven’s light circuit or the wiring that supplies power to the oven’s main components.
How It Happens
The Wolf WCO1010, like most modern ovens, uses a separate circuit to power its interior light. This light is typically a small incandescent or LED bulb mounted on the back wall of the oven cavity. Its wiring is separate from the main control board, yet it still shares the same power supply. If the wiring or the light fixture develops a fault—such as a short circuit, insulation breakdown, or a failing component—the voltage spike can propagate through the oven’s internal circuitry and cause a surge.
Key electrical principles involved:
- Series vs. Parallel Wiring: The light is wired in series with the rest of the oven’s internal components. A fault in the light can affect the entire circuit.
- Voltage Drop and Surge: A short in the light fixture can cause a sudden voltage drop, which the oven’s internal electronics interpret as a surge.
- Breaker Sensitivity: Home circuit breakers are designed to trip quickly on overcurrent. A transient surge from the oven can exceed the breaker's threshold.
Because the surge originates in the light circuit, it is often overlooked during routine maintenance.
Warning Signs
Before diving into a full diagnosis, look for these red flags:
- Frequent Breaker Trips: If the breaker trips only when the oven is turned on or when the light is switched, it points directly to a surge in that area.
- Burnt or Damaged Light Bulb: A bulb that is charred or has a discolored base indicates a potential short.
- Flickering or Dim Light: Fluctuating illumination suggests an unstable power supply.
- Odor or Visible Damage: A burning smell or scorch marks around the light fixture or wiring indicate a fault.
- Unexpected Oven Behavior: The oven may display error codes or shut down unexpectedly when the light is on.
Identifying these signs early can prevent more extensive damage to the oven’s internal components.
Safety First
Electrical work on kitchen appliances can be hazardous. Before you begin, follow these safety steps:
- Unplug the Oven: Disconnect the appliance from the power source at the wall outlet. Never work on a live circuit.
- Verify Power Is Off: Use a non-contact voltage tester to confirm that no voltage is present at the oven terminals or at the light socket.
- Use Insulated Tools: Ensure that all tools have rubberized or insulated handles to reduce shock risk.
- Wear Proper Protective Gear: Gloves and safety glasses protect against accidental contact with live parts and falling debris.
- Keep the Work Area Dry: Moisture increases the risk of electric shock. Work in a dry environment.
If you are uncertain about any part of the procedure, contact a licensed electrician or a professional appliance technician.
Diagnosing the Surge
A systematic approach to troubleshooting helps you pinpoint the root cause without unnecessary disassembly.
1. Test the Circuit with a Multimeter
Once the oven is unplugged:
- Measure Resistance Across the Light Socket: Place the multimeter probes across the socket terminals. A reading close to zero ohms indicates a short. A very high resistance (or infinite) indicates an open circuit.
- Check Voltage When Connected: Reconnect the oven to power and set the multimeter to AC voltage. Turn on the oven and read the voltage at the light socket. A reading significantly higher than the nominal 120V indicates a surge.
2. Inspect the Light Bulb and Socket
- Remove the Bulb: Use a towel or gloves to avoid direct contact. Examine the bulb for cracks, discoloration, or melted insulation.
- Check the Socket: Look for burnt marks, corrosion, or loose connections. Tighten any screws or replace the socket if damaged.
3. Examine the Wiring Harness
- Open the Oven Door: Many models have a panel behind the oven door that protects the light wiring. Use a screwdriver to remove the panel.
- Look for Damage: Inspect for frayed insulation, scorch marks, or loose wires. Pay attention to the connector that joins the light circuit to the main power supply.
4. Check the Control Board
The control board often contains a surge protection device or voltage regulator. A fault here can amplify a small surge into a larger problem.
- Locate the Board: It is usually positioned under the oven’s front panel or behind a removable door.
- Visual Inspection: Look for bulging capacitors, burnt components, or corrosion on the board.
Common Causes
| Cause | Explanation | Typical Fix |
|---|---|---|
| Burnt Light Bulb | Overheating causes the bulb filament to fail, creating a short. | Replace with a bulb of the correct wattage and type. |
| Damaged Socket | Loose contacts or corrosion can cause intermittent shorts. | Tighten screws, clean contacts, or replace socket. |
| Wiring Insulation Failure | Age, heat, or vibration can degrade insulation, allowing wires to touch. | Replace damaged wires, re-insulate or use heat shrink tubing. |
| Faulty Surge Protector | The built-in surge protector on the control board may fail. | Replace the control board or the surge protector component. |
| Improper Wiring Connection | Incorrectly wired circuits can create a loop that triggers a surge. | Re‑wire according to the manufacturer’s schematic. |
| Breaker Sensitivity | A weak or aging breaker can trip on legitimate surges. | Replace the breaker or upgrade to a higher amperage breaker. |
These causes cover the majority of power surge incidents linked to the oven light circuit.
Step‑by‑Step Troubleshooting
Below is a practical guide you can follow, step by step, to resolve most issues.
Step 1: Visual Inspection
- Unplug the oven.
- Remove the oven door panel and examine the light fixture and wiring.
- Check for obvious signs of damage.
Step 2: Replace the Light Bulb
- Pull out the existing bulb.
- Insert a new bulb rated for the oven (usually 30W or as specified).
- Tighten the bulb securely.
- Reinstall the panel and plug the oven back in.
- Turn on the oven and observe if the surge persists.
Step 3: Test the Socket
- With the oven unplugged, remove the socket from the wiring harness.
- Inspect the socket for burn marks or corrosion.
- If damaged, replace it with a new socket that matches the model specifications.
- Reconnect the socket to the harness and secure it.
Step 4: Inspect the Wiring Harness
- Look for frayed insulation or exposed wires.
- Use heat shrink tubing to cover any exposed sections.
- Tighten any loose connections and ensure the harness is firmly seated.
Step 5: Verify the Control Board
- If the surge remains after bulb and socket replacement, access the control board.
- Look for bulging capacitors, burnt traces, or other damage.
- Replace any defective components or the board itself if necessary.
Step 6: Test the Circuit Again
- After completing repairs, plug the oven back in.
- Turn on the oven and observe if the breaker trips or the surge recurs.
- If the problem is resolved, reset the breaker and reattach the plug.
Step 7: Document and Monitor
- Keep a record of the fixes performed.
- Monitor the oven over the next week to ensure the issue does not return.
Electrical Wiring Checks
Identifying Problem Areas
- Wiring Route: The light wiring typically runs from the oven’s power supply to the light fixture behind the back panel.
- Connection Points: Look for connectors that join the light circuit to the main supply.
- Heat Exposure: Wiring near the heating element can degrade due to repeated temperature swings.
Practical Tips
- Use a flashlight to illuminate hidden sections of the wiring.
- Check that all connectors are tight and not loose.
- Ensure that the wiring is routed away from the heating element and insulation is intact.
Light Fixture Inspection
The light fixture is the first line of defense against power surges. It includes the bulb holder, wiring, and sometimes a built‑in fuse.
- Fuse Check: Some models have a fuse in the light circuit. If blown, replace it with the correct rating.
- Holder Condition: Corrosion in the holder can create a short. Clean the contacts with a fine abrasive pad.
- Bulb Compatibility: Verify that the bulb matches the oven’s specified wattage and type. A bulb that draws too much current can create a surge.
Control Board and Power Supply
The control board orchestrates the oven’s functions, including temperature regulation, timer functions, and the power supply to the heating elements and light.
How a Faulty Board Causes Surges
- The board may have a built‑in surge protection circuit. If this fails, the surge can propagate to other components.
- Faulty relays or MOSFETs on the board can cause short circuits when the light is energized.
Repair Options
- Component Replacement: If only one component is damaged, replace it with a new part.
- Board Replacement: If multiple components are faulty or the board is severely damaged, replace the entire board.
- Professional Service: If the board contains proprietary electronics, consider professional servicing.
Testing the Circuit
Once repairs are made, perform a definitive test.
- Voltage Test: With the oven plugged in, measure the voltage at the light socket while the oven is running. It should be close to 120V with a tolerance of ±5V.
- Current Test: Use an ammeter to check the current draw. The light circuit should draw less than 1 amp.
- Breaker Test: Observe the breaker’s behavior. It should not trip under normal operation.
Fixing the Issue
If the troubleshooting steps identify a specific problem—such as a damaged socket, a burnt bulb, or a faulty component—the fix is straightforward.
- Replace Damaged Parts: Use parts listed in the service manual or from a reputable supplier.
- Secure Connections: Tighten all screws and connectors to prevent loose contacts.
- Insulate Exposed Wires: Use heat shrink or electrical tape to protect any exposed conductors.
After repairs, reassemble the oven carefully, ensuring that all panels are aligned and secured.
Replacement Parts
Below is a list of commonly needed replacement parts for the Wolf WCO1010.
| Part | Description | Suggested Source |
|---|---|---|
| 30W LED Light Bulb | Standard bulb for the oven light | OEM suppliers or reputable online retailers |
| Light Socket (Socket and Fuse) | Matches OEM specifications | Authorized Wolf parts distributor |
| Control Board | Full replacement board | Wolf Service or certified repair center |
| Heat Shrink Tubing (1/2”) | For re-insulating wires | Electrical supply stores |
| Capacitors (1 µF, 50V) | Common on control boards | Electronic component suppliers |
| Fuses (25A, 120V) | For light circuit protection | Local hardware stores |
Always verify that parts match the model number and specifications to avoid compatibility issues.
Reassembly and Testing
Reassembly should follow the reverse order of disassembly:
- Reinstall the Light Socket: Secure it in place and test the bulb.
- Reattach the Wiring Harness: Ensure all connectors are tight.
- Replace the Control Board: If replaced, confirm all connections.
- Secure the Panel: Tighten all screws and seal the panel.
- Plug in the Oven: Connect to the power source.
- Run a Functional Test: Set the oven to a low temperature, turn on the light, and observe for any abnormalities.
If everything operates normally and the breaker remains stable, the issue has been resolved.
Prevention Tips
While occasional power surges are unavoidable, you can reduce the risk of future incidents.
- Regular Maintenance: Inspect the oven’s interior light and wiring annually.
- Use a Surge Protector: Plug the oven into a certified surge protector to absorb minor spikes.
- Check Breaker Health: If your breakers are old, consider upgrading to modern, high‑quality breakers that handle short surges better.
- Avoid Overloading Circuits: Keep the oven on a dedicated circuit to avoid shared loads that could compound surges.
- Replace Worn Parts Early: If you notice any wear on the light bulb or socket, replace them immediately.
Proactive care can extend the lifespan of your oven and prevent costly repairs.
When to Call a Professional
If you encounter any of the following situations, it is safest to contact a licensed technician:
- Electrical Damage Beyond Your Comfort Zone: Frayed or exposed wiring that is difficult to repair.
- Control Board Replacement: Requires specialized tools and knowledge.
- Persistent Surge Issues: After multiple attempts, the surge continues to occur.
- Warranty or Service Plans: If your oven is still under warranty, you should contact the manufacturer.
A professional will have access to OEM parts, diagnostic tools, and the expertise required to ensure a safe and reliable repair.
Warranty and Support
Wolf appliances are typically covered by a limited warranty that includes parts and labor for a certain period after purchase. Contact the manufacturer’s customer service department to verify coverage. If your oven is out of warranty, you may still receive a discount on parts or labor from authorized service centers.
Final Thoughts
Power surges triggered by the oven light circuit are a manageable problem if approached systematically. By following the diagnostic steps above, you can identify whether the issue stems from a simple light bulb replacement, a socket repair, or a deeper control board fault. Most importantly, always prioritize safety: unplug the appliance, use insulated tools, and if at any point the repair feels beyond your skill level, seek professional help.
A well‑maintained oven not only offers reliable performance but also protects your kitchen from electrical hazards. Armed with the knowledge and steps outlined in this guide, you can keep your Wolf WCO1010 running smoothly and safely for years to come.
Discussion (8)
Join the Discussion
Your comment has been submitted for moderation.
Random Posts

Reassessing the Audio Jack Dropout on LG Velvet 2
Explore why the LG Velvet 2's 3.5mm jack glitches, what triggers audio dropouts, user fixes, and LG's stance: essential insight for current and future Android phones.
1 year ago

Philips HP700 Fan Stalls Quietly Even At Low Speed Why This Happens And What To Do
Discover why your Philips HP700 quietly stalls at low speed, spot early signs, and fix the issue to keep steady airflow.
2 weeks ago

How to Stop Sharp LC-40M from Producing Audio Sync Issues While Gaming
Fix your Sharp LC-40M so game audio stays in sync. Learn quick settings tweaks, cable checks, and audio-output fixes that keep sound matching action for a flawless gaming experience.
6 months ago

Solve Arlo Pro 4 Wireless Connection Problems
Discover quick fixes for offline Arlo Pro 4 cameras. Check power, Wi, Fi, firmware, reset steps, and more get your live feed back up fast.
4 months ago

Panasonic D45 Dryer Timer Skips Final Drying Cycle
Discover why your Panasonic D45 dryer skips its final cycle, learn the symptoms, root causes, and easy fixes to keep clothes dry, save energy, and avoid extra runs.
5 months ago
Latest Posts

Fixing the Eufy RoboVac 15C Battery Drain Post Firmware Update
Fix the Eufy RoboVac 15C battery drain after firmware update with our quick guide: understand the changes, identify the cause, and follow step by step fixes to restore full runtime.
5 days ago

Solve Reolink Argus 3 Battery Drain When Using PIR Motion Sensor
Learn why the Argus 3 battery drains fast with the PIR sensor on and follow simple steps to fix it, extend runtime, and keep your camera ready without sacrificing motion detection.
5 days ago

Resolving Sound Distortion on Beats Studio3 Wireless Headphones
Learn how to pinpoint and fix common distortion in Beats Studio3 headphones from source issues to Bluetooth glitches so you can enjoy clear audio again.
6 days ago