A Guide to Replacing a Faulty Brew Switch on a Cuisinart DCC-6600
Introduction
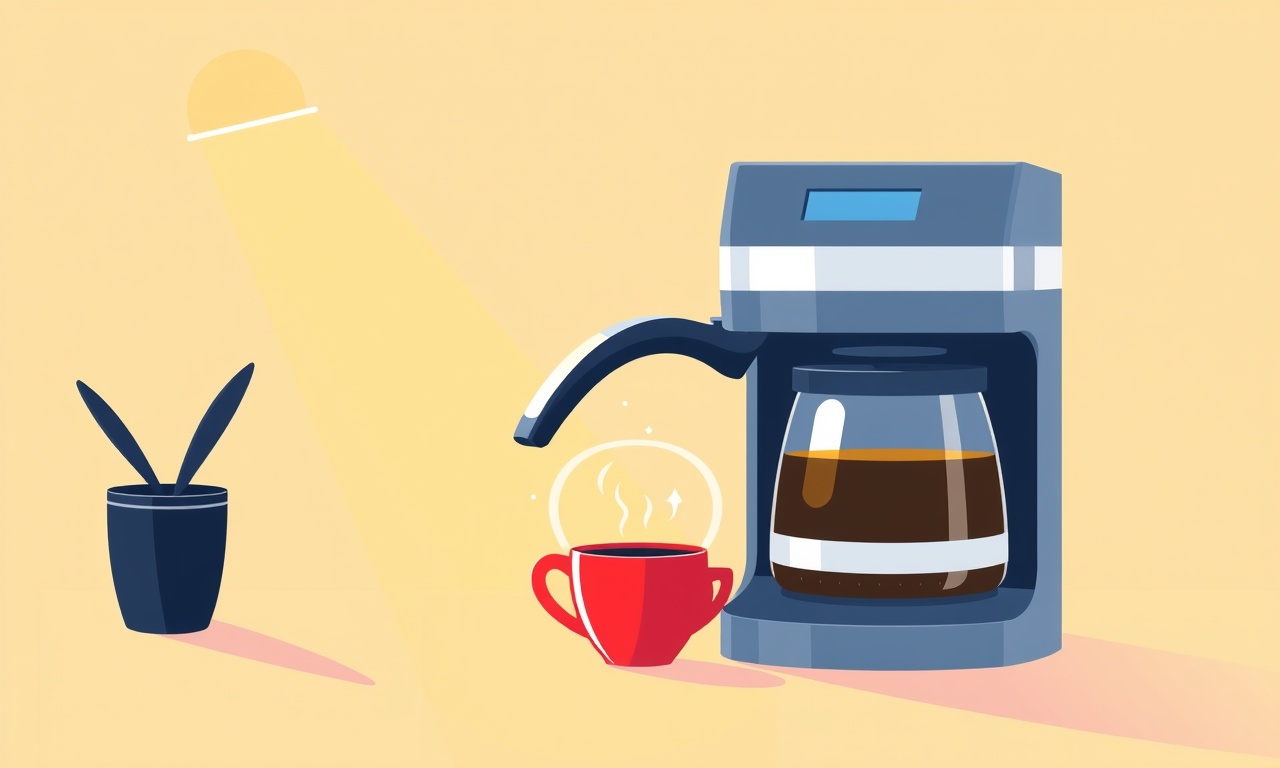
The Cuisinart DCC 6600 is a popular countertop coffee maker that many of us rely on for a quick cup of espresso or a long drip brew. Over time, the brew switch—a small electrical component that starts the brewing cycle—can wear out or become damaged. When this switch fails, the machine may no longer begin brewing or it may shut down unexpectedly. Replacing the faulty brew switch is a straightforward process that can save you from buying a new coffee maker and restore your kitchen’s coffee routine.
This guide walks you through every step of replacing the brew switch on a Cuisinart DCC 6600. Whether you are a beginner or have some DIY experience, you will find clear instructions, safety tips, and a checklist of tools and parts needed to get the job done quickly and safely.
Tools & Parts
Before you begin, gather the following items. Having everything on hand will make the process smoother and reduce the risk of mistakes.
| Item | Why it’s Needed |
|---|---|
| Small Phillips head screwdriver | To remove screws on the outer casing |
| Flat‑head screwdriver | For prying open the plastic housing |
| Replacement brew switch (compatible with Cuisinart DCC 6600) | The new component that will replace the faulty one |
| Safety gloves | Protects hands from sharp edges and potential electrical shock |
| Safety glasses | Keeps eyes safe from any stray parts or debris |
| Insulated tweezers | Helps manipulate small components without touching them |
| Multimeter (voltage and continuity settings) | Verifies that the switch is truly faulty and that the replacement works |
| Plastic spudger or putty knife | Gently pries apart plastic panels without damaging them |
| Work lamp or flashlight | Improves visibility inside tight spaces |
| Optional: soldering iron and solder | If the new switch has leads that need to be soldered instead of inserted |
All these tools are inexpensive and can be kept in a handy toolbox or the kitchen drawer for future maintenance tasks.
Safety Precautions
Working with electrical appliances can be risky. Follow these safety measures to protect yourself and your device.
- Unplug the coffee maker from the wall outlet before starting any work. Even if the machine is turned off, the internal power supply can still hold a charge.
- Avoid touching exposed wires or contacts. Use insulated tools whenever possible.
- Work in a dry, well‑ventilated area to reduce the chance of static discharge or accidental spills of cleaning fluids near the electronics.
- Wear safety gloves and glasses. Small plastic pieces or metal clips can become projectiles if mishandled.
- Check the replacement switch’s specifications (voltage, current rating) to match the original. Using an incompatible part can damage the machine or pose a fire hazard.
- Use a multimeter to confirm that the machine is completely de‑energized before touching internal components.
Disassembly
Removing the outer casing of the Cuisinart DCC 6600 allows you to reach the brew switch. Follow the steps below carefully.
1. Remove the Water Reservoir
The water reservoir sits on the front of the machine. Lift it off and set it aside. This creates extra clearance and prevents any accidental water spillage.
2. Open the Control Panel Cover
Locate the screws holding the control panel cover in place. They are usually hidden under small rubber strips or decorative stickers. Use a Phillips head screwdriver to remove each screw.
- Turn the screwdriver counter‑clockwise until the screw loosens.
- Keep the screws in a small container or magnetic tray to avoid losing them.
3. Pry Off the Control Panel
Once the screws are removed, gently pry the control panel away from the outer housing using a flat‑head screwdriver or plastic spudger. Start at one corner and work your way around.
Tip: If the panel resists, a little light pressure with a plastic putty knife can help. Avoid using metal tools on plastic to prevent scratches.
4. Detach the Power Cord (Optional)
If you plan to inspect the power cord or want extra safety, unplug the power cord from the back of the machine and detach it from the power strip. This step is optional but recommended if you intend to work near the power input.
5. Locate the Brew Switch
Inside the machine, the brew switch is a small rectangular component connected to the main circuit board. It is usually positioned near the control panel wiring harness. You may need to remove a few small wires or connectors to fully expose the switch.
- The switch is often labeled with a symbol or the letters “BWR” (for brew).
- If you cannot see it clearly, refer to the schematic below. (A schematic image can be added here if desired.)
Identifying the Faulty Switch
Before you remove the old switch, confirm that it is indeed defective. A faulty brew switch will show a lack of continuity or fail to conduct when the machine attempts to start.
1. Test for Continuity
Set your multimeter to the continuity or resistance setting. Touch one probe to each terminal of the brew switch. If the meter beeps or shows a low resistance (close to zero ohms), the switch is functioning. A reading of infinite resistance or no beep indicates a broken contact.
2. Check Voltage During Operation
If you can safely power on the machine (with the reservoir removed and water removed to avoid spills), use the multimeter on the voltage setting to check for 120V or 220V supply across the switch terminals while the machine is supposed to start brewing. If there is no voltage or an inconsistent reading, the switch may be faulty or the wiring could be damaged.
3. Inspect for Physical Damage
Look for signs of burn marks, cracked plastic, or melted solder. Any visible damage confirms that the switch should be replaced.
If all tests confirm a failure, proceed to removal.
Removing the Faulty Switch
Once confirmed, you can safely replace the switch.
1. Disconnect the Wiring Harness
The brew switch is connected to a small multi‑wire harness. Use tweezers or a flat‑head screwdriver to gently pry the harness from the switch contacts. Be careful not to pull the harness too hard; the wires are fragile.
2. Remove the Switch from the Circuit Board
The switch may be mounted with a small screw or may simply be inserted into a socket.
- If there is a screw, use a Phillips head screwdriver to loosen it and lift the switch.
- If the switch is socketed, gently slide it out. Some models use a spring‑loaded mechanism; you may need to press a small latch.
3. Clean the Contact Area
With the old switch removed, clean any debris from the contact pins on the circuit board. A gentle brush or compressed air can help remove dust.
Installing the New Switch
The new brew switch should match the specifications of the old one. Installation is a mirror image of removal.
1. Insert the New Switch
Place the new switch onto the circuit board. Align the pins or sockets carefully. If the switch has a screw mount, tighten it gently with a Phillips head screwdriver. If it is socketed, slide it in until it clicks into place.
2. Reconnect the Wiring Harness
Attach the harness back to the new switch. Ensure each wire lands on the correct terminal. Use tweezers to secure them firmly.
3. Verify Connections
Double‑check all wire connections for security. Loose wires can cause intermittent failures or short circuits.
4. Test the Switch (Optional but Recommended)
Before reassembling the entire machine, you can perform a quick test:
- Reconnect the power cord and plug the machine into a grounded outlet.
- Place a small cup of water in the reservoir.
- Turn the machine on and observe whether the brew cycle initiates. A correctly installed switch will allow the machine to start brewing.
If the machine behaves as expected, you can move on to reassembly. If not, double‑check the wiring and soldering (if applicable).
Reassembly
With the new switch in place and confirmed to work, reassemble the machine.
1. Reattach the Control Panel
Slide the control panel back onto its track. Make sure all clips line up and the panel sits flush with the outer housing.
2. Replace the Screws
Insert the previously removed screws into the control panel housing. Tighten them with a Phillips head screwdriver until the panel is secure but not over‑tightened.
3. Place the Water Reservoir
Reattach the water reservoir onto the front of the machine. Ensure it locks into place.
4. Reconnect the Power Cord
If you disconnected the power cord earlier, plug it back into the machine and then into the outlet. Use a grounded outlet to minimize the risk of electric shock.
Testing the Repair
After reassembly, run a full test to ensure the brew switch functions properly.
- Fill the reservoir with clean water.
- Place a filter and coffee grounds in the portafilter (or filter basket, depending on the model).
- Turn on the machine using the power button or start button.
- Observe the brewing cycle: the machine should heat, pressurize, and deliver a steady stream of coffee.
- Check for leaks around the switch area and ensure no unusual noises or smells occur.
If everything operates smoothly, the replacement was successful.
Common Issues & Troubleshooting
Even after replacing the brew switch, some problems may persist. Here are a few common scenarios and how to address them.
1. Machine Still Doesn’t Start
- Check the power supply: Verify that the outlet is delivering the correct voltage with a multimeter.
- Inspect the main power button: The button itself may be faulty. Test continuity across the button contacts.
- Review all wiring: Loose or damaged wires between the switch and the control board can prevent operation. Re‑secure or replace any compromised wires.
2. Machine Starts but Stops Early
- Inspect the pressure sensor: A faulty sensor can signal a premature stop. Replace it if necessary.
- Check the thermal cutoff: The machine may be overheating. Ensure the heating element is not damaged.
3. Short Circuit or Error Lights
- Confirm proper grounding: All metal parts must be connected to the ground pin on the circuit board.
- Look for solder bridges: During installation, a stray solder bridge can cause a short. Use a soldering iron and rosin to clean any bridges.
4. Excessive Noise or Vibration
- Check internal components: Loose parts inside the machine can vibrate. Tighten any screws or fasteners.
- Inspect the pump: A faulty pump may cause noise. If the pump is damaged, replacement may be needed.
Maintenance Tips
Keeping your coffee maker in top condition helps prevent future switch failures and extends the life of your appliance.
- Clean regularly: Run a cleaning cycle with a vinegar solution every 2–3 weeks to remove mineral buildup.
- Descale: Use a commercial descaling solution monthly, especially if you have hard water.
- Inspect the brew switch annually: Periodically test the switch for continuity to catch early signs of wear.
- Use filtered water: This reduces mineral deposits that can damage internal components.
- Keep the machine dry: After use, wipe down any spills and allow the machine to air dry before plugging it back in.
Conclusion
Replacing the brew switch on a Cuisinart DCC 6600 is a manageable task that can save time, money, and the frustration of buying a new coffee maker. By following the safety precautions, using the right tools, and carefully performing each step, you can restore your machine to full working order. Remember to test the repair thoroughly and maintain the appliance regularly to prevent future issues.
With a functioning brew switch, your kitchen will once again welcome the aroma of freshly brewed coffee, making every morning a little brighter.
Discussion (5)
Join the Discussion
Your comment has been submitted for moderation.
Random Posts

Rebooting Google Nest Hub (3rd Gen) to Resolve App Sync Glitches
Stuck with delayed notifications, unresponsive tiles, or stale smart, home data? A simple reboot of your Nest Hub 3rd Gen clears cache, resets processes, and restores smooth app sync.
3 months ago

Fixing Bluetooth Signal Drops on Apple AirPods Pro
Tired of AirPods Pro disconnecting during walks or workouts? Learn why Bluetooth drops happen, how to spot them, and quick fixes - no coding required - to keep audio flowing.
11 months ago

Fixing the Duplexer Failure on a Brother MFC‑J805DW
Learn how to diagnose and replace a faulty duplexer on your Brother MFC, J805DW, restoring double, sided printing with step, by, step instructions for tech, savvy users.
10 months ago

Solving Apple iPhone 13 Pro Camera Rolling Shutter With External Lens
Stop the slanted look from rolling shutter when adding external lenses to your iPhone 13 Pro by tweaking camera settings, choosing the right lens, and using proper stabilization.
9 months ago

Restoring Bandwidth on Amazon Eero Mesh 6 Pro After a Firmware Update
After an Eero Mesh 6 Pro firmware update, bandwidth often drops. This guide explains why the change occurs and walks you through quick steps to restore full speed and a stable connection for work and play.
8 months ago
Latest Posts

Fixing the Eufy RoboVac 15C Battery Drain Post Firmware Update
Fix the Eufy RoboVac 15C battery drain after firmware update with our quick guide: understand the changes, identify the cause, and follow step by step fixes to restore full runtime.
5 days ago

Solve Reolink Argus 3 Battery Drain When Using PIR Motion Sensor
Learn why the Argus 3 battery drains fast with the PIR sensor on and follow simple steps to fix it, extend runtime, and keep your camera ready without sacrificing motion detection.
5 days ago

Resolving Sound Distortion on Beats Studio3 Wireless Headphones
Learn how to pinpoint and fix common distortion in Beats Studio3 headphones from source issues to Bluetooth glitches so you can enjoy clear audio again.
6 days ago