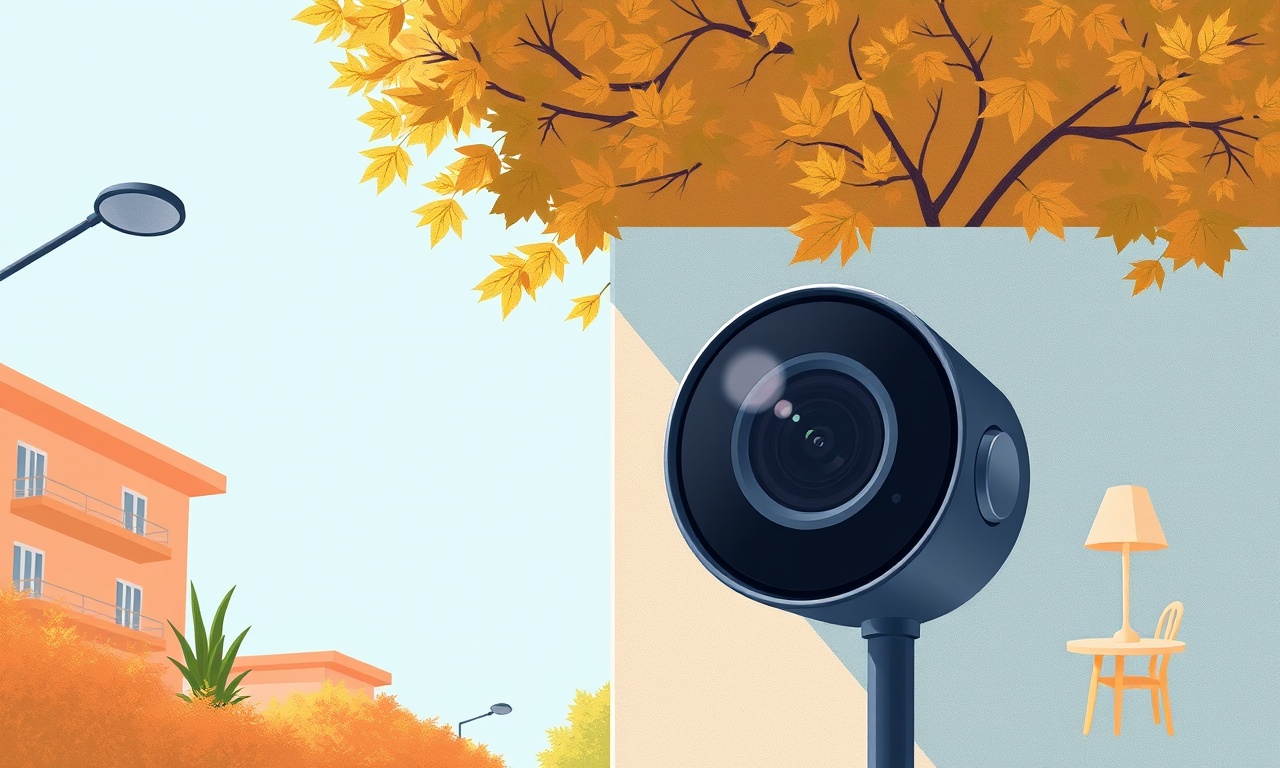
Address Netatmo Smart Camera Brightness Drop When Sunlight Intensity Changes
The Netatmo Smart Camera is celebrated for its ease of use, reliable motion detection, and crisp video quality. Yet many owners notice a sudden drop in image brightness when the sun’s intensity changes—whether a bright morning light transitions to a shaded afternoon or the sunset turns the view into a golden wash. This sudden dimming can mask motion, obscure details, and frustrate users who rely on the camera for safety.
In this article we explore the root causes, provide a step‑by‑step troubleshooting guide, and share practical fixes and best‑practice recommendations. Whether you’re a first‑time user or a seasoned smart‑home enthusiast, the information below will help you keep your Netatmo camera’s footage consistently clear.
Understanding the Brightness Drop
Brightness changes in a camera feed arise from several factors:
- Automatic Exposure Adjustments – The camera’s built‑in auto‑exposure system modulates the image sensor’s sensitivity to keep the overall image within a target luminance range.
- Digital Image Processing – Netatmo’s firmware applies noise reduction, contrast enhancement, and color correction that can be influenced by ambient lighting.
- Hardware Limits – The camera’s sensor and lens have a finite dynamic range. When light levels swing beyond that range, the image will either over‑expose or under‑expose.
- External Influences – Reflections from windows, glare from streetlights, or sudden shade from passing clouds can cause the sensor to adapt quickly, sometimes too aggressively.
Understanding these mechanisms clarifies why a simple rise or fall in sunlight can lead to noticeable changes in brightness.
Common Causes of Brightness Variations
Below are the most frequent scenarios that trigger a brightness drop on Netatmo cameras:
- Rapid Light Transitions – A parked car moving away from a sunny window, a tree passing overhead, or a door opening into a bright hallway.
- High Contrast Scenes – A field of bright sky against a dark building, or a street lit by multiple streetlamps.
- Indoor‑to‑Outdoor Shifts – Cameras installed near windows or glass doors where daylight fluctuates rapidly.
- Firmware Bugs – Rare glitches in the camera’s auto‑exposure algorithm that mis‑interpret changing light.
- User‑Defined Settings – Misconfigured night‑vision mode, low‑light settings, or manual exposure overrides.
Identifying which of these applies to your situation is the first step toward a solution.
How to Diagnose the Issue
Check the Camera’s Firmware Version
Netatmo frequently releases firmware updates that refine exposure control. To view your current firmware:
- Open the Netatmo app.
- Navigate to the camera’s settings.
- Look for “Firmware Version” near the bottom of the screen.
If the firmware is out of date, updating may automatically resolve the problem.
Review the Exposure Settings
Within the camera’s settings menu, locate the “Video” or “Image” options:
- Auto Exposure – Usually set to “On” by default.
- Manual Exposure – Allows you to set the shutter speed and ISO manually.
If you are using manual exposure, try switching to auto to see if the brightness stabilizes.
Observe the Camera’s Environment
Record a short video of the camera in operation during different times of day. Pay particular attention to:
- The point at which the brightness begins to shift.
- Whether the shift occurs when the camera is moving or static.
- The presence of direct light sources (sun, streetlight, flash).
This observation helps determine whether the problem is due to environmental factors or camera settings.
Immediate Fixes
Turn Off Night‑Vision Mode
Night‑vision mode employs infrared LEDs that can dominate the image sensor during bright daylight, causing the camera to reduce exposure. Disable night‑vision temporarily and test if brightness remains steady.
Adjust the Camera’s Position
If the camera faces a window or a bright wall, try angling it away from direct sunlight. A slight adjustment can keep the lens out of harsh glare, allowing the auto‑exposure algorithm to function normally.
Use a Physical Shade
For cameras that cannot be repositioned, consider adding a small shade or an opaque cover to the lens. This simple filter reduces sudden light spikes without blocking the sensor entirely.
Disable the “Auto‑Night” Feature
Some Netatmo firmware versions include an “Auto‑Night” setting that aggressively lowers exposure when light levels fall. Turning this off can keep the image brighter during transitional periods.
Advanced Adjustments
Fine‑Tune Exposure Settings Manually
If the camera’s default auto‑exposure still causes unwanted dimming, set manual exposure parameters:
- Shutter Speed – A faster shutter reduces motion blur but may increase noise.
- ISO – Lower ISO values produce cleaner images in bright light; higher ISO improves low‑light performance but adds grain.
Find a balance that keeps the image clear during both daylight and dimmer periods.
Implement a Dynamic Exposure Algorithm (Advanced)
For technically inclined users, installing a custom firmware or a third‑party monitoring app can expose the raw sensor data. By scripting exposure changes based on incoming luminance levels, you can override the stock algorithm.
Use Netatmo’s “Smart‑Adjust” Feature
Newer firmware versions include a “Smart‑Adjust” mode that learns your environment over time. After a few days of use, the camera optimizes exposure settings based on typical light patterns in your installation area. Enabling this feature often eliminates the brightness drop.
Firmware Updates and Their Impact
Netatmo’s firmware updates address a wide range of camera performance issues. To stay current:
- Enable Auto‑Update – In the Netatmo app, set the camera to automatically download and install firmware updates.
- Check Release Notes – Each update lists bug fixes, including exposure‑related improvements.
- Reboot After Update – Some updates require a full power cycle to activate new exposure controls.
If a firmware update does not resolve the brightness issue, consider rolling back to a previous stable release or contacting Netatmo support for a beta build that may contain additional fixes.
External Factors That Can Exacerbate Brightness Issues
| Factor | Why It Matters | Mitigation |
|---|---|---|
| Direct Sunlight | Causes the sensor to over‑expose quickly | Angle camera, add shade |
| Reflections | Creates bright spots that trick auto‑exposure | Use polarizing filter |
| Cloud Cover | Sudden drops in light level | Enable “Smart‑Adjust” or manual mode |
| Light Pollution | Multiple artificial lights create high contrast | Disable night‑vision, adjust exposure |
By anticipating these factors, you can pre‑emptively adjust camera settings before the brightness problem arises.
Third‑Party Solutions
Home Assistant Integration
If you use Home Assistant, you can create an automation that monitors the camera’s brightness data and triggers a setting change when it falls below a threshold.
Open‑Source Firmware
Some hobbyists develop custom firmware based on the Netatmo API that allows finer control over exposure, contrast, and white‑balance. This option requires a solid understanding of embedded systems and is recommended only for advanced users.
External Lighting Controls
Installing a smart light dimmer or LED controller in the same room as the camera allows you to adjust ambient lighting when the camera’s exposure is unstable. Coordinating camera settings with lighting can smooth out brightness changes.
Best Practices for Long‑Term Stability
- Regularly Inspect Lens – Dust or smudges can amplify brightness fluctuations. Clean the lens with a microfiber cloth and lens cleaning solution.
- Use a Quality Power Supply – Fluctuating voltage can affect sensor performance. A regulated UPS or an Ethernet power injector ensures steady power.
- Keep Firmware Updated – Enable automatic updates and monitor release notes for exposure‑related changes.
- Position Wisely – Mount the camera on a wall or pole that offers a consistent light environment.
- Schedule Maintenance Checks – Every three months, record a short clip and review exposure settings.
Following these practices keeps the camera’s image consistent and reduces the likelihood of sudden brightness drops.
Frequently Asked Questions
How long does a firmware update take?
Most Netatmo updates are less than 10 minutes. The camera will reboot automatically after installation.
Can I use a third‑party lens to improve brightness?
Yes, a wide‑angle or infrared lens can help, but compatibility is not guaranteed. Test in a controlled environment before installing permanently.
Will disabling night‑vision permanently affect low‑light performance?
Night‑vision is only active during low‑light conditions. Disabling it during daylight has no effect on night footage; the camera automatically switches on infrared LEDs when the light level drops.
Is it safe to manually adjust exposure settings?
When done carefully, manual adjustments improve image quality. However, setting ISO too high can introduce noise, while a shutter speed that is too fast may lead to under‑exposed images.
Conclusion
The brightness drop you’re experiencing with your Netatmo Smart Camera is usually a natural consequence of the camera’s auto‑exposure system reacting to rapid changes in sunlight intensity. By systematically checking firmware, adjusting settings, and considering environmental factors, you can largely eliminate these sudden dimming events.
Start with the simple fixes—update firmware, adjust camera position, and disable conflicting modes—then move to more advanced tweaks if needed. Keep your camera’s environment stable, monitor its performance regularly, and leverage the community of Netatmo users and developers for additional insights.
With a clear understanding of how your camera manages light, you’ll enjoy crisp, reliable footage that gives you confidence at any time of day.
Discussion (5)
Join the Discussion
Your comment has been submitted for moderation.
Random Posts

Solving a Persistent Stain Release Issue on Whirlpool WFW5620HW
Tired of spots on your clothes? Discover how to diagnose and fix the stubborn stain release problem on your Whirlpool WFW5620HW with our step-by-step guide.
9 months ago

De'Longhi DL150 Steam Iron Water Recirculation Failure Solution
Trouble with your DeLonghi DL150 steam iron? Learn why water recirculation fails, diagnose the issue, and follow our simple step by step solution to restore steady steam and wrinkle free clothes.
3 months ago

Resolving Lenovo Mirage Solo Bluetooth Pairing Issues
Fix Lenovo Mirage Solo Bluetooth glitches fast with this step by step guide. From simple checks to firmware hacks, reconnect your headset, controllers, and peripherals in minutes.
2 months ago
Lenovo SmartEyewear X Eye Tracking Error Troubleshoot
Get your Lenovo SmartEyewear X eye tracking back with our step-by-step guide. Diagnose glitches, reset settings, and restore smooth gaze navigation quickly.
3 months ago

Calibrating Noise‑Cancellation on Beats Studio Buds
Master Beats Studio Buds ANC: learn the science, step, by, step calibration, and troubleshooting to silence distractions and boost your listening experience.
10 months ago
Latest Posts

Fixing the Eufy RoboVac 15C Battery Drain Post Firmware Update
Fix the Eufy RoboVac 15C battery drain after firmware update with our quick guide: understand the changes, identify the cause, and follow step by step fixes to restore full runtime.
5 days ago

Solve Reolink Argus 3 Battery Drain When Using PIR Motion Sensor
Learn why the Argus 3 battery drains fast with the PIR sensor on and follow simple steps to fix it, extend runtime, and keep your camera ready without sacrificing motion detection.
5 days ago

Resolving Sound Distortion on Beats Studio3 Wireless Headphones
Learn how to pinpoint and fix common distortion in Beats Studio3 headphones from source issues to Bluetooth glitches so you can enjoy clear audio again.
6 days ago