Adjusting Eve Light Switch Color Temperature Drift on iOS
Introduction
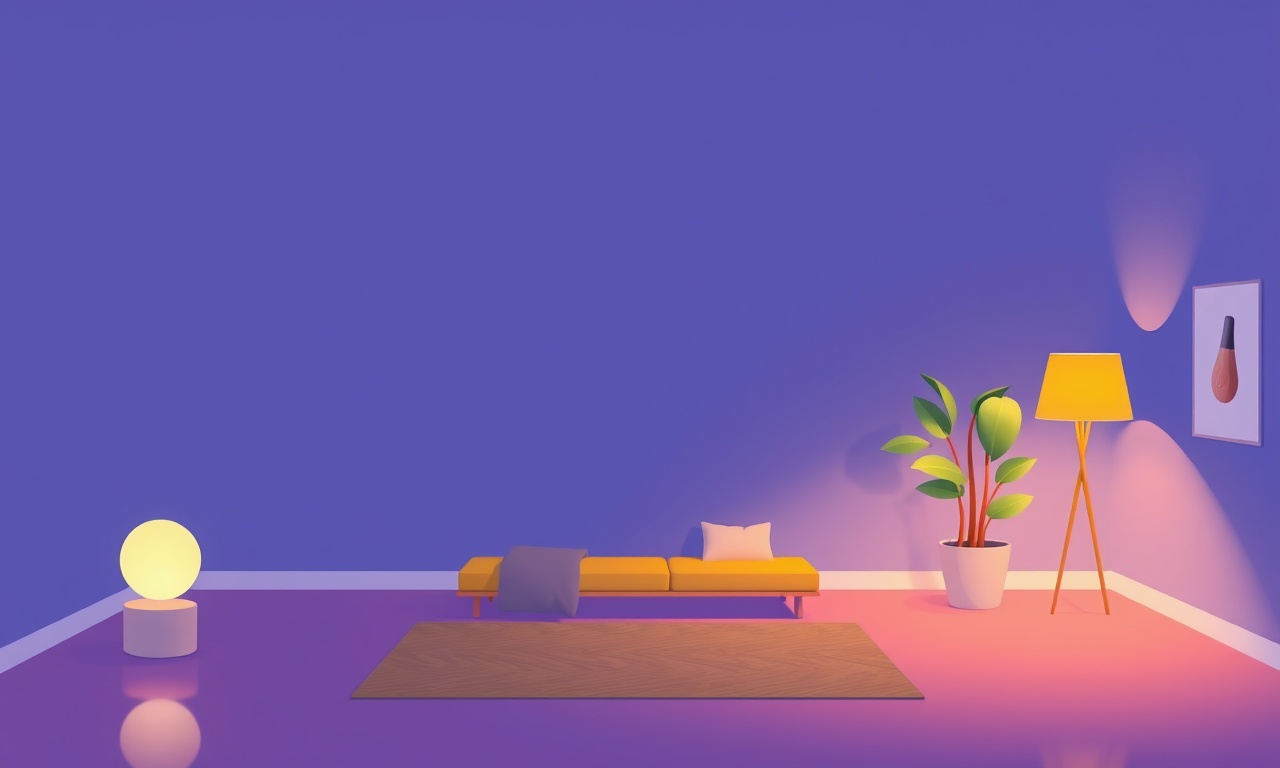
Smart lighting gives you the freedom to shape your living space with the touch of a button or a voice command.
The Eve Light Switch is a popular choice for homeowners who want a reliable, energy‑saving solution that works seamlessly with Apple HomeKit.
One feature that many users appreciate is the ability to fine‑tune the white light produced by the switch.
Yet, over time a subtle shift—called color temperature drift—can creep in, making the light feel warmer or cooler than it should be.
This guide explains why the drift happens, shows you how to detect it, and walks you through step‑by‑step instructions for correcting it on an iOS device.
What Is Color Temperature Drift?
When you set a light to a specific color temperature (for example, 4000 K for a neutral white), you expect that setting to stay consistent.
Color temperature drift is when the light’s perceived warmth changes gradually, even though the setting remains the same.
Common symptoms include:
- The light feels “warmer” (more yellow) after a week or two.
- The same setting looks “cooler” on a different day, even though the switch reports the same value.
- A room that used to feel bright and crisp starts to look dull and washed out.
Causes of drift can be:
| Cause | How it happens | Typical sign |
|---|---|---|
| LED aging | The internal LED dies down, altering its spectral output | Gradual warmth over weeks |
| Firmware updates | Software changes that recalibrate the mapping between temperature codes and actual output | Sudden change after an update |
| Power supply variations | Fluctuations in voltage or current from the mains | Sudden or inconsistent change |
| Temperature changes | Ambient room temperature affects LED efficiency | Noticeable difference between summer and winter |
Why Does Eve Light Switch Drift?
Unlike traditional incandescent bulbs, LED lamps use a small chip to convert electrical energy into light.
Each chip has a unique spectral signature, and the relationship between the control signal (the command from Eve) and the output light changes as the chip ages.
The Eve Light Switch includes an internal microcontroller that translates the HomeKit color temperature value into a duty cycle for the LED driver.
Over time, minor inaccuracies accumulate, producing the drift you see.
Eve’s firmware includes a self‑calibration routine that runs automatically at intervals.
However, this routine can be influenced by external factors such as temperature swings or sudden power outages.
When drift is detected, the calibration routine attempts to correct it, but the user can also force a manual calibration through the Eve app.
Preparation Checklist
Before you start the adjustment process, gather the following:
- An iOS device with the latest version of the Eve app installed.
- The same Wi‑Fi network that the Eve Light Switch uses.
- A small note pad or the “Notes” app for recording values.
- A reliable power source for the switch (avoid extension cords that may add voltage drop).
Detecting Drift in the Eve App
- Open the Eve app on your iOS device and tap the switch icon for the device you want to inspect.
- View the Current Temperature
- The app shows the current color temperature in Kelvin (K).
- Note the number and compare it to the value you originally set.
- Record the Current State
- Write down the temperature and the time of day.
- If you have multiple switches, repeat for each.
- Observe Over Time
- Wait at least a week before checking again.
- If the number changes by 100 K or more, a drift has likely occurred.
If you see no change, the switch may still be within acceptable tolerance.
However, it is good practice to perform a manual calibration once every month or after a firmware update.
Manual Color Temperature Calibration
The Eve Light Switch provides a simple manual calibration feature that adjusts the internal mapping so that the app’s reported temperature matches the physical output.
Step 1 – Enter Calibration Mode
- Open the Eve app and navigate to the switch page.
- Tap the “Settings” icon (usually a gear in the upper right corner).
- Scroll to the bottom and locate “Calibration.”
- Tap “Calibration.”
- A confirmation dialog will appear; confirm that you want to start calibration.
Step 2 – Set a Known Reference Temperature
- Select a temperature that you know from a trusted source, such as a color temperature meter or a calibrated LED fixture.
- 3500 K is a common neutral white.
- Enter the value into the field provided in the calibration screen.
- Tap “Apply.”
- The switch will adjust its output to match the value you entered.
Step 3 – Verify the Adjustment
- Return to the main switch page.
- Check the reported temperature—it should now match the reference value you input.
- Compare visually with a nearby light source that you trust to be accurate.
- If the visual match is satisfactory, calibration succeeded.
Step 4 – Save the Setting
- Tap the “Save” or “Done” button (the exact wording depends on the firmware version).
- Restart the switch by turning it off in the app and on again.
- Confirm the temperature is still at the calibrated level.
Fine‑Tuning With HomeKit Hints
Sometimes you want a subtle adjustment that does not require full recalibration.
HomeKit’s “Scene” and “Automation” features can help you achieve precise control without touching the calibration routine.
Adjusting With Scenes
- Open the Home app on your iOS device.
- Create a new scene and name it something descriptive (e.g., “Eve Warm”).
- Add the Eve switch to the scene and set the desired temperature.
- Save the scene.
- Trigger the scene from the Eve app or Home app.
- Observe whether the light matches the visual standard you expect.
Scenes allow you to tweak the temperature incrementally and save those tweaks as part of a larger lighting setup (e.g., a movie‑night scene that also dims other lights).
Using Automations
- Open the Home app and go to the “Automation” tab.
- Create a new automation based on a trigger such as “When I arrive home” or “At sunset.”
- Add the Eve switch to the action list and set the desired temperature.
- Enable the automation.
- Let it run and compare the resulting light quality against your expectation.
Automations are especially handy if you notice drift during certain times of day—perhaps due to temperature changes in the room. By applying a dynamic temperature adjustment at those times, you can compensate automatically.
Using Third‑Party Apps for Calibration
If the Eve app’s calibration feature is insufficient or you prefer a more visual approach, you can use a third‑party app that displays the spectral profile of your LED.
| App | Features | Notes |
|---|---|---|
| Lumen | Displays real‑time Kelvin readings and provides a visual color wheel. | Works with HomeKit devices. |
| iTach | Offers a web interface for advanced HomeKit devices. | Requires additional hardware. |
| Home+ | Advanced control over HomeKit scenes and devices. | Supports custom scripts for calibration. |
Procedure for Using a Third‑Party App
- Download and install the app from the App Store.
- Add the Eve switch to the app (it should discover automatically if on the same network).
- Open the light’s profile in the app and note the current Kelvin value.
- Adjust the switch temperature using the app’s slider until the visual display matches a known reference.
- Save or export the adjusted value back into HomeKit (if the app supports it).
This method gives you a more granular visual cue but still relies on the Eve switch’s internal mapping, so the underlying calibration remains unchanged.
Troubleshooting Common Issues
| Issue | Possible Cause | Fix |
|---|---|---|
| Calibration doesn’t save | Firmware glitch or app sync error | Restart the Eve app and the switch; re‑run calibration |
| Temperature jumps after a firmware update | Update introduced new mapping | Re‑run manual calibration |
| Light temperature varies by room | Ambient temperature affects LED performance | Use a room‑temperature‑controlled environment for calibration; set a higher temperature during hot periods |
| App shows correct temperature but light looks wrong | Misalignment between perceived and measured Kelvin | Use a colorimeter to verify the actual output; if mismatch persists, consider replacing the switch |
When to Replace the Switch
If you find that:
- Drift occurs within days or weeks despite regular calibrations.
- The switch fails to respond to HomeKit commands consistently.
- The LED light itself flickers or fails.
Then it may be time to replace the Eve Light Switch.
LED drivers and the internal microcontroller can degrade more quickly than expected, especially in high‑humidity or high‑temperature environments.
Maintenance Tips to Reduce Drift
- Keep the switch away from heat sources such as radiators or direct sunlight.
- Use a surge protector to guard against voltage spikes.
- Update the Eve firmware only after verifying compatibility with your HomeKit ecosystem.
- Run the calibration routine at least once a month or after any significant environmental change.
- Monitor ambient temperature; consider adding a small thermostat to your room if you notice temperature‑related variations.
Summary
Color temperature drift in the Eve Light Switch is a normal part of LED aging and firmware behavior.
By detecting the drift early, using the built‑in calibration feature, and fine‑tuning settings through HomeKit scenes and automations, you can maintain a consistent lighting experience.
When drift becomes frequent or severe, consider replacing the switch to avoid ongoing frustration.
Remember: a well‑calibrated smart light is an investment in comfort, ambiance, and energy savings.
With the steps outlined above, you can keep your lighting precise and beautiful for years to come.
Discussion (8)
Join the Discussion
Your comment has been submitted for moderation.
Random Posts

Addressing Apple iPhone 14 Pro Max Battery Drain During Gaming Sessions
Learn why iPhone 14 Pro Max batteries drain during gaming, how to diagnose the issue, and practical tweaks to keep you playing longer with less power loss.
5 months ago

Curing iPhone 14 Plus Charging Port Wear After Daily Fast Charge Cycles
Fast charging can loosen your iPhone 14 Plus port. Learn to spot slow charging and loose cables, then fix it with simple home tricks or long, term prevention.
6 months ago
Xiaomi Mi SmartGlasses 3 Eye Tracking Error Fix
Fix the eye, tracking issue on Mi SmartGlasses 3 with this step, by, step guide to diagnose, clear errors, and restore functionality without repair.
1 year ago

Overcoming Sony X900H Color Saturation Drift During HDR Playback
Discover how to spot and fix color saturation drift on your Sony X900H during HDR playback, tune settings, correct HDR metadata, and keep your scenes vivid and natural.
4 months ago

Remediating Signal Dropout on Bowers & Wilkins PX8 Noise Cancelling Headphones
Discover why the Bowers & Wilkins PX8 may drop sound and how to fix it by tackling interference, low battery, outdated firmware, obstacles and Bluetooth settings for uninterrupted audio
1 week ago
Latest Posts

Fixing the Eufy RoboVac 15C Battery Drain Post Firmware Update
Fix the Eufy RoboVac 15C battery drain after firmware update with our quick guide: understand the changes, identify the cause, and follow step by step fixes to restore full runtime.
5 days ago

Solve Reolink Argus 3 Battery Drain When Using PIR Motion Sensor
Learn why the Argus 3 battery drains fast with the PIR sensor on and follow simple steps to fix it, extend runtime, and keep your camera ready without sacrificing motion detection.
5 days ago

Resolving Sound Distortion on Beats Studio3 Wireless Headphones
Learn how to pinpoint and fix common distortion in Beats Studio3 headphones from source issues to Bluetooth glitches so you can enjoy clear audio again.
6 days ago