Adjusting the Steam Output Settings on Dupray Neat Steam Cleaner
Introduction
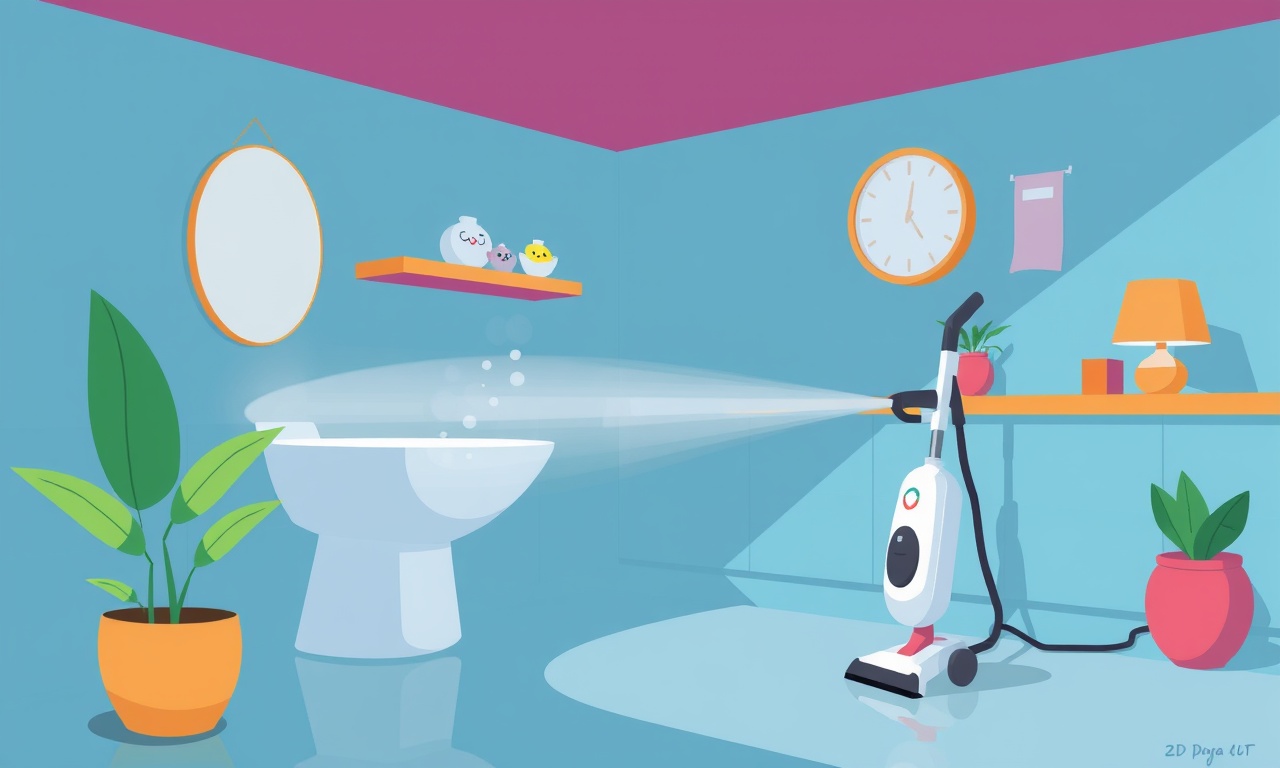
The Dupray Neat steam cleaner is a versatile tool that can transform routine cleaning into an efficient, chemical‑free routine. One of the key features that makes it so adaptable is its ability to adjust steam output. Whether you’re sanitizing a bathroom tile, removing mildew from a shower head, or gently cleaning a delicate hardwood surface, controlling the steam temperature and pressure lets you tailor the cleaner to each job.
This guide walks you through the process of adjusting the steam output on the Dupray Neat. It covers the hardware, the software interface, safety precautions, and practical tips for common cleaning tasks. By the end of this article you will have a complete understanding of how to use the steam output controls to get the best results from your device.
Hardware Overview
The Dupray Neat is built with a few key components that influence steam production:
- Heating Element – Raises water temperature to produce steam.
- Water Reservoir – Holds the water used for steam generation.
- Pressure Valve – Controls the amount of steam that escapes.
- Output Dial – The user‑accessible control for adjusting steam strength.
- Temperature Display – Shows current steam temperature.
- Safety Lock – Prevents accidental activation while the device is in contact with the body.
Before you begin adjusting settings, ensure that the unit is unplugged and cool to touch. All safety instructions on the official manual should be followed.
Step‑by‑Step Guide to Adjusting Steam Output
The process for changing steam output on the Dupray Neat is straightforward. Follow the steps below to set the correct level for your cleaning task.
1. Fill the Water Reservoir
- Locate the water reservoir at the rear of the unit.
- Open the cap and pour clean tap water until it reaches the maximum fill line.
- Close the cap tightly to avoid leaks.
2. Power On the Device
- Plug the unit into a grounded outlet.
- Press the power button located on the front panel.
- Wait for the LED indicator to light, signaling that the heating process has begun.
3. Wait for the Warm‑Up Cycle
- The Neat typically takes 5 to 7 minutes to reach the optimal operating temperature.
- During this time, you may see a small steam plume coming from the nozzle – this is normal.
4. Read the Current Steam Temperature
- A digital display on the front panel shows the steam temperature in degrees Celsius.
- Note the reading; it will help you decide which output level is appropriate.
5. Adjust the Output Dial
- The output dial is located beneath the temperature display.
- Turn the dial clockwise to increase steam strength, and counter‑clockwise to reduce it.
- As you turn the dial, you will hear a subtle click each time the setting changes.
- The dial has five distinct positions: Low, Medium‑Low, Medium, Medium‑High, and High.
6. Verify the New Output Setting
- After turning the dial, allow a brief moment for the unit to stabilize.
- The temperature display will adjust slightly to reflect the new setting.
- If you see a significant drop in temperature, the device may need additional warm‑up time.
7. Test the Steam Output
- Hold the nozzle a safe distance from a small, inconspicuous area of the surface you intend to clean.
- Observe the steam flow.
- If it feels too weak or too intense, repeat steps 5 and 6 until you achieve the desired output.
8. Begin Cleaning
- Attach the appropriate cleaning head for your task.
- Move the nozzle across the surface in slow, even strokes.
- Use gentle pressure; the steam itself does the work.
9. Monitor for Safety
- Keep the device out of reach of children.
- Do not allow the nozzle to come into contact with your skin while the unit is operating.
- If the device becomes hot to the touch, unplug it immediately.
10. Power Off and Cool Down
- After completing your cleaning session, press the power button to turn the unit off.
- Let the device cool for at least 15 minutes before storing it.
- Once cooled, you can safely empty the water reservoir and wipe down the exterior.
Choosing the Right Output Level for Common Tasks
Each cleaning scenario benefits from a specific steam intensity. Below is a quick reference to help you decide.
| Task | Recommended Output Level | Why It Works |
|---|---|---|
| Heavy mildew removal | High | The powerful steam penetrates porous surfaces. |
| Light dusting of furniture | Low | Gentle steam prevents surface damage. |
| Sanitizing kitchen counters | Medium | Adequate heat to kill bacteria without excessive moisture. |
| Cleaning shower heads | Medium‑High | Strong enough to break down mineral build‑up. |
| Polishing hardwood floors | Low | Avoids warping or water damage. |
Safety Tips
Even though the Dupray Neat is designed for safe use, it’s essential to keep a few precautions in mind:
- Avoid Direct Skin Contact – The steam can cause burns. Keep the nozzle pointed at the surface, not at yourself.
- Use the Safety Lock – The device comes with a child‑proof safety lock that must be engaged when not in use.
- Check for Leaks – Inspect the water reservoir and hose for cracks or leaks before each use.
- Ventilate the Room – While the steam is effective, excess humidity can create condensation problems, especially in small, poorly ventilated areas.
- Do Not Overfill – Overfilling the reservoir can lead to water spillage or over‑pressure, which is dangerous.
- Follow Manufacturer’s Cleaning Instructions – Some surfaces may be sensitive to high heat or steam; always test a small area first.
Troubleshooting Common Issues
If you find that the steam output is not behaving as expected, consider the following checks.
1. Steam Flow Is Too Weak
- Verify that the output dial is set to a higher level.
- Ensure the water reservoir is full.
- Check that the heating element has reached the target temperature (the display should read at least 120 °C for effective steam).
- If the unit still produces weak steam, contact Dupray support for a possible hardware issue.
2. Steam Flow Is Too Strong
- Lower the output dial.
- Avoid using the highest setting on delicate surfaces.
- Inspect the nozzle for blockages; a clogged nozzle can create an uneven steam stream that feels overly intense.
3. No Steam Is Produced
- Confirm that the device is plugged in and the power button is on.
- Make sure the water reservoir is properly seated and the cap is closed.
- If the unit warms up but no steam emerges, there may be a fault with the pressure valve or heating element. Seek professional assistance.
4. Steam Temperature Fluctuates
- The device may be overheating or cooling too quickly if used for extended periods.
- Let the unit rest between sessions.
- If temperature instability persists, check for dust or debris in the heating chamber.
Maintenance Tips to Keep Steam Output Consistent
Regular upkeep ensures that your Dupray Neat continues to deliver reliable steam output.
- Clean the Water Reservoir Weekly – Rinse with warm water and mild soap to prevent mineral buildup.
- Descale Periodically – Hard tap water can leave limescale inside the unit. Use a gentle descaling solution recommended by Dupray every 3 to 6 months.
- Inspect the Nozzle – After each cleaning session, rinse the nozzle to remove residue.
- Store in a Dry Place – Keep the device in a dry, cool environment to avoid condensation.
- Check the Power Cord – Look for frays or damage; replace if necessary.
Practical Cleaning Scenarios
Below are detailed examples of how to set the steam output for specific cleaning projects. Each scenario includes preparation steps, output setting, and post‑cleaning care.
Scenario 1: Removing Mold from Bathroom Tiles
-
Preparation
- Wear gloves and a mask.
- Open windows for ventilation.
-
Output Setting
- Set dial to High.
-
Cleaning
- Move the nozzle in a slow, steady pattern over the moldy area.
- Allow steam to sit for 30 seconds before wiping with a clean microfiber cloth.
-
After‑Cleaning
- Dry the tiles with a towel to prevent new mold growth.
Scenario 2: Sanitizing Kitchen Countertops
-
Preparation
- Clear the counter of food items.
-
Output Setting
- Set dial to Medium.
-
Cleaning
- Spray steam along the countertop, focusing on seams and grout.
- Wipe with a clean cloth once the surface is damp.
-
After‑Cleaning
- Rinse the countertop with a damp cloth to remove any residue.
Scenario 3: Polishing Hardwood Floors
-
Preparation
- Sweep or vacuum to remove dust.
-
Output Setting
- Set dial to Low.
-
Cleaning
- Glide the nozzle in a consistent, slow motion.
- Follow up with a dry mop.
-
After‑Cleaning
- Inspect the floor for streaks and repeat lightly if necessary.
When to Use the Highest Output Setting
High steam output is powerful, but it should only be used when:
- The surface is fully heat‑tolerant (e.g., stainless steel or ceramic).
- The task involves heavy grime or mildew.
- The user has prior experience with steam cleaning and understands the risks.
Using high steam on sensitive surfaces can lead to warping, discoloration, or damage. Always test a small area first.
Tips for Long‑Term Performance
- Use Distilled Water – This reduces mineral deposits and extends the lifespan of the heating element.
- Avoid Overuse – Do not keep the unit running continuously; limit sessions to 10–15 minutes.
- Regularly Check for Wear – Inspect the nozzle, hose, and water reservoir for cracks or wear.
- Keep Documentation Handy – Store the user manual and any warranty paperwork in a safe place.
Final Thoughts
Adjusting the steam output on the Dupray Neat steam cleaner is a simple yet essential skill that empowers you to tackle a wide range of cleaning tasks safely and efficiently. By following the steps outlined above, you’ll be able to fine‑tune the device to match the demands of each job, whether you’re fighting stubborn stains or simply polishing surfaces.
Remember that safety is paramount: always keep the nozzle pointed away from yourself and others, use the correct output level for the material, and maintain the unit with regular cleaning and descaling. With proper use and care, the Dupray Neat will provide reliable, chemical‑free cleaning for years to come.
Discussion (10)
Join the Discussion
Your comment has been submitted for moderation.
Random Posts

Maytag M2011 Microwave Error Code 12, Troubleshooting Tips
Error Code 12 on a Maytag M2011 signals a power or high voltage fault. Follow a step by step guide to inspect the transformer, diode, and connections, and restore your microwave without costly repairs.
4 weeks ago

Strategy to Avoid Unresponsive Power Button on Sonoff Smart Plug S40
Keep your Sonoff S40 button responsive by learning why it fails and how to prevent it with simple care, firmware updates, and smart habits.
1 year ago

AVer CAM3400 Microphone Silences Voice When Using Zoom
Find out why your AVer CAM3400 mic cuts out on Zoom, learn step-by-step fixes, and know when to call a pro to keep your audio loud and clear.
9 months ago

Correcting a Fan Speed Oscillation on the Lasko LS7500 Tower Heater
Learn how to stop the Lasko LS7500 fan from wavering by clearing dust, checking bearings and tightening connections, simple steps that restore steady heat and prolong your heater’s life.
9 months ago

Fix Sony SmartCam Indoor Noise Interference
Discover why your Sony SmartCam hisses, crackles, or distorts indoors, learn to spot power, cord and wireless culprits, and fix the noise with simple, lasting solutions.
3 weeks ago
Latest Posts

Fixing the Eufy RoboVac 15C Battery Drain Post Firmware Update
Fix the Eufy RoboVac 15C battery drain after firmware update with our quick guide: understand the changes, identify the cause, and follow step by step fixes to restore full runtime.
5 days ago

Solve Reolink Argus 3 Battery Drain When Using PIR Motion Sensor
Learn why the Argus 3 battery drains fast with the PIR sensor on and follow simple steps to fix it, extend runtime, and keep your camera ready without sacrificing motion detection.
5 days ago

Resolving Sound Distortion on Beats Studio3 Wireless Headphones
Learn how to pinpoint and fix common distortion in Beats Studio3 headphones from source issues to Bluetooth glitches so you can enjoy clear audio again.
6 days ago