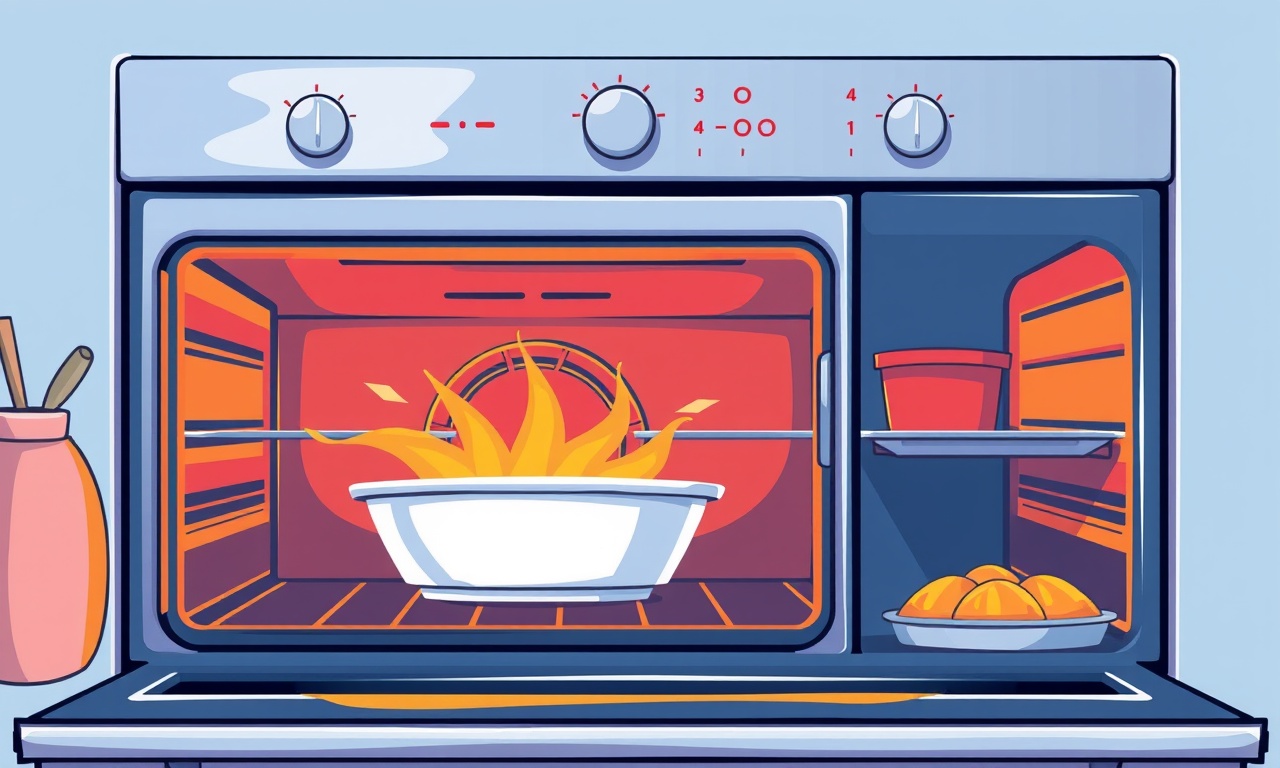
Bosch HMG6536UC Oven Convection Fan Error During High Heat
Understanding the Convection Fan Error on Your Bosch Oven
Your Bosch oven is designed to give you consistent, evenly cooked meals with its convection system. When the convection fan fails, especially during high‑heat cooking, you’ll see an error code appear on the display and the oven will refuse to heat properly. This error is not just a nuisance—it can also compromise the safety of the appliance and the food you prepare. In this article we’ll explore why the fan error occurs, how to diagnose it, step‑by‑step instructions for resolving it, and preventive measures to keep your oven running smoothly.
What Happens Inside the Convection System?
A convection oven relies on a motorised fan to circulate hot air around the food chamber. The fan draws air from the interior, passes it over a heating element, and then pushes it back into the oven. This continuous airflow eliminates hot spots and ensures even cooking.
When the fan stops working or behaves erratically, the oven’s control board detects the abnormal airflow or temperature rise and triggers a fault code. On Bosch ovens, the code for a fan failure is typically “F12” or a similar indicator, accompanied by a brief message such as “Convection Fan Error During High Heat.” The display will then lock the cooking functions until the issue is resolved.
Common Causes of the Fan Error
Before diving into troubleshooting, it’s useful to understand the most frequent culprits:
- Motor Burnout – The fan motor can overheat and fail, especially if the oven has been used for extended periods or if the fan is obstructed.
- Electrical Issues – Loose or corroded wiring, a defective capacitor, or a failing relay can prevent the motor from receiving power.
- Blockages – Food debris or dust can block the fan blades, limiting airflow and causing the motor to stall.
- Control Board Malfunction – Rare, but a defective temperature sensor or a fault in the main board can misread airflow and trigger an error.
- Humidity or Condensation – In humid environments, moisture can accumulate on the fan or motor, leading to short circuits.
Recognising the root cause helps narrow the troubleshooting path.
Safety First: Preparing to Inspect the Oven
Working with electrical appliances always carries a risk. Follow these precautions:
- Unplug the oven from the mains supply. Wait a few minutes before touching any internal components.
- Let the oven cool completely. Even when the display is off, internal elements may still be hot.
- Use insulated tools. Avoid metal probes or tools that could conduct electricity.
- Work in a dry environment. If moisture is present, ensure that the area is dry before proceeding.
These steps minimise the chance of electric shock or further damage to the appliance.
Step‑by‑Step Guide to Diagnose and Fix the Fan Error
1. Verify the Error Code
Turn the oven back on and watch the display. Make sure you note the exact message and any accompanying code. If the code is different, such as “F13” or “F20,” refer to Bosch’s service manual for that specific fault.
2. Inspect the Fan Assembly
Remove the back panel of the oven to access the fan. On the Bosch HMG6536UC, the panel is secured with a few screws near the rear edge.
- Look for visible damage such as burnt plastic or melted wires.
- Check the fan blades for bending or missing pieces.
- Clear any debris. Even a small piece of food can block airflow.
If the fan appears physically intact but still fails, proceed to the next step.
3. Test the Motor’s Power Supply
Using a multimeter set to DC voltage, probe the terminals of the fan motor while the oven is powered on.
- Expected voltage: The motor should receive around 12–15 V DC from the control board.
- No voltage: The control board or relay is likely defective.
- Correct voltage but motor does not spin: The motor itself may be burnt.
If the voltage is absent, replace the faulty relay or contact a professional.
4. Examine the Fan Motor’s Resistance
With the oven still unplugged, use the multimeter to check the motor’s resistance between its leads.
- Normal range: Typically between 3 Ω and 10 Ω, depending on the motor model.
- Infinite or zero resistance: Indicates a burnt or shorted motor. Replacement is required.
5. Clean the Motor’s Capacitor
The fan motor usually includes a start capacitor. Over time, electrolytic capacitors can dry out and lose capacitance.
- Remove the capacitor with insulated pliers.
- Measure capacitance with a capacitor meter. Compare against the rating printed on the component.
- Replace if the reading deviates significantly from the rated value.
A faulty capacitor will cause the motor to misbehave or fail to start.
6. Inspect Wiring and Connections
Loose or corroded connectors can create intermittent power delivery.
- Look for corrosion on terminals and pins.
- Tighten all screws that secure the wiring harness.
- If any wires are frayed, use heat‑shrink tubing or replace the cable.
Good electrical contact is essential for reliable fan operation.
7. Verify Control Board Signals
The oven’s control board sends a signal to the fan relay to activate the motor. If this signal is faulty, the motor will not start.
- With the oven on, use a multimeter to confirm that the control board applies the correct voltage to the relay coil.
- If the signal is missing or incorrect, the control board may need to be replaced or reprogrammed.
8. Perform a Thermal Check
After reassembling, run a short high‑heat cycle (30 seconds) and watch for the fan to spin.
- If the fan turns but the error persists, the control board may still misinterpret airflow.
- If the fan fails again, revert to the motor inspection step.
9. Reset the Oven
Once repairs are complete:
- Disconnect the oven for a minute.
- Reconnect the mains supply.
- Use the reset button (if present) or simply wait for the display to clear the error code.
If the oven displays normal operation, the issue is resolved.
When to Call a Professional
Even with thorough troubleshooting, some faults require specialised tools or expertise. Call a qualified appliance technician when:
- The error code changes after a repair attempt, indicating a deeper fault.
- You discover a defective control board or damaged wiring that cannot be safely repaired.
- The fan motor is severely damaged, requiring a replacement that must be sourced from Bosch.
A professional can also check for warranty coverage and perform a full diagnostic scan.
Preventive Measures to Keep Your Fan Running
A well‑maintained convection system extends the life of your oven and improves cooking performance.
- Regular cleaning: Wipe the interior after each use to avoid food residue buildup.
- Check the fan: Once a month, open the back panel and inspect the fan blades for obstructions.
- Keep the oven dry: Use a dehumidifier in high‑humidity environments or ensure the oven area is well ventilated.
- Follow the user manual: Use the oven within the specified temperature ranges and avoid overloading it.
- Schedule maintenance: Consider having a technician perform a checkup every 2–3 years.
These simple habits reduce the likelihood of fan failure and maintain safety.
Common Questions About the Convection Fan Error
Why does the error only appear during high‑heat cooking?
During high heat, the fan must operate at full speed to keep temperatures stable. If the motor is marginal or the control board misreads the temperature, the fault is triggered.
Can I bypass the fan and still use the oven?
Some ovens allow a “convection off” mode, but this disables the fan entirely. While the oven can still cook, it will not benefit from even heat distribution and may result in unevenly cooked dishes.
Is it safe to keep using the oven if the error persists?
No. Continuing to operate a malfunctioning oven can pose fire or electrical hazards. It’s best to discontinue use until repairs are made.
How can I avoid the error in the future?
Regular cleaning, inspecting the fan for debris, and ensuring proper electrical connections are the most effective preventive steps.
Final Thoughts
A Bosch HMG6536UC convection fan error during high heat can feel frustrating, but most faults are resolvable with careful inspection and a systematic approach. By understanding the mechanics of your oven’s fan system, identifying common failure points, and following the step‑by‑step guide above, you can often restore normal operation without a costly service call. And by adopting a routine maintenance schedule, you’ll protect your appliance and enjoy reliable, even cooking for years to come.
Discussion (6)
Join the Discussion
Your comment has been submitted for moderation.
Random Posts

Solving a Persistent Stain Release Issue on Whirlpool WFW5620HW
Tired of spots on your clothes? Discover how to diagnose and fix the stubborn stain release problem on your Whirlpool WFW5620HW with our step-by-step guide.
9 months ago

De'Longhi DL150 Steam Iron Water Recirculation Failure Solution
Trouble with your DeLonghi DL150 steam iron? Learn why water recirculation fails, diagnose the issue, and follow our simple step by step solution to restore steady steam and wrinkle free clothes.
3 months ago

Resolving Lenovo Mirage Solo Bluetooth Pairing Issues
Fix Lenovo Mirage Solo Bluetooth glitches fast with this step by step guide. From simple checks to firmware hacks, reconnect your headset, controllers, and peripherals in minutes.
2 months ago
Lenovo SmartEyewear X Eye Tracking Error Troubleshoot
Get your Lenovo SmartEyewear X eye tracking back with our step-by-step guide. Diagnose glitches, reset settings, and restore smooth gaze navigation quickly.
3 months ago

Calibrating Noise‑Cancellation on Beats Studio Buds
Master Beats Studio Buds ANC: learn the science, step, by, step calibration, and troubleshooting to silence distractions and boost your listening experience.
10 months ago
Latest Posts

Fixing the Eufy RoboVac 15C Battery Drain Post Firmware Update
Fix the Eufy RoboVac 15C battery drain after firmware update with our quick guide: understand the changes, identify the cause, and follow step by step fixes to restore full runtime.
5 days ago

Solve Reolink Argus 3 Battery Drain When Using PIR Motion Sensor
Learn why the Argus 3 battery drains fast with the PIR sensor on and follow simple steps to fix it, extend runtime, and keep your camera ready without sacrificing motion detection.
5 days ago

Resolving Sound Distortion on Beats Studio3 Wireless Headphones
Learn how to pinpoint and fix common distortion in Beats Studio3 headphones from source issues to Bluetooth glitches so you can enjoy clear audio again.
6 days ago