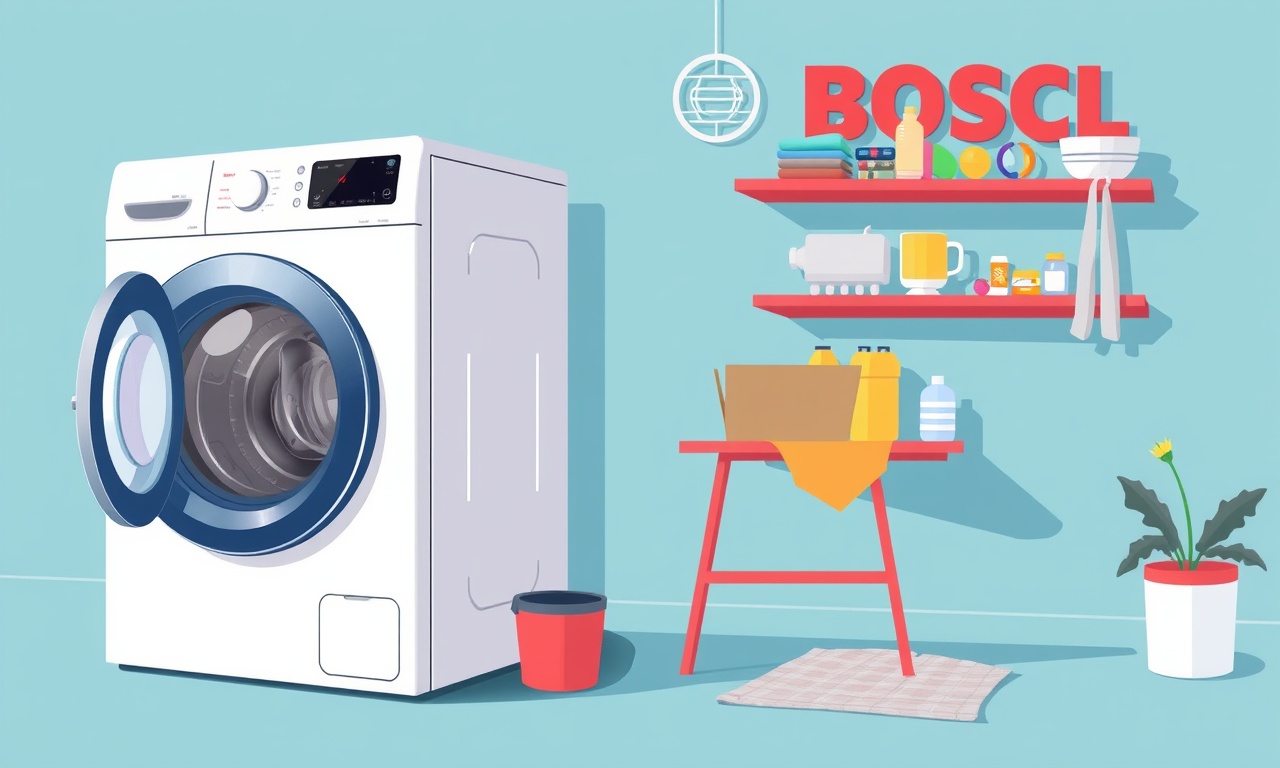
Bosch WTG86 Dryer Stuck in Cycle Reset and Repair
Bosch WTG86 dryers are known for their reliability and quiet operation, but even the best appliances can encounter a stuck cycle reset. When a dryer stops in the middle of a cycle and refuses to start again, it can feel like a wall is closing in on your laundry routine. This guide walks you through the symptoms, the most common causes, how to diagnose the issue, and the exact steps you can take to get your Bosch WTG86 back up and running. It also offers practical tips for preventing future problems and when to seek professional help.
Why the Dryer Stays Stuck
A Bosch WTG86 dryer can become stuck in a cycle for a variety of reasons:
- The electronic control board is frozen.
- The cycle reset button on the panel is stuck or malfunctioning.
- Power or signal cables are disconnected or damaged.
- An internal sensor is sending incorrect data to the control system.
- The motor or drum is jammed.
Each of these scenarios requires a slightly different approach, but the overarching goal is always the same: restore communication between the dryer’s components so the control board can resume normal operation.
Recognizing the Problem
Before you open the dryer door or start troubleshooting, confirm that the unit is truly stuck. Look for the following indicators:
- The display is either blank or shows an error code that does not clear.
- The dryer does not start a new cycle after the previous one finishes.
- The drum stops rotating mid‑cycle and remains motionless.
- The control panel buttons are unresponsive.
If you see any of these signs, you can be reasonably certain that the dryer is not proceeding through its normal cycle sequence.
Common Causes of a Stuck Cycle Reset
1. Faulty Reset Button or Control Panel
The reset button is designed to clear error states. If the button is stuck, the dryer will stay in a reset state and refuse to begin a new cycle.
2. Electrical Connection Issues
Loose or corroded power cables, especially the signal cable that carries data between the motor, drum, and control board, can prevent the dryer from moving through its cycle.
3. Control Board Failure
The control board processes all inputs from buttons, sensors, and the reset function. A failure here is a frequent culprit.
4. Motor or Drum Jams
Physical obstructions or worn bearings can lock the drum. If the drum does not turn, the control board will flag a fault and halt the cycle.
5. Sensor Malfunction
Bosch dryers include temperature, moisture, and pressure sensors. If a sensor incorrectly reports a fault, the dryer may freeze the cycle.
Diagnostic Checklist
Before you open up the dryer, follow a simple diagnostic routine. These steps are designed to isolate the problem quickly, saving you time and minimizing the need for advanced repairs.
1. Verify Power Supply
- Ensure the dryer is plugged into a working outlet.
- Check the circuit breaker for tripped or blown fuses.
- Confirm that the outlet is supplying 240 V (if applicable) and 120 V for the control panel.
2. Inspect the Reset Button
- Press the reset button firmly. It should click and release without resistance.
- Use a flashlight to check for debris under the button. Clean gently with a cotton swab if needed.
3. Look for Visible Wiring Damage
- Inspect the dryer’s power cord and any visible internal cables for frays, cuts, or disconnections.
- Confirm that the signal cable (usually a thin cable connecting the motor to the control board) is intact and connected.
4. Examine the Display
- If the display shows an error code (e.g., E11 or E25), note the code. Look it up in the service manual or Bosch support site for specific guidance.
5. Test the Motor and Drum
- Turn the drum manually (if the dryer is off). It should rotate freely.
- Listen for unusual noises when you try to start a cycle—burning or grinding sounds indicate a motor or bearing issue.
Resetting the Dryer
If the reset button appears functional but the dryer remains stuck, you may need to perform a hard reset. This process will clear any temporary errors and reinitialize the control board.
1. Unplug the Dryer
- Disconnect the dryer from the wall outlet and wait for 60 seconds.
2. Re‑Plug and Power On
- Plug the dryer back in.
- Turn the main switch (if present) to the ON position.
- Press the start button. If the dryer begins the cycle, the issue was a temporary glitch.
3. Use the Dedicated Reset Sequence (if available)
Some Bosch models allow a multi‑step reset:
- Press the Power button to turn the unit on.
- Quickly press and hold Start/Reset for 10 seconds.
- Release both buttons. The control board should clear any stored error codes.
If the dryer still does not resume normal operation, move on to a more detailed inspection.
Detailed Repair Steps
When simple reset attempts fail, the next stage is a more in‑depth diagnostic. Follow these instructions carefully. Safety first—wear insulated gloves and ensure the dryer is unplugged before opening the cabinet.
1. Remove the Front Panel
- Use a Phillips screwdriver to remove the screws securing the front panel.
- Slide the panel back and lift it out. Keep the panel and screws safe for reassembly.
2. Check the Control Board Connections
- Locate the main control board. Inspect all ribbon and plug connections for looseness or oxidation.
- Firmly reconnect any loose cables.
- If a connector is damaged, replace it with a new one that matches the exact specifications.
3. Inspect the Motor Wiring
- Follow the motor cable from the control board to the motor housing.
- Look for breaks, exposed copper, or damaged insulation.
- If any damage is found, replace the cable segment with a matching Bosch part.
4. Test the Motor
- With the dryer still unplugged, locate the motor’s external terminals.
- Use a multimeter set to continuity. Verify that the motor windings are intact (no short to ground or open circuit).
- If the motor shows an open circuit, replace it.
5. Examine the Drum Bearings
- Remove the drum support assembly if necessary (consult the manual).
- Spin the drum by hand. It should turn smoothly without excessive play or noise.
- If resistance is felt, the bearings are worn and must be replaced.
6. Check the Temperature and Moisture Sensors
- Locate the sensor probe near the drum.
- Disconnect the sensor cable and test the probe with a multimeter set to resistance.
- Compare the reading to Bosch’s specification chart. A faulty sensor must be replaced.
7. Verify the Control Board’s Functionality
- After all cables are secured and components checked, reconnect the dryer to the mains.
- Observe the display as the dryer powers on. Look for any persistent error codes.
- If the display shows the same code repeatedly, the control board is likely defective.
8. Replace the Control Board (if needed)
- Disconnect the power supply and the control board’s cables.
- Remove the screws holding the board in place.
- Insert the new board and secure it.
- Reconnect all cables exactly as before.
Reassembling the Dryer
Once repairs are complete, you can reattach the front panel.
- Align the panel with the cabinet frame.
- Screw it back into place.
- Plug the dryer back in and power it on.
- Run a short test cycle to ensure the dryer starts, completes a cycle, and turns off properly.
Preventive Maintenance Tips
A well‑maintained dryer runs more reliably and lasts longer. Here are some simple tasks you can perform every few months.
- Clean the Lint Filter – Remove lint after every cycle. A clogged filter can trigger overheating faults.
- Inspect the Vent Hoods – Check the exterior vent for blockages or rust.
- Lubricate the Drum Bearings – If the dryer model allows, apply a small amount of silicone lubricant to the bearings.
- Check the Door Seal – Ensure the gasket around the door is clean and flexible. A faulty seal can affect moisture readings.
- Run a Self‑Clean Cycle – Many Bosch models have a self‑clean mode. Use it quarterly to remove lint from the drum and heat exchanger.
When Professional Help Is Needed
If you’ve followed all the steps above and the dryer remains stuck or you encounter unfamiliar components, it is best to call a licensed appliance repair technician. Common reasons for professional service include:
- Complex control board failures that require specialized diagnostic equipment.
- Replacement of proprietary Bosch parts that are not available to consumers.
- Repair of high voltage components that pose a serious safety risk.
- Situations where the dryer’s warranty is still active and service is covered.
Helpful Resources
Below are a few resources that can provide additional guidance:
- Bosch’s official service manual for the WTG86 dryer (usually available on their support website).
- Online forums and communities where homeowners share troubleshooting experiences.
- Bosch Customer Support hotline – they can offer quick diagnostics over the phone.
Final Thoughts
A Bosch WTG86 dryer stuck in a cycle reset can feel like a frustrating snag in your laundry day. However, most issues stem from simple causes—faulty reset buttons, loose cables, or minor sensor errors. By following the systematic diagnostic steps outlined above, you can often restore full functionality without needing to replace the entire dryer.
Remember: safety is paramount. Always disconnect the dryer from power before opening the cabinet. Keep an eye on the wiring, and replace any components that show wear or damage. Regular maintenance will not only prevent stuck cycles but also extend the lifespan of your appliance.
Happy repairing!
Discussion (5)
Join the Discussion
Your comment has been submitted for moderation.
Random Posts

Rebooting Google Nest Hub (3rd Gen) to Resolve App Sync Glitches
Stuck with delayed notifications, unresponsive tiles, or stale smart, home data? A simple reboot of your Nest Hub 3rd Gen clears cache, resets processes, and restores smooth app sync.
3 months ago

Fixing Bluetooth Signal Drops on Apple AirPods Pro
Tired of AirPods Pro disconnecting during walks or workouts? Learn why Bluetooth drops happen, how to spot them, and quick fixes - no coding required - to keep audio flowing.
11 months ago

Fixing the Duplexer Failure on a Brother MFC‑J805DW
Learn how to diagnose and replace a faulty duplexer on your Brother MFC, J805DW, restoring double, sided printing with step, by, step instructions for tech, savvy users.
10 months ago

Solving Apple iPhone 13 Pro Camera Rolling Shutter With External Lens
Stop the slanted look from rolling shutter when adding external lenses to your iPhone 13 Pro by tweaking camera settings, choosing the right lens, and using proper stabilization.
9 months ago

Restoring Bandwidth on Amazon Eero Mesh 6 Pro After a Firmware Update
After an Eero Mesh 6 Pro firmware update, bandwidth often drops. This guide explains why the change occurs and walks you through quick steps to restore full speed and a stable connection for work and play.
8 months ago
Latest Posts

Fixing the Eufy RoboVac 15C Battery Drain Post Firmware Update
Fix the Eufy RoboVac 15C battery drain after firmware update with our quick guide: understand the changes, identify the cause, and follow step by step fixes to restore full runtime.
5 days ago

Solve Reolink Argus 3 Battery Drain When Using PIR Motion Sensor
Learn why the Argus 3 battery drains fast with the PIR sensor on and follow simple steps to fix it, extend runtime, and keep your camera ready without sacrificing motion detection.
5 days ago

Resolving Sound Distortion on Beats Studio3 Wireless Headphones
Learn how to pinpoint and fix common distortion in Beats Studio3 headphones from source issues to Bluetooth glitches so you can enjoy clear audio again.
6 days ago