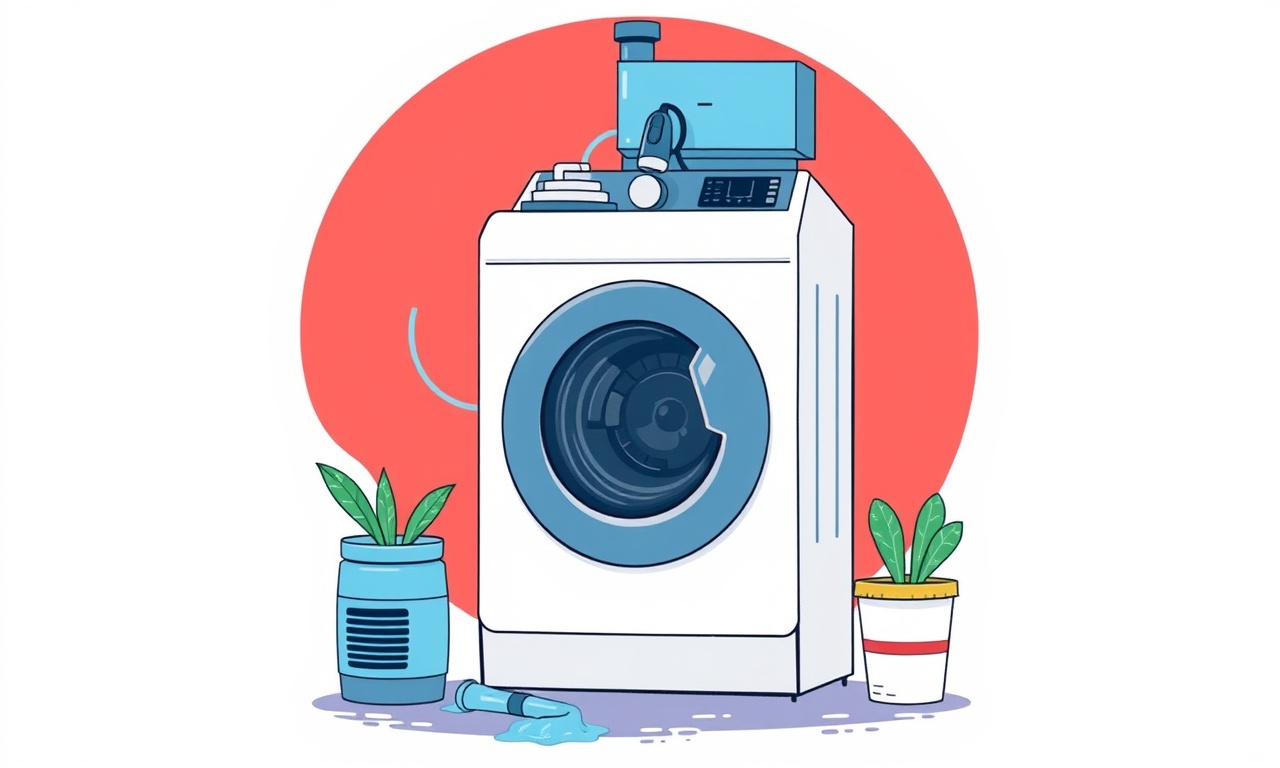
Cleaning a Blocked Drain Pump on Kenmore KWC1506
Introduction
A Kenmore KWC1506 washer that fails to drain is a common source of frustration for many homeowners. The culprit is often a clogged drain pump, which is responsible for moving the wash water from the drum to the drain hose. When the pump or its impeller becomes blocked, water can accumulate inside the machine, leading to leaks, foul odors, and ultimately a costly repair if not addressed in a timely manner.
This guide will walk you through the entire process of cleaning a blocked drain pump on a Kenmore KWC1506. It covers the tools you’ll need, safety precautions, step‑by‑step disassembly and cleaning procedures, reassembly, and a few preventive maintenance tips that will help keep your washer running smoothly for years to come.
Understanding the Drain Pump
The drain pump is a small but critical component located beneath the washer’s bottom panel. It pulls water out of the drum via a series of hoses, using a rotating impeller to create suction. In a Kenmore KWC1506, the pump is housed in a plastic casing attached to the frame. Over time, lint, small clothing items, detergent residue, and even broken plastic fragments can accumulate inside the pump or its housing, creating a blockage.
Key parts to keep in mind:
- Impeller – the rotating wheel that forces water out.
- Pump housing – the plastic box that contains the impeller.
- Drain hose – the flexible tube that carries water from the pump to the sink or drainage system.
When the pump can no longer generate enough suction, the washer may cycle through a “rinse” or “spin” cycle but fail to empty the water, which is the symptom you will notice.
Common Causes of Blockage
- Fabric lint – especially from short sleeves, socks, and small clothing items.
- Detergent residue – heavy or powdered detergents that do not dissolve completely.
- Small items – socks, underwear, or even coins that slip past the lint filter.
- Broken plastic pieces – from damaged detergent pods or broken agitator pieces.
- Foreign objects – like hair ties, buttons, or small toys that get caught in the pump.
Identifying the cause can help you decide how aggressively to clean the pump.
Safety Precautions
Before starting any maintenance on your washer, follow these safety guidelines:
- Unplug the washer from the electrical outlet to prevent electric shock.
- Turn off the water supply by shutting off both the hot and cold valves that feed the washer.
- Place a bucket or shallow pan underneath the washer to catch any residual water that may spill when you open the back panel.
- Use a flashlight or a working headlamp if the area around the pump is poorly lit.
- Wear gloves to protect your hands from sharp edges or possible contaminants.
If you are unsure about any step, it is wise to consult a professional appliance technician.
Tools & Materials Needed
| Item | Purpose |
|---|---|
| Phillips head screwdriver | Removing the back panel and any mounting screws |
| Flat‑head screwdriver | Accessing deeper screws or tabs |
| Plastic pry tool | Avoiding damage when prying panels |
| Small brush (e.g., toothbrush) | Cleaning debris from the impeller and housing |
| Garden hose or large container | Rinsing the pump |
| Clean rag or towel | Wiping down surfaces |
| Replacement gasket (optional) | Replacing a worn seal |
| Vacuum cleaner or compressed air | Removing loose debris from the pump housing |
Having these tools on hand will streamline the process and reduce the chance of accidental damage.
Step: Prepare the Machine
- Disconnect power and water – Ensure the washer is completely isolated.
- Drain any remaining water – Use a sponge or towel to absorb standing water in the drum.
- Move the washer – If possible, gently shift it away from the wall so you can work on the back panel.
At this point, you have a clear, safe workspace.
Step: Access the Drain Pump
- Remove the back panel –
- Locate the 4 or 5 screws that secure the rear panel.
- Use the Phillips screwdriver to loosen each screw, then set them aside in a small container so they don’t get lost.
- Lift the panel –
- Once all screws are removed, gently pull the panel away.
- Be careful of any attached hoses or electrical connections.
- Locate the drain pump –
- The pump is a small plastic box near the bottom left of the interior.
- It typically has a visible opening that connects to the drain hose.
If the back panel is difficult to remove, a plastic pry tool can help gently lift it without scratching the exterior.
Step: Remove and Inspect the Pump
- Detach the drain hose –
- The hose attaches to the pump with a clamp or a simple twist‑lock.
- Slide the clamp back and pull the hose free.
- Save the hose in a place where it won’t dry out or get damaged.
- Unbolt the pump –
- Most Kenmore pumps are secured by a few screws.
- Remove each screw with the screwdriver and set them aside.
- Take the pump out –
- Gently lift it from its housing.
- Inspect the impeller for visible clogs or damage.
If the impeller is damaged or the pump housing is cracked, you may need to replace the pump entirely.
Step: Clean the Pump Housing
- Remove debris –
- Use a small brush or your fingers to sweep out any lint or fibers from the interior of the pump housing.
- Pay special attention to the impeller’s blades and the edges where water flows.
- Rinse with water –
- Place the pump under a running tap or use a garden hose.
- Allow water to flow through the pump, forcing any remaining debris out of the housing.
- Dry –
- Wipe down the pump with a clean rag.
- Make sure the impeller can spin freely.
If you notice that the impeller cannot rotate, the pump may need to be replaced.
Step: Clear the Impeller and Drain Line
- Test impeller rotation –
- While the pump is still out of the housing, hold the impeller shaft and try to spin it.
- A free rotation indicates no internal blockage.
- Clean the drain line –
- Run a long, flexible brush through the drain hose to dislodge any kinks or obstructions.
- If the hose has a visible kink, straighten it.
- Check for clogs –
- If water does not pass freely through the hose, use a longer brush or a plumbing snake to clear it.
A clear drain line is essential for proper water flow from the pump to the sink or plumbing.
Step: Reassemble
- Reattach the pump –
- Slide the pump back into its housing and secure it with the original screws.
- Reconnect the drain hose –
- Insert the hose into the pump’s outlet, secure the clamp, and twist it until snug.
- Replace the back panel –
- Align the panel with the washer frame and reinstall the screws.
- Tighten each screw to the recommended torque (generally snug but not over‑tightened).
Make sure no wires or hoses are pinched or misaligned during reassembly.
Step: Test the Machine
- Restore power and water –
- Plug the washer back in.
- Turn on the hot and cold water valves.
- Run a short cycle –
- Select a quick rinse or spin cycle to see if the water drains properly.
- Observe the drum during the cycle for any unusual noises or delays in draining.
- Check for leaks –
- Inspect the area around the back panel and drain hose for any signs of water leakage.
If the washer drains normally and shows no leaks, the job is complete.
Maintenance Tips
- Regularly clean the lint filter – Remove lint from the filter after every load to prevent buildup in the pump.
- Use the correct detergent – High‑efficiency detergents are less likely to leave residue.
- Avoid overloading – Excess fabric can increase lint production.
- Check the drain hose periodically – Look for kinks or obstructions every few months.
- Schedule a yearly service check – Have a professional inspect the pump, hoses, and seals once a year to catch potential issues early.
Implementing these habits can dramatically reduce the chances of future pump blockages.
Troubleshooting Common Issues
| Symptom | Possible Cause | Quick Fix |
|---|---|---|
| Washer does not drain after cleaning | Pump replacement needed | Replace the pump |
| Strange noises during spin | Impeller jammed | Reinspect and clean pump |
| Water remains in the drum | Drain hose kinked | Straighten the hose |
| Leaking around the back panel | Damaged gasket | Replace the gasket |
If your washer still shows problems after following this guide, it might be time to contact a certified appliance repair technician.
FAQ
Q: Can I use a vacuum to clean the drain pump?
A: A vacuum can remove loose debris from the exterior, but it won’t reach the inside of the pump housing. A brush and water rinse are more effective.
Q: How often should I clean the drain pump?
A: Cleaning every 3–6 months is advisable if you wash frequently. If you notice any draining issues, clean immediately.
Q: Is it safe to use a plastic pry tool on the back panel?
A: Yes, a plastic pry tool prevents scratches on the panel. Use it gently to avoid cracking the plastic.
Q: What if the impeller cannot spin after cleaning?
A: A stuck impeller indicates either a severe blockage or a damaged pump. Replace the pump.
Conclusion
Cleaning a blocked drain pump on a Kenmore KWC1506 is a manageable task that can save you time and money. By following the steps outlined above—disassembling carefully, inspecting each component, thoroughly cleaning, and reassembling properly—you can restore your washer’s drainage function and extend its lifespan. Remember to keep up with regular maintenance and address any issues early to keep your laundry routine running smoothly.
Discussion (10)
Join the Discussion
Your comment has been submitted for moderation.
Random Posts

Addressing Apple iPhone 14 Pro Max Battery Drain During Gaming Sessions
Learn why iPhone 14 Pro Max batteries drain during gaming, how to diagnose the issue, and practical tweaks to keep you playing longer with less power loss.
5 months ago

Curing iPhone 14 Plus Charging Port Wear After Daily Fast Charge Cycles
Fast charging can loosen your iPhone 14 Plus port. Learn to spot slow charging and loose cables, then fix it with simple home tricks or long, term prevention.
6 months ago
Xiaomi Mi SmartGlasses 3 Eye Tracking Error Fix
Fix the eye, tracking issue on Mi SmartGlasses 3 with this step, by, step guide to diagnose, clear errors, and restore functionality without repair.
1 year ago

Overcoming Sony X900H Color Saturation Drift During HDR Playback
Discover how to spot and fix color saturation drift on your Sony X900H during HDR playback, tune settings, correct HDR metadata, and keep your scenes vivid and natural.
4 months ago

Remediating Signal Dropout on Bowers & Wilkins PX8 Noise Cancelling Headphones
Discover why the Bowers & Wilkins PX8 may drop sound and how to fix it by tackling interference, low battery, outdated firmware, obstacles and Bluetooth settings for uninterrupted audio
1 week ago
Latest Posts

Fixing the Eufy RoboVac 15C Battery Drain Post Firmware Update
Fix the Eufy RoboVac 15C battery drain after firmware update with our quick guide: understand the changes, identify the cause, and follow step by step fixes to restore full runtime.
5 days ago

Solve Reolink Argus 3 Battery Drain When Using PIR Motion Sensor
Learn why the Argus 3 battery drains fast with the PIR sensor on and follow simple steps to fix it, extend runtime, and keep your camera ready without sacrificing motion detection.
5 days ago

Resolving Sound Distortion on Beats Studio3 Wireless Headphones
Learn how to pinpoint and fix common distortion in Beats Studio3 headphones from source issues to Bluetooth glitches so you can enjoy clear audio again.
6 days ago