Cleaning a Blocked Filter on Whirlpool WFW5800HW
Unplug the Machine
The very first action when you decide to clean the filter on a Whirlpool WFW5800HW is to disconnect the appliance from its power source. Even if the machine appears to be turned off, a small electrical current can still flow through the wiring. To keep yourself safe, unplug the dryer from the wall outlet or switch off the circuit breaker that supplies power to the laundry area. Only after the machine is completely powerless should you begin any inspection or maintenance.
Locate the Filter
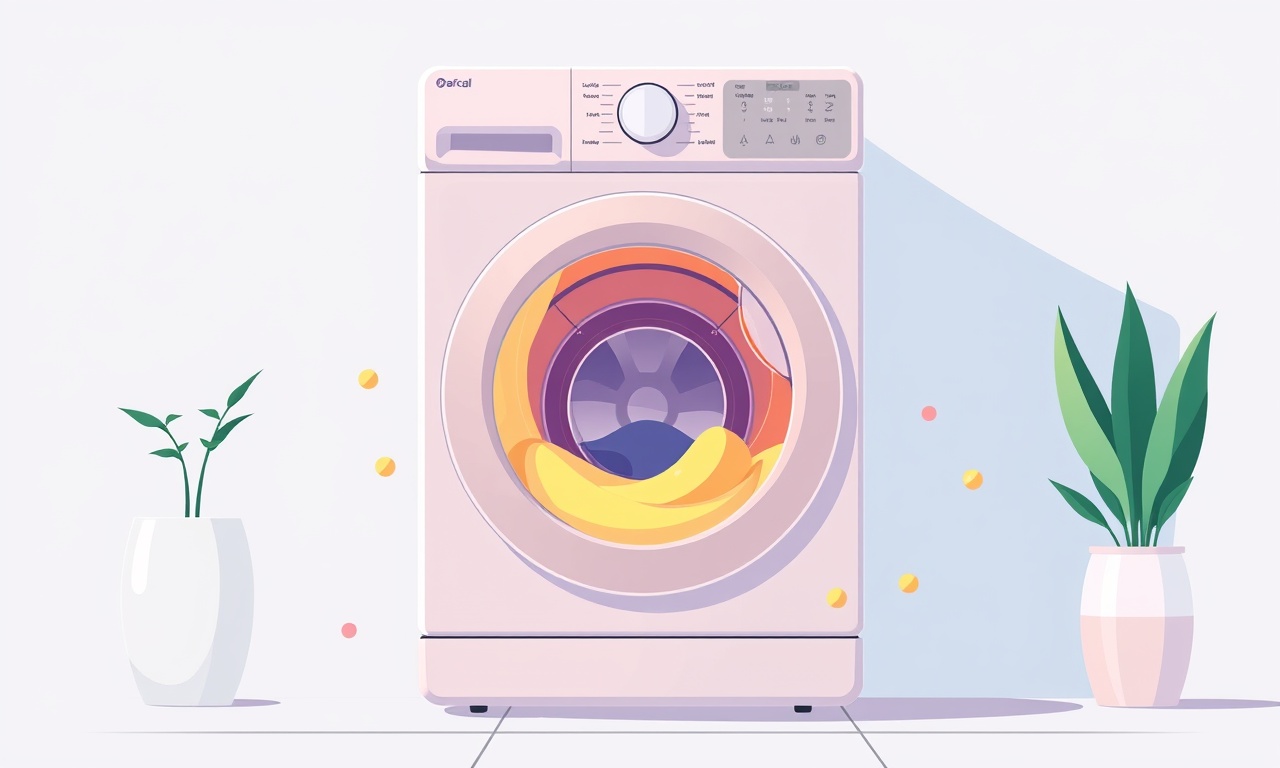
The Whirlpool WFW5800HW hides its filter behind a small removable door near the bottom front of the unit. When you look at the front panel, you will see a rectangular cover with a small window. This window lets you see the filter when it is open. The filter itself is a metal mesh that traps lint, coins, and other foreign objects that could otherwise clog the drain pump or cause a backup.
Open the Filter Door
Squeezing the latch that holds the filter door in place will allow it to pop open. If the latch feels stuck, try a gentle twist or press to free it. Once open, you will see a dark, tangled mass of lint and debris wrapped around the filter mesh. The buildup is usually most pronounced at the corners where the filter sits.
Remove the Filter Assembly
With the door open, pull the filter assembly straight out from the machine. It will come out as a single unit—there is no separate cartridge or separate piece to remove. Be ready for a bit of water, as some of the lint may be saturated from the last wash cycle.
Inspect the Filter
Place the filter assembly on a towel or a shallow basin so you can see how much debris has accumulated. The mesh should be visibly clogged, with lint and fibers pressing tightly against it. If you notice a hard, stubborn block that seems to be glued in place, a small brush can help loosen it.
Clear the Debris
Using a soft brush, a pair of tweezers, or a clean cloth, gently scrub the filter mesh. Work from the outer edges toward the center, removing any lint, fibers, or small objects. If you find coins, buttons, or other small items, use tweezers to extract them carefully. A gentle vacuum can also be used to suck out loose debris, but avoid using a power tool that could damage the mesh.
Clean the Filter Housing
While the filter is out, take a moment to wipe the filter housing with a damp cloth. The inside of the housing can accumulate dust and lint that may fall onto the filter when it is reinstalled. If there is a lot of grime, a mild detergent solution can be used, but make sure to dry the area completely afterward to prevent mold growth.
Reinstall the Filter
Once the mesh is clear, slide the filter assembly back into its slot. Make sure it is seated firmly and evenly. The filter should sit snugly in the housing, and the latch should engage properly. Check that there are no gaps or loose parts that could cause leaks during a wash cycle.
Replace the Filter Door
Close the filter door gently until it clicks into place. The latch should be secure, and the door should not wobble. A properly seated door ensures that water does not escape during a wash or rinse cycle.
Reset the Machine
Plug the machine back in or switch the circuit breaker back on. Power up the dryer and run a short, no-load cycle to make sure everything is functioning correctly. During this cycle, observe the water flow at the drain outlet. The water should drain smoothly without pooling or stalling.
Test the Drain Pump
If you still experience drainage issues after cleaning the filter, the pump may be clogged as well. Locate the pump access panel (usually at the bottom rear of the unit) and check for debris or blockage. Clean the pump impeller if necessary. This step is optional if the filter was the only obstruction.
Routine Maintenance Tips
- Check the filter after every 10–15 wash cycles, or sooner if you notice reduced drying performance.
- Avoid putting loose change, coins, or small items in laundry.
- Use the machine’s lint filter feature if your model has one; it captures lint before it reaches the main filter.
- Keep the filter door free of obstructions, such as a towel or towel clip.
- Regularly wipe the outside of the machine to prevent buildup of dust that could migrate into the filter.
Common Mistakes to Avoid
- Forcing the filter door closed when it is not fully seated.
- Using abrasive cleaners that can scratch or damage the mesh.
- Failing to dry the filter housing before reassembly, which can lead to mold.
- Ignoring signs of a slow or incomplete drain; this often indicates a blockage downstream of the filter.
What to Do If the Filter Still Blocks
If you clean the filter thoroughly and the problem persists, consider the following troubleshooting steps:
- Inspect the drain hose for kinks or clogs.
- Examine the drain pump for foreign objects.
- Test the dryer’s thermostat and heating element for proper operation.
- If the issue remains unresolved, contact Whirlpool service for a professional inspection.
Frequently Asked Questions
Why does my dryer drain slowly?
A common cause is a blocked filter or drain hose. Cleaning these components often resolves the issue.
Can I use a vacuum to clean the filter?
A handheld vacuum can be used to remove loose lint, but be careful not to damage the mesh.
How often should I clean the filter?
For most households, cleaning every few months or after a certain number of cycles is sufficient.
Is the filter replaceable?
No, the filter is a reusable mesh that can be cleaned repeatedly.
Does a clogged filter affect drying time?
Yes, a clogged filter restricts airflow, leading to longer drying times and potentially higher energy usage.
Maintaining the filter on your Whirlpool WFW5800HW ensures efficient drying, reduces energy consumption, and extends the lifespan of the machine. By following these steps, you can keep your dryer running smoothly and avoid costly repairs.
Discussion (9)
Join the Discussion
Your comment has been submitted for moderation.
Random Posts

Rebooting Google Nest Hub (3rd Gen) to Resolve App Sync Glitches
Stuck with delayed notifications, unresponsive tiles, or stale smart, home data? A simple reboot of your Nest Hub 3rd Gen clears cache, resets processes, and restores smooth app sync.
3 months ago

Fixing Bluetooth Signal Drops on Apple AirPods Pro
Tired of AirPods Pro disconnecting during walks or workouts? Learn why Bluetooth drops happen, how to spot them, and quick fixes - no coding required - to keep audio flowing.
11 months ago

Fixing the Duplexer Failure on a Brother MFC‑J805DW
Learn how to diagnose and replace a faulty duplexer on your Brother MFC, J805DW, restoring double, sided printing with step, by, step instructions for tech, savvy users.
10 months ago

Solving Apple iPhone 13 Pro Camera Rolling Shutter With External Lens
Stop the slanted look from rolling shutter when adding external lenses to your iPhone 13 Pro by tweaking camera settings, choosing the right lens, and using proper stabilization.
9 months ago

Restoring Bandwidth on Amazon Eero Mesh 6 Pro After a Firmware Update
After an Eero Mesh 6 Pro firmware update, bandwidth often drops. This guide explains why the change occurs and walks you through quick steps to restore full speed and a stable connection for work and play.
8 months ago
Latest Posts

Fixing the Eufy RoboVac 15C Battery Drain Post Firmware Update
Fix the Eufy RoboVac 15C battery drain after firmware update with our quick guide: understand the changes, identify the cause, and follow step by step fixes to restore full runtime.
5 days ago

Solve Reolink Argus 3 Battery Drain When Using PIR Motion Sensor
Learn why the Argus 3 battery drains fast with the PIR sensor on and follow simple steps to fix it, extend runtime, and keep your camera ready without sacrificing motion detection.
5 days ago

Resolving Sound Distortion on Beats Studio3 Wireless Headphones
Learn how to pinpoint and fix common distortion in Beats Studio3 headphones from source issues to Bluetooth glitches so you can enjoy clear audio again.
6 days ago