Cleaning Steam Reservoir Filter in Dupray Neat Pro
Understanding the Importance of a Clean Steam Reservoir Filter
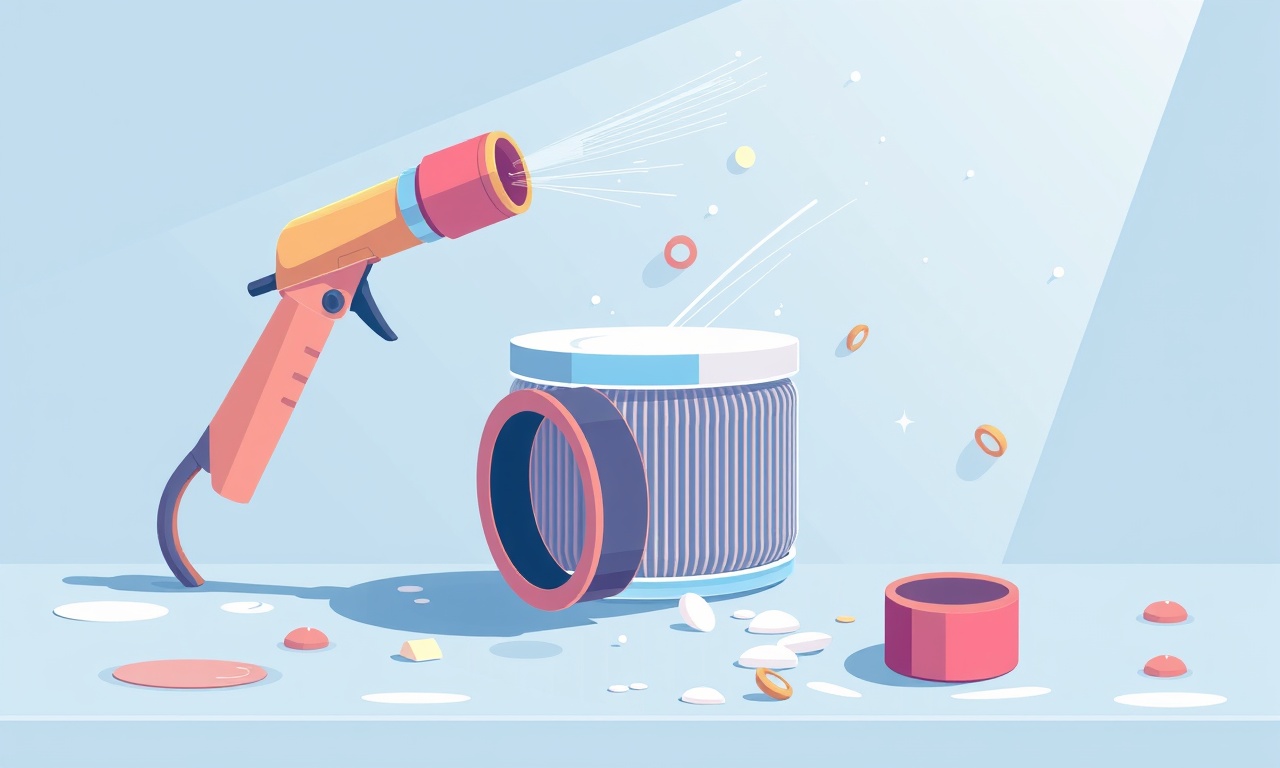
The Dupray Neat Pro is a popular choice for households that want a versatile, efficient steam cleaner. One of its key features is the ability to generate large amounts of clean steam from a small water reservoir. To maintain optimal performance, the steam reservoir filter—located inside the water chamber—must be cleaned regularly. A clogged filter can reduce steam output, cause overheating, and shorten the lifespan of the machine.
Cleaning the filter is a straightforward task if you follow the right steps and use the correct tools. This guide will walk you through everything you need to know—from why the filter matters to a detailed, step‑by‑step cleaning procedure. By the end, you’ll be able to keep your Dupray Neat Pro running smoothly for years.
Before You Begin: Gather Your Supplies
Having the right supplies on hand makes the cleaning process quick and efficient. Below is a list of items that will help you complete the task safely and effectively.
- Soft, non‑abrasive cloths (microfiber is ideal)
- Squeeze bottle with distilled water (or the water you use for the machine)
- Mild dish soap or specialized descaling solution (if needed)
- Soft brush (a clean toothbrush works well)
- Clean, dry towel
- Gloves (optional, for personal protection)
- First aid kit (in case of accidental spills)
Step‑by‑Step Cleaning Procedure
1. Turn Off and Cool the Machine
- Power down the Dupray Neat Pro by switching off the main switch.
- Disconnect the power cord from the outlet.
- Allow the machine to cool for at least 15 minutes. Even if the unit feels cool to the touch, residual heat can cause burns if handled too quickly.
2. Remove the Water Reservoir
- Locate the reservoir on the left side of the machine (when facing the front).
- Pull the reservoir straight out until it detaches.
- Set it on a clean surface; avoid placing it on a fragile surface that might scratch the glass.
3. Disassemble the Filter Housing
- Open the reservoir lid gently; it should lift off.
- Find the filter: a small, cylindrical element usually sits at the bottom of the reservoir.
- Remove the filter by twisting it counter‑clockwise (or gently pulling, depending on the model).
- Inspect the filter for visible debris, mineral build‑up, or damage. If it appears cracked or severely worn, replace it with a new filter.
4. Clean the Filter and Reservoir
4.1 Rinse the Filter
- Hold the filter under running tap water.
- Use the soft brush to gently scrub away any grime.
- Rinse thoroughly until no residue remains.
4.2 Descale the Reservoir (if needed)
- Fill the reservoir with a mixture of distilled water and a mild descaling solution (follow the manufacturer’s instructions for concentration).
- Let it sit for 30 minutes to dissolve mineral deposits.
- Squeeze the water through the filter opening to flush out the solution.
- Repeat the rinse cycle until the water runs clear.
5. Dry the Components
- Use a clean, dry towel to pat the filter and reservoir interior.
- Leave the reservoir lid open for several hours to allow air circulation and complete drying.
- Check for moisture before reassembling; any dampness can lead to mold or bacterial growth.
6. Reassemble the Unit
- Insert the cleaned filter back into its housing, twisting clockwise until snug.
- Place the reservoir back into the machine, ensuring it clicks into place.
- Close the reservoir lid firmly.
- Reconnect the power cord and turn the machine on to test its operation.
7. Verify Performance
- Fill the reservoir with fresh water.
- Heat the machine to the desired temperature.
- Observe steam output: a clean filter should provide consistent, powerful steam.
- Check for any leaks around the reservoir or filter; tighten if necessary.
Maintaining a Routine
To keep the filter in top shape, consider the following maintenance schedule:
- Every 2–3 months: perform a full cleaning cycle as outlined above.
- After heavy usage: check for clogging and clean if steam output decreases.
- Yearly: inspect the filter for wear and replace if needed.
A consistent cleaning schedule prevents mineral build‑up and ensures that the steam cleaner delivers reliable performance.
Troubleshooting Common Issues
| Symptom | Likely Cause | Quick Fix |
|---|---|---|
| Low steam pressure | Filter clogged or partially blocked | Clean filter as described |
| Machine overheating | Filter blocked, water level too low | Refill water, clean filter |
| Leaks around reservoir | Seal damaged or filter not seated | Replace filter or repair seal |
| Odor after use | Residual mineral deposits | Descale reservoir thoroughly |
If problems persist after cleaning, consult the Dupray Neat Pro manual or contact customer support for advanced diagnostics.
Tips for Extending Filter Life
- Use distilled water whenever possible to reduce mineral deposits.
- Avoid overfilling the reservoir; use the recommended maximum level.
- Store the machine in a dry place to prevent condensation on the filter.
- Handle the filter carefully; a gentle twist prevents damage to the threads.
Frequently Asked Questions
Q: Can I use any type of cleaning solution?
A: Use only distilled water or solutions recommended by Dupray. Harsh chemicals may damage the filter material.
Q: How often should I replace the filter?
A: Replace every 6–12 months, or sooner if you notice a decline in performance.
Q: Is it safe to clean the filter while the machine is still powered on?
A: Never. Always power down and disconnect before touching any internal parts.
Q: What if the filter is missing?
A: Contact Dupray customer service for a replacement part. Do not improvise with other components.
Q: Can I skip the descaling step if the water looks clear?
A: If the water is clear but you’ve used tap water for months, minerals may still be present inside the reservoir walls. Descaling is a precautionary measure to prevent future buildup.
Final Thoughts
Regularly cleaning the steam reservoir filter of your Dupray Neat Pro is a simple but essential task that pays off in consistent steam output, efficient operation, and a longer lifespan for your appliance. By following the steps outlined above and maintaining a routine schedule, you’ll enjoy a cleaner, healthier home environment without the hassle of unexpected breakdowns.
Remember: a well‑maintained filter not only keeps your machine running at peak performance but also saves you money in the long run by preventing costly repairs or replacements. Happy steaming!
Discussion (10)
Join the Discussion
Your comment has been submitted for moderation.
Random Posts

Analyzing iPhone 13 Pro Max Apple Pay Transaction Declines After Software Update
After the latest iOS update, iPhone 13 Pro Max users see more Apple Pay declines. This guide explains the technical cause, how to diagnose the issue, and steps to fix payment reliability.
2 months ago

Dyson AM15 Mist Not Spreading What Causes It And How To Repair
Find out why your Dyson AM15 Mist isn’t misting, learn the common causes, and follow our step, by, step guide to restore full misting performance quickly.
2 months ago

Adjusting the Neato Botvac D6 for Unexpected Cleaning Pause
Learn why your Neato Botvac D6 pauses, diagnose the issue, and tweak settings for smooth, uninterrupted cleaning.
11 months ago

Quelling LG OLED G1 Picture Loop at Startup
Stop the LG OLED G1 picture loop that stutters at startup, follow these clear steps to diagnose software glitches, adjust settings, and restore a smooth launch every time.
4 months ago

Resolving Room Acoustics Calibration on Samsung HW Q990T
Calibrate your Samsung HW, Q990T to your room's acoustics and unlock true cinema-quality sound, every dialogue and subtle score becomes crystal clear.
1 month ago
Latest Posts

Fixing the Eufy RoboVac 15C Battery Drain Post Firmware Update
Fix the Eufy RoboVac 15C battery drain after firmware update with our quick guide: understand the changes, identify the cause, and follow step by step fixes to restore full runtime.
5 days ago

Solve Reolink Argus 3 Battery Drain When Using PIR Motion Sensor
Learn why the Argus 3 battery drains fast with the PIR sensor on and follow simple steps to fix it, extend runtime, and keep your camera ready without sacrificing motion detection.
5 days ago

Resolving Sound Distortion on Beats Studio3 Wireless Headphones
Learn how to pinpoint and fix common distortion in Beats Studio3 headphones from source issues to Bluetooth glitches so you can enjoy clear audio again.
6 days ago