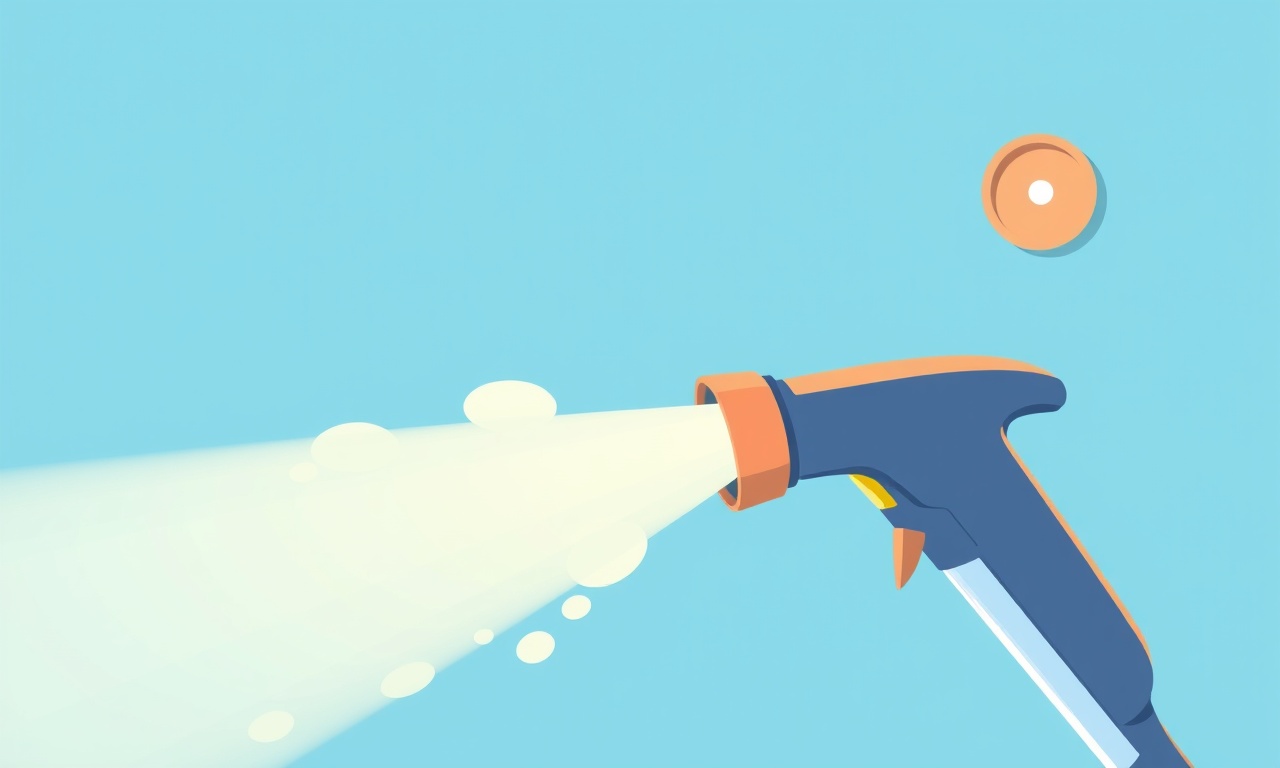
Clearing the Blocked Steam Nozzle on Vapir L Steam Cleaner
Introduction
Steam cleaning has become a staple for households that want a deep clean without harsh chemicals. The Vapir L Steam Cleaner offers a powerful, eco‑friendly solution for floors, tiles, grout, and even upholstery. However, even the most reliable appliance can run into a common snag: a blocked steam nozzle. A clogged nozzle can reduce steam output, cause uneven cleaning, and ultimately frustrate users. This guide walks you through every detail of diagnosing the problem and clearing the nozzle, ensuring your Vapir L returns to peak performance.
Throughout the tutorial we’ll keep safety at the forefront, provide clear visual cues, and break the process into digestible steps. By the end, you’ll have the confidence to tackle nozzle obstructions on your own, saving time and money on professional servicing.
Understanding the Problem
What Causes Nozzle Blockage?
- Hard water deposits – Minerals from water can build up inside the nozzle’s tiny channels.
- Dust and debris – Everyday grime, especially when the machine is used in dusty environments, can seep into the nozzle.
- Mold or mildew – The moist environment inside the steam cleaner can encourage fungal growth that can clog the nozzle.
- Improper cleaning – Skipping the recommended after‑use rinse can allow residues to settle.
Why it Matters
- Reduced steam pressure – A partially blocked nozzle forces steam to travel through narrower passages, lowering pressure.
- Uneven coverage – Steam may be concentrated in a smaller area, leaving other spots dry.
- Risk of damage – If the nozzle is forced, it can crack or break, damaging the cleaner.
By identifying the cause early, you can choose the most effective cleaning method.
Gather the Right Tools
Before you start, assemble a small kit so you don’t need to run around the house.
| Item | Why it’s needed |
|---|---|
| Screwdriver (flathead or Phillips, depending on your model) | To remove the nozzle cap. |
| Soft brush (e.g., a small paintbrush or toothbrush) | To scrub away deposits. |
| Distilled or filtered water | To rinse and avoid adding more minerals. |
| White vinegar (optional) | A natural descaling agent. |
| Spoon or small spatula | For gentle scraping. |
| Heat source (hot tap water or a kettle) | For a warm water rinse if needed. |
| Microfiber cloth | For drying the nozzle after cleaning. |
All of these items can be found in a typical household or quick‑shop.
Step One – Safety First
-
Unplug the Vapir L
Ensure the unit is completely disconnected from any power source. Even if the unit has a removable battery, double‑check. -
Let the Unit Cool
Steam cleaners retain heat for a while. Allow at least ten minutes for the internal water reservoir and nozzle to cool to room temperature. -
Prepare Your Work Area
Place the Vapir L on a stable, flat surface. Lay down a towel or small mat to catch any spills.
By following these precautions, you protect yourself from hot steam or electrical mishaps.
Step Two – Accessing the Nozzle
The Vapir L’s nozzle is designed for easy removal, but a few models may have a protective cap or cover.
- Locate the Nozzle – It sits at the end of the wand, with a small metal ring or plastic cap.
- Remove the Cap – Use your fingers or a flathead screwdriver to gently pry it off.
- Unscrew the Nozzle (if applicable) – Some models feature a small set screw that holds the nozzle in place. Use the appropriate screwdriver to loosen it.
When the nozzle is exposed, you’ll see the tiny channel where steam passes.
Step Three – Visual Inspection
With the nozzle open, examine it carefully.
- Clear Water Path – The channel should be free of obstructions.
- Surface Condition – Look for mineral crust, dust, or fungal growth.
- Damage Check – Inspect for cracks, chips, or warping.
If you spot any damage, it may be time to replace the nozzle rather than clean it.
Step Four – Mechanical Cleaning
1. Remove Loose Debris
- Hold the nozzle tip up and gently tap it against a hard surface to dislodge any loose particles.
- Use a small brush to sweep the interior of the nozzle.
2. Scrape Away Residue
- If mineral deposits cling stubbornly, use a spoon or small spatula to scrape them gently.
- Be careful not to scratch the inner walls; a soft tool is preferable.
3. Flush with Distilled Water
- Pour a small amount of distilled water over the nozzle.
- Allow it to sit for 30 seconds to loosen remaining deposits.
- Shake or tap the nozzle gently to help dislodge any lingering grime.
4. Final Brush‑Up
- Brush the inside and outside again to ensure all residue has been removed.
If the nozzle still feels clogged after mechanical cleaning, proceed to the descaling step.
Step Five – Descaling (Optional but Effective)
Hard water deposits are often the root cause of nozzle blockage. A vinegar solution can dissolve them efficiently.
- Prepare the Solution – Mix equal parts white vinegar and distilled water.
- Apply – Using a dropper or small brush, apply the solution directly into the nozzle channel.
- Let Sit – Allow the mixture to rest for 15–20 minutes. The acidity helps break down mineral buildup.
- Flush Again – Rinse thoroughly with distilled water, ensuring all vinegar is removed.
- Dry – Shake the nozzle to remove excess moisture and let it air dry for a few minutes.
After descaling, the nozzle should conduct steam with minimal resistance.
Step Six – Reassembly
- Inspect for Residual Moisture – A quick glance should confirm the nozzle is dry inside.
- Re‑attach the Nozzle – If your model uses a set screw, tighten it firmly but avoid over‑tightening.
- Replace the Cap – Snap or screw the protective cover back into place.
Double‑check that the nozzle rotates freely and that there is no obstruction in the path.
Step Seven – Test the Cleanser
- Re‑insert the wand into the Vapir L body.
- Plug in the unit (only if you’re ready to test).
- Fill the reservoir with clean water and allow the machine to heat up.
- Select a medium steam setting – You’ll want to see a steady, full‑flow of steam.
If you notice a significant improvement in steam output and distribution, you’ve successfully cleared the nozzle.
Step Eight – Preventive Maintenance
- Rinse After Each Use – Run clean water through the wand for 30 seconds to flush out residual minerals.
- Use Filtered Water – Distilled or reverse‑filtered water reduces mineral load.
- Clean Weekly – Even if the nozzle feels clear, perform a quick brush‑up to catch early deposits.
- Store Properly – Keep the Vapir L in a dry place, and avoid leaving it in direct sunlight or damp conditions.
By incorporating these habits, you minimize the chance of future nozzle blockages.
Troubleshooting Quick‑Check
| Symptom | Likely Cause | Quick Fix |
|---|---|---|
| Steam pressure drops suddenly | Nozzle partially blocked | Repeat cleaning steps |
| Steam escapes in a jet, not a mist | Nozzle clogged or damaged | Inspect for cracks, replace if needed |
| No steam at all | Complete blockage or reservoir empty | Flush nozzle, refill reservoir |
If the problem persists after following the entire guide, contact Vapir customer support or a professional service technician.
Frequently Asked Questions
Q: Can I use a regular toothbrush to clean the nozzle?
A: Yes, a soft‑bristled toothbrush works well. Avoid stiff brushes that could scratch the nozzle.
Q: Is vinegar safe for all Vapir L models?
A: Generally, vinegar is safe for descaling. However, always refer to your user manual for any manufacturer warnings.
Q: How often should I replace the nozzle?
A: Replace the nozzle if it shows signs of wear, cracks, or if cleaning fails to restore steam flow.
Q: Will hot water help with mineral buildup?
A: Warm water can aid in loosening deposits, but vinegar is more effective for dissolving hard‑water scales.
Conclusion
A blocked steam nozzle can be a nuisance, but with the right tools, a methodical approach, and a touch of patience, you can restore your Vapir L Steam Cleaner’s performance in just a few minutes. By following the steps outlined above, you’ll keep your machine clean, efficient, and ready to tackle the toughest cleaning jobs.
Remember, regular maintenance is key. Treat your steam cleaner like any other appliance: give it a little love now and it will give you clean, sparkling surfaces for years to come.
Discussion (9)
Join the Discussion
Your comment has been submitted for moderation.
Random Posts

Analyzing iPhone 13 Pro Max Apple Pay Transaction Declines After Software Update
After the latest iOS update, iPhone 13 Pro Max users see more Apple Pay declines. This guide explains the technical cause, how to diagnose the issue, and steps to fix payment reliability.
2 months ago

Dyson AM15 Mist Not Spreading What Causes It And How To Repair
Find out why your Dyson AM15 Mist isn’t misting, learn the common causes, and follow our step, by, step guide to restore full misting performance quickly.
2 months ago

Adjusting the Neato Botvac D6 for Unexpected Cleaning Pause
Learn why your Neato Botvac D6 pauses, diagnose the issue, and tweak settings for smooth, uninterrupted cleaning.
11 months ago

Quelling LG OLED G1 Picture Loop at Startup
Stop the LG OLED G1 picture loop that stutters at startup, follow these clear steps to diagnose software glitches, adjust settings, and restore a smooth launch every time.
4 months ago

Resolving Room Acoustics Calibration on Samsung HW Q990T
Calibrate your Samsung HW, Q990T to your room's acoustics and unlock true cinema-quality sound, every dialogue and subtle score becomes crystal clear.
1 month ago
Latest Posts

Fixing the Eufy RoboVac 15C Battery Drain Post Firmware Update
Fix the Eufy RoboVac 15C battery drain after firmware update with our quick guide: understand the changes, identify the cause, and follow step by step fixes to restore full runtime.
5 days ago

Solve Reolink Argus 3 Battery Drain When Using PIR Motion Sensor
Learn why the Argus 3 battery drains fast with the PIR sensor on and follow simple steps to fix it, extend runtime, and keep your camera ready without sacrificing motion detection.
5 days ago

Resolving Sound Distortion on Beats Studio3 Wireless Headphones
Learn how to pinpoint and fix common distortion in Beats Studio3 headphones from source issues to Bluetooth glitches so you can enjoy clear audio again.
6 days ago