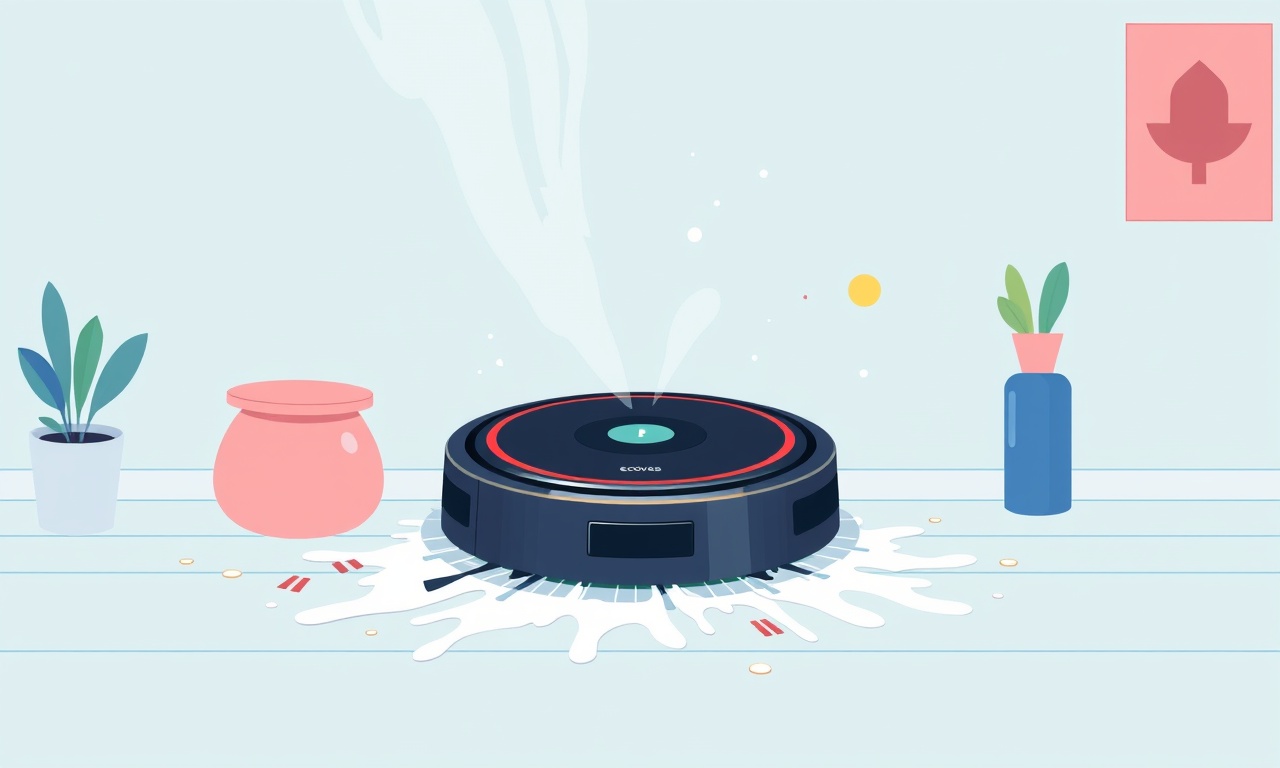
Clearing the Ecovacs Deebot T8 Dust Sensor Error After Deep Clean
Understanding the Dust Sensor Error on the Ecovacs Deebot T8 After a Deep Clean
When a robotic vacuum like the Ecovacs Deebot T8 begins to report a dust sensor error after a routine or deep cleaning session, it can feel like a roadblock in an otherwise seamless cleaning routine. The dust sensor is one of the key components that helps the robot detect the amount of debris on the floor and adjust its suction power accordingly. A faulty or misaligned sensor can trigger an error message, causing the device to stop or operate at reduced efficiency. Fortunately, the issue is usually solvable through a methodical approach that starts with a clear understanding of how the sensor works, proceeds with a detailed cleaning protocol, and ends with troubleshooting steps that can be performed at home.
Below is a comprehensive guide that takes you through the process of clearing a dust sensor error on the Ecovacs Deebot T8 after a deep clean, complete with practical tips, troubleshooting insights, and preventive measures to keep the robot running smoothly for years to come.
1. Why the Dust Sensor Matters
The dust sensor on the Deebot T8 is a small optical or laser module that constantly scans the floor beneath the robot. When the sensor detects a significant amount of dust or large debris, it signals the robot to increase suction power, activate the turbo mode, or raise the brush bar to ensure a deeper clean. When the sensor is blocked or misaligned, the robot may misinterpret the floor condition, trigger an error flag, or simply cease operation.
A deep cleaning cycle often involves vigorous brushing and suction that can push fine dust into the sensor housing or dislodge sensor components. This is why a sensor error can appear right after a deep clean even though the robot has already finished the cleaning task.
2. Preparing for the Sensor Check
2.1 Gather the Right Tools
- A microfiber cloth or soft brush
- Small, fine‑tipped tweezers (optional)
- A flashlight or headlamp for better visibility
- A clean, dry, and dust‑free workspace
All these items should be ready before you open the robot’s housing to avoid the temptation of rushing or leaving debris behind.
2.2 Power Down Safely
Turn off the Deebot T8 using the power button, and allow it to cool for a few minutes. This reduces the risk of electrical shock or accidental movements while you work on the device.
2.3 Remove the Dust Bin and Filter
Take out the dust bin and filter from the robot’s front compartment. This not only gives you easier access to the sensor area but also prevents any loose debris from falling into the bin during the cleaning process.
3. Locating the Dust Sensor
The dust sensor on the Deebot T8 is positioned near the front of the robot, just above the main brush. It can be accessed by opening the front panel that houses the dust bin.
- Locate the front panel hinge and carefully pry it open.
- Look for a small rectangular or circular opening that is covered by a thin plastic film or gasket.
- Inside this opening is the dust sensor unit, usually a small black or gray module.
If you need visual confirmation, you can refer to the manufacturer’s manual, but the opening is typically obvious once you have the front panel removed.
4. Cleaning the Dust Sensor
4.1 Inspect for Visible Debris
With the flashlight, shine light directly onto the sensor surface. Fine dust, pet hair, or crumbs may have accumulated inside the sensor housing. Look for any obstructions that block the optical path.
4.2 Gently Remove the Sensor
Carefully detach the sensor from its mounting bracket. The sensor may be held in place by a small screw or a spring clip. Use tweezers if necessary, but avoid using excessive force.
4.3 Use a Microfiber Cloth
Lightly wipe the sensor surface with a clean microfiber cloth. Microfiber is non‑abrasive and will not scratch the sensor’s delicate optical layer. Be sure to wipe in a circular motion and avoid sliding the cloth too hard.
4.4 Use Compressed Air (Optional)
If there is stubborn dust inside the sensor housing, a short burst of compressed air can dislodge it. Keep the air can at a reasonable distance to avoid damaging any internal components.
4.5 Reassemble the Sensor
Once the sensor is clean and dry, reattach it to its mounting bracket. Ensure that the sensor is positioned correctly and that all seals are in place. Close the front panel and reattach any screws or clips.
5. Resetting the Deebot T8 After Cleaning
- Replace the dust bin and filter.
- Turn the robot back on by pressing the power button.
- Navigate to the main menu on the app or the robot’s onboard display.
- Look for a “Reset” or “Recalibrate” option; select it.
- Follow the on‑screen instructions until the robot confirms that the sensor has been recalibrated.
If the dust sensor error is cleared, the robot should resume normal operation and may display a message such as “Sensor Reset Successful.”
6. Common Troubleshooting Scenarios
Even after a thorough cleaning, some users still encounter the dust sensor error. Below are typical situations that can cause persistent problems and how to address them.
6.1 Sensor Misalignment
If the sensor is not aligned correctly, the optical path may still be partially blocked. Use a ruler or a small flat tool to gently adjust the sensor position until the housing is flush with the front panel.
6.2 Software Glitch
Occasionally, the robot’s firmware can misinterpret a sensor status. Update the device’s firmware through the app or the manufacturer’s website. Reboot the robot after the update.
6.3 Physical Damage
If the sensor has visible cracks, scratches, or water damage, it may need replacement. Contact Ecovacs support for a replacement part or service center.
6.4 Battery Issues
A weak or failing battery can cause the robot’s internal sensors to behave erratically. Charge the robot fully and verify that the battery indicator shows a healthy level. If the battery remains low after a full charge, consider battery replacement.
6.5 Environmental Interference
Bright sunlight, reflective surfaces, or large metallic objects can interfere with sensor readings. Try cleaning in a well‑lit area but avoid direct sunlight, and keep the robot away from large mirrors or metallic furniture.
7. Preventive Measures to Avoid Future Errors
A proactive approach can reduce the frequency of dust sensor errors. Here are some best practices that keep the sensor clean and the robot running optimally.
7.1 Regular Dust Bin Maintenance
Empty the dust bin after every 5–10 cleaning sessions or sooner if you notice a strong smell. A full bin can cause dust to be recirculated back into the robot’s system.
7.2 Scheduled Sensor Cleaning
Set a reminder every two weeks to inspect and clean the dust sensor. Even a quick wipe-down can prevent dust buildup.
7.3 Keep Pet Hair Under Control
If you have pets, consider using a pet‑specific brush or a vacuum‑compatible pet hair removal attachment on the robot. Pet hair tends to cling to sensor surfaces more easily.
7.4 Avoid Overloading
Do not overload the robot with excessive debris. Large objects like small toys or tangled cords can block the sensor or damage the brush. Remove them before starting a deep clean.
7.5 Use Filter and Brush Cleaning Tools
The Deebot T8 often comes with a filter cleaning tool and a brush cleaning brush. Use them regularly to keep the filter and brush free of dust. A clogged filter reduces suction and can cause the sensor to misread the floor condition.
8. When to Seek Professional Support
If you have followed all the steps above and the dust sensor error persists, it is time to contact Ecovacs support. Provide the following information:
- Model number and serial number
- Firmware version
- Detailed description of the error and the steps you have taken
- Any relevant screenshots from the app
Professional support may recommend a replacement sensor or provide a firmware patch that addresses the issue.
9. Conclusion
A dust sensor error on the Ecovacs Deebot T8 after a deep clean is usually a simple, surface‑level problem that can be fixed with a methodical cleaning and reset process. Understanding how the sensor works, preparing the right tools, performing a careful inspection, and resetting the device are the cornerstone steps to restoring normal operation.
By incorporating preventive maintenance into your cleaning routine—such as regular dust bin emptying, scheduled sensor cleaning, and keeping pet hair under control—you can minimize the likelihood of sensor errors and keep your robotic vacuum in top shape for years.
Should the error persist after all troubleshooting steps, professional support will provide the necessary guidance or replacement parts to get your Deebot T8 back to its efficient, hassle‑free cleaning performance.
Discussion (9)
Join the Discussion
Your comment has been submitted for moderation.
Random Posts

Rebooting Google Nest Hub (3rd Gen) to Resolve App Sync Glitches
Stuck with delayed notifications, unresponsive tiles, or stale smart, home data? A simple reboot of your Nest Hub 3rd Gen clears cache, resets processes, and restores smooth app sync.
3 months ago

Fixing Bluetooth Signal Drops on Apple AirPods Pro
Tired of AirPods Pro disconnecting during walks or workouts? Learn why Bluetooth drops happen, how to spot them, and quick fixes - no coding required - to keep audio flowing.
11 months ago

Fixing the Duplexer Failure on a Brother MFC‑J805DW
Learn how to diagnose and replace a faulty duplexer on your Brother MFC, J805DW, restoring double, sided printing with step, by, step instructions for tech, savvy users.
10 months ago

Solving Apple iPhone 13 Pro Camera Rolling Shutter With External Lens
Stop the slanted look from rolling shutter when adding external lenses to your iPhone 13 Pro by tweaking camera settings, choosing the right lens, and using proper stabilization.
9 months ago

Restoring Bandwidth on Amazon Eero Mesh 6 Pro After a Firmware Update
After an Eero Mesh 6 Pro firmware update, bandwidth often drops. This guide explains why the change occurs and walks you through quick steps to restore full speed and a stable connection for work and play.
8 months ago
Latest Posts

Fixing the Eufy RoboVac 15C Battery Drain Post Firmware Update
Fix the Eufy RoboVac 15C battery drain after firmware update with our quick guide: understand the changes, identify the cause, and follow step by step fixes to restore full runtime.
5 days ago

Solve Reolink Argus 3 Battery Drain When Using PIR Motion Sensor
Learn why the Argus 3 battery drains fast with the PIR sensor on and follow simple steps to fix it, extend runtime, and keep your camera ready without sacrificing motion detection.
5 days ago

Resolving Sound Distortion on Beats Studio3 Wireless Headphones
Learn how to pinpoint and fix common distortion in Beats Studio3 headphones from source issues to Bluetooth glitches so you can enjoy clear audio again.
6 days ago