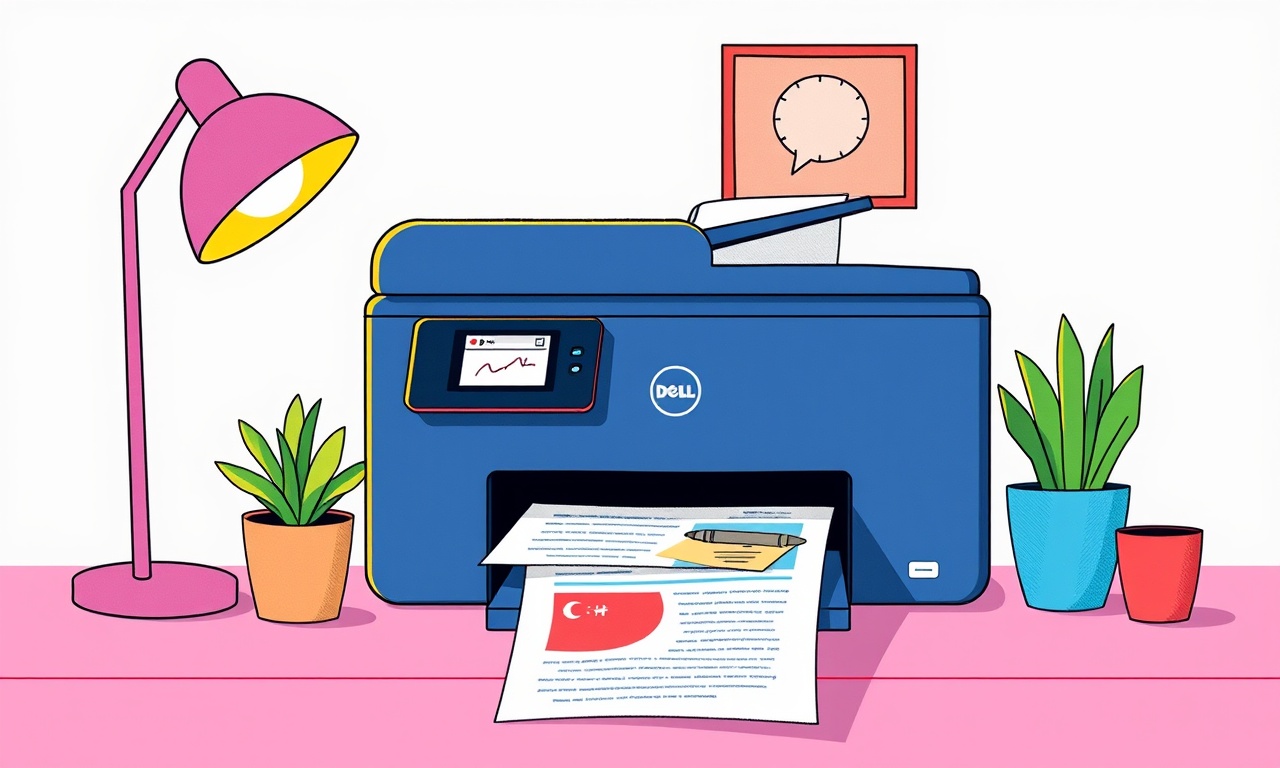
Clearing the Jammed Paper Alert on a Dell E3105
Introduction
When a Dell E3105 prints a document, the experience is usually smooth and reliable. A sudden Jammed Paper Alert interrupts this flow, displaying a warning on the control panel and halting the print job. While the alert is a simple indicator, clearing it correctly is crucial to avoid further damage to the printer or paper waste. This guide walks you through every step needed to safely remove jammed paper, reset the alert, and restore full functionality to your Dell E3105.
Understanding the Jammed Paper Alert
The Dell E3105 is equipped with a network of sensors that detect paper passage through the device. When a piece of paper gets stuck, the sensor chain is broken and the printer raises a jammed paper alert. The alert is usually accompanied by a blinking icon or a textual message on the front display. The printer may also pause the current job, waiting for the user to intervene.
Key components involved in this process are:
- Paper feed rollers – pull paper from the tray toward the print head.
- Intake rollers – guide paper from the tray into the feed path.
- Return rollers – bring used paper back into the tray.
- Jam sensor – detects obstruction in the feed path.
- Control board – processes sensor input and triggers the alert.
Knowing how these parts interact helps you pinpoint the jam location and decide how to remove it safely.
Safety Precautions
Before you begin, observe these safety measures:
- Power down the printer by pressing the power button until the display turns off.
- Unplug the printer from the wall outlet and any network connections.
- Wait at least one minute after unplugging to allow internal components to cool and to prevent accidental re‑activation.
- Avoid using excessive force when pulling paper. Gentle, straight pulls prevent further damage.
- If the jammed paper is stuck deep within the printer, do not force it out. Contact Dell support instead.
Step‑by‑Step Guide to Clearing the Jammed Paper Alert
1. Power Off and Disconnect
- Press the power button on the front panel until the screen goes dark.
- Locate the power cord at the back of the printer and unplug it from the outlet.
- Disconnect any Ethernet or Wi‑Fi cables if applicable.
This step ensures that no electrical circuits are live while you handle the printer’s interior.
2. Open the Printer Cover
- Locate the main cover or door on the front of the printer.
- Slide it forward or lift it upward, depending on the model design.
- Set the cover aside on a flat surface.
Opening the cover grants access to the internal rollers and sensors.
3. Locate the Jammed Paper
- Inspect the paper path from the tray to the output slot.
- Look for visible paper fragments, folds, or torn edges.
- Identify the section where the paper appears stuck—common areas include:
- Between the intake and feed rollers.
- In the duplexer (if the printer is set to double‑side printing).
- Near the output tray, especially if a paper stack has been accidentally pulled through.
4. Remove the Jammed Paper
- Grasp the paper at two opposite edges.
- Pull it straight out toward the tray, keeping the pull aligned with the paper path.
- If resistance occurs, do not yank. Instead, locate the obstruction with your fingers, lift it gently, and remove it.
- Once the paper is clear, inspect the rollers for any residue or stuck fragments.
Careful removal prevents tearing or further blockage.
5. Inspect and Clean the Rollers
- Use a soft, lint‑free cloth dampened with a mild cleaning solution (e.g., isopropyl alcohol) to wipe the feed rollers.
- Ensure no adhesive or paper fibers remain on the roller surface.
- If rollers are visibly worn, note that they may need replacement.
6. Reset the Jam Sensor
- After clearing the paper, locate the jam sensor—a small sensor housing near the feed path.
- Press the sensor button (if present) to reset it, or simply allow the printer to power on and automatically clear the sensor state.
- Observe the front display for any lingering jam warnings.
7. Close the Cover and Reconnect
- Replace the printer cover, ensuring it is fully latched.
- Plug the power cord back into the outlet.
- Reconnect Ethernet or Wi‑Fi cables.
8. Power On and Test
- Press the power button to start the printer.
- Load a single sheet of plain paper into the tray.
- Select a small print job (e.g., a test page).
- Monitor the printer for any error messages or alerts.
If the printer completes the test page without issues, the jammed paper alert has been successfully cleared.
Common Mistakes and How to Avoid Them
- Forcing the paper: This can tear the sheet, creating more fragments that cause subsequent jams.
- Using wet cleaning solutions: Excess moisture can damage internal components. Use a damp cloth and evaporate quickly.
- Leaving the cover open after clearing: The printer’s sensors may misinterpret an open cover as a jam, re‑triggering the alert.
- Ignoring small paper bits: Residual fibers can accumulate and cause jams over time. Always clean rollers after every jam incident.
Troubleshooting Persistent Alerts
Even after a clean jam removal, the Dell E3105 may still display a jammed paper alert. Try the following:
1. Double‑Check for Hidden Fragments
- Open the cover again and examine the rollers and sensor housings for tiny paper pieces.
- Use a flashlight to spot any small shards.
2. Verify Sensor Status
- On the front display, navigate to the Menu → Diagnostics.
- Run a sensor test. If the sensor indicates an obstruction, the hardware may be damaged.
3. Update Firmware
- Visit Dell’s support website and download the latest firmware for the E3105.
- Install it following the on‑screen instructions.
- Firmware updates often include bug fixes for sensor misreads.
4. Check Power Supply
- A fluctuating power supply can cause false jam alerts.
- Test the printer with a different outlet or a surge protector.
5. Inspect the Duplexer (if applicable)
- Duplex printers have an additional feed path.
- Remove any paper that may have been caught in the duplexer’s feed rollers or sensor.
6. Reboot the Control Board
- Some printers allow a reset by disconnecting the main power for 30 seconds, then reconnecting.
- This clears temporary glitches in the control board.
If none of these steps resolve the alert, proceed to hardware replacement or professional service.
Preventing Future Paper Jams
Consistent maintenance reduces the risk of jams:
- Use high‑quality paper: Avoid overly thin or damp sheets that can curl.
- Keep trays clean: Remove any debris or residual paper that may interfere with the feed.
- Avoid overloading: Do not exceed the maximum paper stack height.
- Regularly clean rollers: Schedule a cleaning cycle every 500 print jobs.
- Monitor print job size: Large, continuous print jobs can strain the feed system; break them into smaller batches if possible.
Maintenance Checklist
| Frequency | Task |
|---|---|
| Every 200 print jobs | Inspect and clean feed rollers. |
| Every 1,000 print jobs | Check sensor housings for residue. |
| Monthly | Verify firmware is up to date. |
| Quarterly | Inspect the duplexer (if present) for obstructions. |
| Annually | Conduct a full hardware inspection by a certified technician. |
When to Contact Dell Support
If the printer continues to issue jam alerts after exhaustive troubleshooting, or if you suspect a hardware failure (e.g., broken rollers, sensor malfunction), reach out to Dell Support:
- Phone: Call your local Dell support number.
- Online: Submit a ticket through Dell’s support portal.
- Warranty: If your device is still under warranty, request a repair or replacement.
Provide the support team with:
- The printer’s serial number.
- A detailed description of the problem and steps already taken.
- Any error codes displayed.
Conclusion
Clearing a jammed paper alert on the Dell E3105 is a straightforward process when approached methodically. By powering off, carefully removing the jam, cleaning the rollers, and resetting the sensor, you can restore full printing capability with minimal downtime. Consistent maintenance, awareness of common pitfalls, and prompt action when alerts persist will keep your Dell E3105 running smoothly for years.
Remember, a well‑maintained printer not only saves time but also extends the life of the device, ensuring reliable performance for all your home office needs.
Discussion (12)
Join the Discussion
Your comment has been submitted for moderation.
Random Posts

Reassessing the Audio Jack Dropout on LG Velvet 2
Explore why the LG Velvet 2's 3.5mm jack glitches, what triggers audio dropouts, user fixes, and LG's stance: essential insight for current and future Android phones.
1 year ago

Philips HP700 Fan Stalls Quietly Even At Low Speed Why This Happens And What To Do
Discover why your Philips HP700 quietly stalls at low speed, spot early signs, and fix the issue to keep steady airflow.
2 weeks ago

How to Stop Sharp LC-40M from Producing Audio Sync Issues While Gaming
Fix your Sharp LC-40M so game audio stays in sync. Learn quick settings tweaks, cable checks, and audio-output fixes that keep sound matching action for a flawless gaming experience.
6 months ago

Solve Arlo Pro 4 Wireless Connection Problems
Discover quick fixes for offline Arlo Pro 4 cameras. Check power, Wi, Fi, firmware, reset steps, and more get your live feed back up fast.
4 months ago

Panasonic D45 Dryer Timer Skips Final Drying Cycle
Discover why your Panasonic D45 dryer skips its final cycle, learn the symptoms, root causes, and easy fixes to keep clothes dry, save energy, and avoid extra runs.
5 months ago
Latest Posts

Fixing the Eufy RoboVac 15C Battery Drain Post Firmware Update
Fix the Eufy RoboVac 15C battery drain after firmware update with our quick guide: understand the changes, identify the cause, and follow step by step fixes to restore full runtime.
5 days ago

Solve Reolink Argus 3 Battery Drain When Using PIR Motion Sensor
Learn why the Argus 3 battery drains fast with the PIR sensor on and follow simple steps to fix it, extend runtime, and keep your camera ready without sacrificing motion detection.
5 days ago

Resolving Sound Distortion on Beats Studio3 Wireless Headphones
Learn how to pinpoint and fix common distortion in Beats Studio3 headphones from source issues to Bluetooth glitches so you can enjoy clear audio again.
6 days ago