Repairing the Printer Overheating on a Brother MFC-L2750DW
Introduction
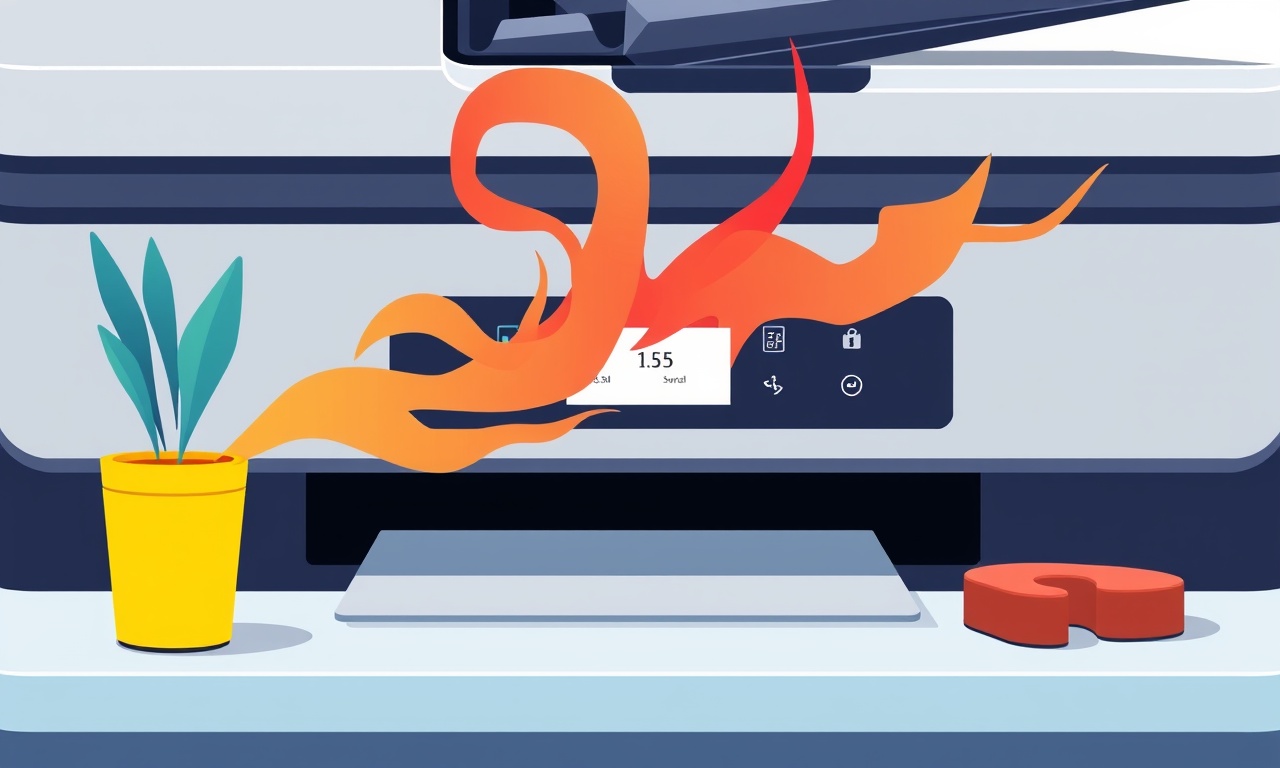
When the Brother MFC‑L2750DW throws a warning about overheating, it’s more than just a nuisance. If the problem isn’t addressed, the printer’s internal components can suffer irreversible damage, shortening its lifespan or even rendering it inoperable. This guide walks you through the essential steps to diagnose, troubleshoot, and repair overheating issues on the MFC‑L2750DW, ensuring a safer and more reliable printing experience for your home office.
Understanding Overheating in the MFC‑L2750DW
Overheating in modern monochrome laser printers is typically triggered by one or more of the following:
- Heat accumulation from high‑speed printing or large print jobs.
- Blocked or dirty air vents that impede proper airflow.
- Faulty or degraded internal fans that no longer move air efficiently.
- Defective or aged print head components that generate excess heat.
- Electrical issues such as a failing power supply or surge.
Knowing which factor applies to your printer is the first step toward effective repair.
Common Symptoms Before the Warning Appears
- Warm or hot to the touch at the back of the unit.
- Strange smells resembling burning plastic or toner.
- Repeated slowdowns or brief pauses during printing.
- Unexplained error codes displayed on the LCD panel.
- Frequent power‑off or resets during long print jobs.
If you notice any of these, pause printing immediately and follow the steps below before turning the printer back on.
Safety Precautions
- Disconnect the power cord before opening the printer.
- Wear anti‑static wrist straps when touching internal components.
- Avoid touching the toner cartridge if it is still loaded; the toner powder can damage skin and electronics.
- Work on a clean, flat surface to prevent dust accumulation.
- Keep a small flashlight or lamp handy to illuminate hidden parts.
Step‑by‑Step Repair Guide
1. Inspect the Exterior and Ventilation
- Check the rear air vents for dust or debris.
- Clean the vents with compressed air or a soft brush.
- Confirm the printer is on a flat, stable surface; avoid placing it on soft carpeting that can block airflow.
2. Verify the Printer’s Ambient Conditions
- Room temperature should be between 15°C and 30°C (59°F–86°F).
- Relative humidity should stay below 60%.
- Avoid direct sunlight or heat sources near the printer.
3. Open the Printer’s Access Panels
- Locate the access panel on the front or side (usually labeled).
- Remove the panel by pressing the release latch and lifting.
- Expose the internal components: fans, power supply, and print head.
4. Clean Internal Components
- Use a can of compressed air to blow out dust from the internal fan blades and heat sink.
- Check the fan motor for wobble or unusual noise.
- Inspect the print head assembly for toner buildup or mechanical wear.
5. Test the Internal Fan
- Plug in the printer and power it on.
- Listen for the fan to spin.
- If the fan is not spinning, replace it with a compatible Brother fan model.
- If it spins slowly or erratically, it may need replacement or a firmware update.
6. Replace the Fan (If Necessary)
- Turn off and unplug the printer.
- Locate the fan (often a small, 80mm or 120mm unit).
- Unscrew or unclamp the fan.
- Disconnect the fan connector from the motherboard.
- Insert the new fan, connect the cable, and secure it.
- Reassemble the printer and power on to confirm normal operation.
7. Examine the Power Supply Unit
- Look for bulging capacitors or scorch marks.
- Check the power cord for fraying or damage.
- If the PSU shows signs of failure, replace it with an identical Brother MFC‑L2750DW power supply.
8. Update Firmware
- Download the latest firmware from Brother’s official website.
- Connect the printer to a PC via USB.
- Run the firmware update utility following on‑screen instructions.
- Updated firmware can improve thermal management algorithms.
9. Replace the Toner Cartridge (If Overheating Is Due to a Faulty Cartridge)
- Remove the current cartridge and inspect it for leaks.
- Replace it with a genuine Brother cartridge.
- Reinstall and run a test print.
10. Test Print and Monitor Temperature
- Run a short test page.
- Feel the back of the printer for heat.
- Check the LCD for any remaining warnings.
- Observe the fan speed; it should operate consistently throughout the print.
Common Troubleshooting Scenarios
| Scenario | Likely Cause | Quick Fix |
|---|---|---|
| Printer warms only after a few pages | Dust‑laden vents | Clean vents with compressed air |
| Fan spins irregularly | Worn motor or bad connection | Replace fan or reseat connector |
| Persistent error code 0xE7 | Power supply failure | Replace PSU |
| Overheating with only one toner cartridge | Cartridge leak or damage | Replace cartridge |
Maintaining Optimal Printer Health
- Print every week or run a dust‑removal cycle if the printer is idle for extended periods.
- Keep the printer in a well‑ventilated area away from heat sources.
- Regularly update firmware to incorporate thermal management improvements.
- Schedule a professional inspection every 12 months if you print large volumes.
When to Call a Professional
- If you encounter severe electrical damage (e.g., exposed wiring).
- If the printer shows unusual noises that persist after fan replacement.
- If you are unsure about handling internal components.
Professional technicians can safely diagnose complex issues such as PCB failures or deep thermal management problems.
Final Thoughts
Overheating on a Brother MFC‑L2750DW is usually a sign that internal airflow or cooling components need attention. By following the steps above—cleaning vents, inspecting fans, updating firmware, and replacing worn parts—you can restore safe, efficient operation to your printer. Consistent maintenance not only prevents overheating but also prolongs the life of your device, keeping your home office productive and reliable.
Discussion (9)
Join the Discussion
Your comment has been submitted for moderation.
Random Posts

Maytag M2011 Microwave Error Code 12, Troubleshooting Tips
Error Code 12 on a Maytag M2011 signals a power or high voltage fault. Follow a step by step guide to inspect the transformer, diode, and connections, and restore your microwave without costly repairs.
4 weeks ago

Strategy to Avoid Unresponsive Power Button on Sonoff Smart Plug S40
Keep your Sonoff S40 button responsive by learning why it fails and how to prevent it with simple care, firmware updates, and smart habits.
1 year ago

AVer CAM3400 Microphone Silences Voice When Using Zoom
Find out why your AVer CAM3400 mic cuts out on Zoom, learn step-by-step fixes, and know when to call a pro to keep your audio loud and clear.
9 months ago

Correcting a Fan Speed Oscillation on the Lasko LS7500 Tower Heater
Learn how to stop the Lasko LS7500 fan from wavering by clearing dust, checking bearings and tightening connections, simple steps that restore steady heat and prolong your heater’s life.
9 months ago

Fix Sony SmartCam Indoor Noise Interference
Discover why your Sony SmartCam hisses, crackles, or distorts indoors, learn to spot power, cord and wireless culprits, and fix the noise with simple, lasting solutions.
3 weeks ago
Latest Posts

Fixing the Eufy RoboVac 15C Battery Drain Post Firmware Update
Fix the Eufy RoboVac 15C battery drain after firmware update with our quick guide: understand the changes, identify the cause, and follow step by step fixes to restore full runtime.
5 days ago

Solve Reolink Argus 3 Battery Drain When Using PIR Motion Sensor
Learn why the Argus 3 battery drains fast with the PIR sensor on and follow simple steps to fix it, extend runtime, and keep your camera ready without sacrificing motion detection.
5 days ago

Resolving Sound Distortion on Beats Studio3 Wireless Headphones
Learn how to pinpoint and fix common distortion in Beats Studio3 headphones from source issues to Bluetooth glitches so you can enjoy clear audio again.
6 days ago