Electrolux LCM30 Fix for Constant Humidity in Indoor Unit
Understanding the Problem
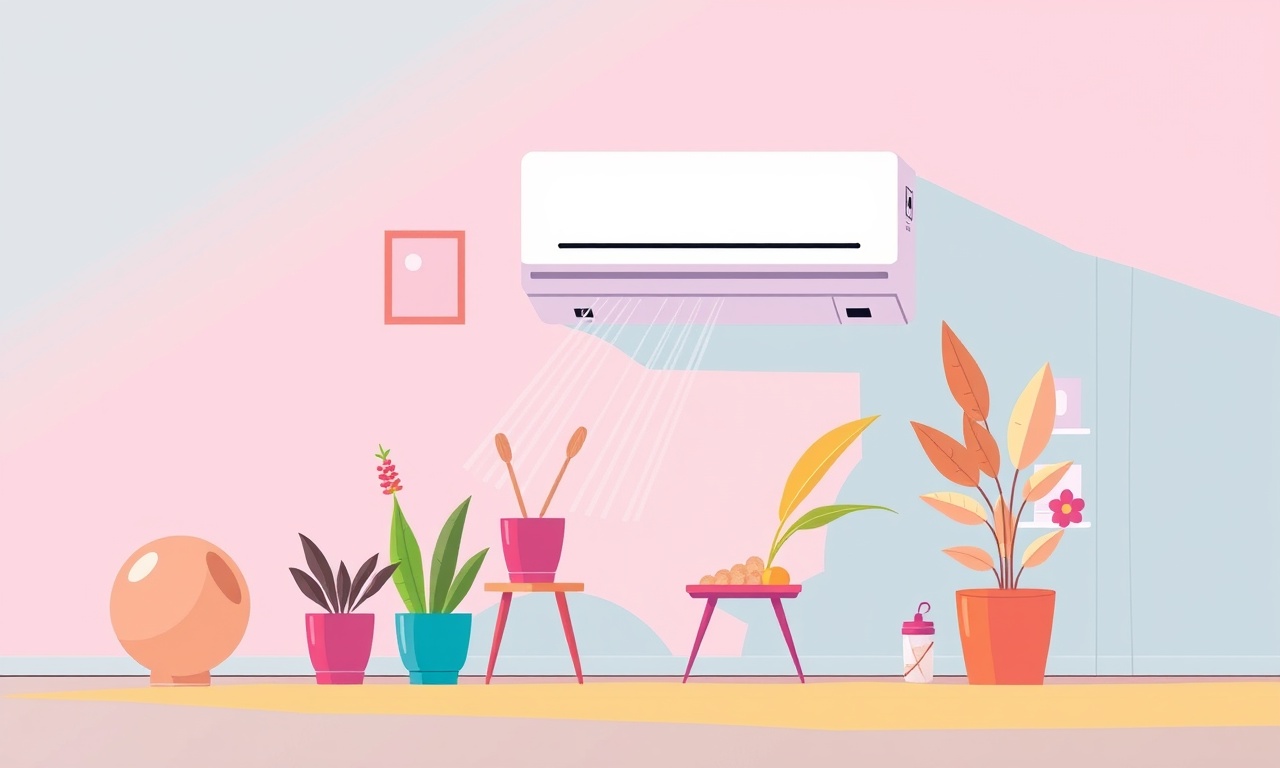
Air conditioners are designed to cool and dehumidify indoor spaces, yet many owners of the Electrolux LCM30 report a persistent high humidity level in the room despite the unit running for hours. This issue can stem from several factors—faulty drainage, compressor or refrigerant problems, or an obstruction in the air path. By diagnosing the root cause and following a systematic repair approach, homeowners can restore proper airflow and moisture control without professional intervention.
Key Symptoms
- The indoor unit remains humid even after a full cooling cycle
- Condensation may form on the coils but fails to drain away
- The room feels clammy or damp after the AC has been on for a while
- The control panel shows no error codes but the humidity gauge reads high
When you encounter these signs, it is essential to turn off the unit, inspect the relevant components, and then proceed with the troubleshooting steps outlined below.
Safety First
Before touching any part of the air conditioner, disconnect the unit from its power source. Use insulated tools and keep a fire extinguisher nearby. If you are unsure about any step, seek help from a licensed HVAC technician.
1. Verify the Indoor Unit’s Functionality
Check the Airflow
Open the front grill and ensure that the intake vents are unobstructed. A blockage can cause the evaporator coils to remain too warm, preventing proper moisture removal.
Confirm the Evaporator Coil Temperature
Place a thermometer near the coil. If the coil temperature is above 40 °F (4 °C), the refrigerant cycle may be compromised, which can reduce the unit’s ability to extract moisture.
2. Inspect the Drainage System
A clogged or improperly installed drain can cause moisture to accumulate in the indoor unit, feeding back into the air that circulates in the room.
Examine the Drain Pan
Locate the drain pan beneath the evaporator coils.
- If it is full of water or shows signs of rust, drain it carefully with a small bucket or a wet‑dry vacuum.
- Clean any debris with a brush or compressed air.
Test the Drain Tube
The drain tube usually exits near the rear of the indoor unit or runs along the side of the cabinet.
- Inspect for kinks or blockages.
- If it is blocked, remove the tube and rinse it with a solution of one part vinegar to ten parts water.
- Reinstall the tube and ensure a slight downward slope so gravity can carry water away.
3. Verify the Refrigerant Level
Low refrigerant will reduce cooling capacity and diminish humidity removal.
Locate the Service Ports
On the indoor unit, find the high‑pressure and low‑pressure service ports. These are usually located on the rear or side panels and are marked with a small symbol or “R” marking.
Measure Pressure with a Manifold Gauge
- Attach the gauge set to the ports.
- Compare the readings with the manufacturer’s specification chart for the LCM30.
- If the pressure is below the recommended range, it indicates a refrigerant leak or insufficient charge.
Recharging or Repairing the Leak
- Small leaks can often be repaired with a sealing compound.
- For significant leaks, it is safer to call a professional.
- If the refrigerant is low but the leak is minor, you may add refrigerant using a certified charger following local regulations.
4. Clean or Replace the Evaporator Coil
A dirty coil can prevent efficient heat exchange, reducing the unit’s dehumidification performance.
Remove the Front Panel
- Unscrew the panel and set it aside.
- Disconnect any wiring harnesses if necessary.
Clean the Coil
- Use a coil cleaning spray specifically formulated for HVAC systems.
- Let the spray sit for the recommended time (usually 15 minutes).
- Rinse gently with a low‑pressure hose or a damp cloth.
- Allow the coil to dry completely before reassembly.
Replace the Coil if Needed
If the coil is severely corroded or cracked, replace it with a new one that matches the model’s specifications.
5. Inspect the Fan and Motor
A malfunctioning fan can reduce airflow across the coils, diminishing moisture extraction.
Check Fan Blades
- Look for bent or broken blades.
- Clean any accumulated dust or debris.
Test Motor Operation
- Turn the unit on and listen for normal motor sounds.
- If the motor is sputtering or producing a whining noise, it may be failing and should be replaced.
6. Examine the Thermostat and Control Settings
Incorrect settings can inadvertently cause the unit to operate at a high humidity level.
Verify Temperature Settings
- Ensure that the thermostat is set below the ambient temperature, preferably 75°F (24°C) or lower during summer months.
Check Humidity Control (If Available)
- Some models include a built‑in humidity sensor.
- Set it to a target humidity of 45–50% for optimal comfort.
7. Review the Outdoor Unit
Since the indoor and outdoor units work in tandem, a problem outdoors can affect indoor humidity.
Inspect the Condenser Coil
- Clear any debris, leaves, or moss.
- A blocked condenser prevents heat from escaping, reducing overall system performance.
Verify Fan Operation
- The outdoor fan should spin freely.
- Replace or repair any worn bearings.
8. Perform a Full System Test
After completing all inspections and repairs, reassemble the unit and reconnect power.
Run a Cooling Cycle
- Monitor the indoor temperature gauge.
- Observe the humidity gauge over a 30‑minute period.
- The humidity should drop to the set level within 15–20 minutes.
Check for Leaks
- Inspect the drain pan and pan cover for water accumulation.
- Ensure that the drain tube remains clear.
9. When to Call a Professional
Even after diligent self‑service, some issues require expert attention:
- Refrigerant Leaks: Handling refrigerants requires certification and specialized tools.
- Electrical Faults: Wiring or control board failures can pose fire hazards.
- Major Mechanical Damage: Compressor replacement or extensive coil corrosion.
Maintenance Tips to Prevent Future Humidity Problems
| Frequency | Task | Description |
|---|---|---|
| Weekly | Check and clean air filters | Remove dust buildup that limits airflow. |
| Monthly | Inspect drain pan and tube | Ensure drainage is free from obstructions. |
| Every 6 months | Clean evaporator coils | Use a coil cleaner to maintain efficiency. |
| Yearly | Professional servicing | Verify refrigerant levels, electrical connections, and component integrity. |
By following these maintenance practices, you can keep the Electrolux LCM30 operating efficiently, ensuring that your indoor environment remains cool and dry.
Final Thoughts
Addressing constant indoor humidity on the Electrolux LCM30 involves a clear understanding of the system’s components and a methodical approach to troubleshooting. By inspecting the drainage system, refrigerant charge, coil cleanliness, fan operation, and control settings, most homeowners can resolve the issue themselves. However, if the problem persists or involves refrigerant or complex electrical components, professional service is recommended to avoid safety risks and ensure the longevity of the unit.
Stay proactive with routine maintenance and prompt repair to keep your living space comfortable throughout the season.
Discussion (7)
Join the Discussion
Your comment has been submitted for moderation.
Random Posts

Reassessing the Audio Jack Dropout on LG Velvet 2
Explore why the LG Velvet 2's 3.5mm jack glitches, what triggers audio dropouts, user fixes, and LG's stance: essential insight for current and future Android phones.
1 year ago

Philips HP700 Fan Stalls Quietly Even At Low Speed Why This Happens And What To Do
Discover why your Philips HP700 quietly stalls at low speed, spot early signs, and fix the issue to keep steady airflow.
2 weeks ago

How to Stop Sharp LC-40M from Producing Audio Sync Issues While Gaming
Fix your Sharp LC-40M so game audio stays in sync. Learn quick settings tweaks, cable checks, and audio-output fixes that keep sound matching action for a flawless gaming experience.
6 months ago

Solve Arlo Pro 4 Wireless Connection Problems
Discover quick fixes for offline Arlo Pro 4 cameras. Check power, Wi, Fi, firmware, reset steps, and more get your live feed back up fast.
4 months ago

Panasonic D45 Dryer Timer Skips Final Drying Cycle
Discover why your Panasonic D45 dryer skips its final cycle, learn the symptoms, root causes, and easy fixes to keep clothes dry, save energy, and avoid extra runs.
5 months ago
Latest Posts

Fixing the Eufy RoboVac 15C Battery Drain Post Firmware Update
Fix the Eufy RoboVac 15C battery drain after firmware update with our quick guide: understand the changes, identify the cause, and follow step by step fixes to restore full runtime.
5 days ago

Solve Reolink Argus 3 Battery Drain When Using PIR Motion Sensor
Learn why the Argus 3 battery drains fast with the PIR sensor on and follow simple steps to fix it, extend runtime, and keep your camera ready without sacrificing motion detection.
5 days ago

Resolving Sound Distortion on Beats Studio3 Wireless Headphones
Learn how to pinpoint and fix common distortion in Beats Studio3 headphones from source issues to Bluetooth glitches so you can enjoy clear audio again.
6 days ago