Eliminate Cracked Glass on Samsung Galaxy S22 Ultra Protectors
Eliminating Cracked Glass on Samsung Galaxy S22 Ultra Protectors
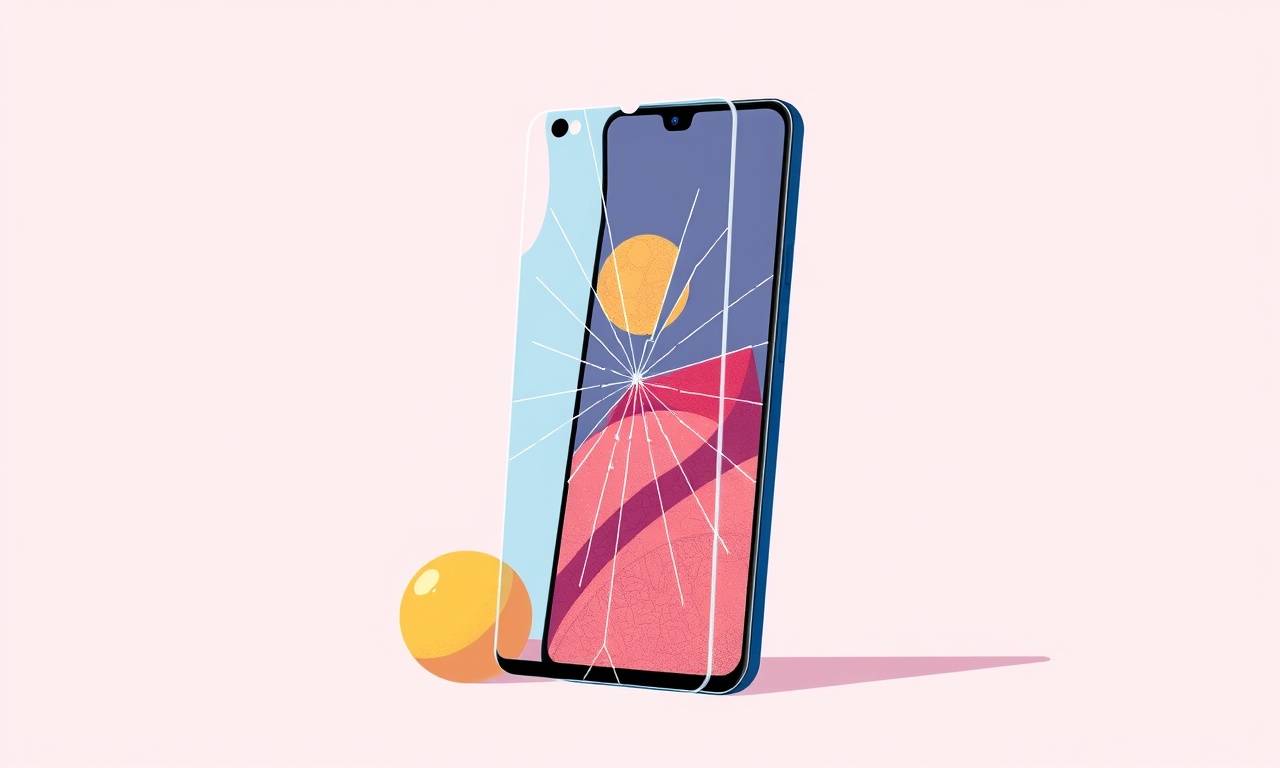
When a screen protector on a Samsung Galaxy S22 Ultra cracks, it can feel like a minor inconvenience that quickly becomes a bigger problem. A damaged protector not only compromises the visual clarity of the display but also reduces the overall protective value of the device. This guide explains how to safely remove a cracked protector, clean the screen, and apply a new one—ensuring your phone stays safe and looking sharp.
Why Protectors Crack
Screen protectors are designed to absorb minor impacts, repel fingerprints, and reduce scratches. However, they are still fragile and can crack under certain circumstances:
- Direct impact from falling or hitting a hard surface.
- Sharp objects such as keys or coins that pry the protector off.
- Temperature fluctuations that cause expansion or contraction of the material.
- Improper installation, leaving trapped air bubbles or dust particles that weaken the adhesive.
A cracked protector may show a fine line that looks cosmetic, or it may split into multiple pieces. In either case, it is best to replace it rather than try to repair it.
Signs of Damage
Before you take any action, confirm that the protector is indeed cracked. Look for:
- Visible fractures or fissures that extend across the screen.
- Loose edges that separate from the glass.
- An uneven surface that creates glare or distortion when you look at it.
If the cracks are minimal and you can see the underlying display clearly, you can still replace the protector. If the cracks are extensive and the protector is already detached, it may need to be replaced completely.
Safety Precautions
- Work on a clean, flat surface.
- Avoid touching the display with your fingertips; use a microfiber cloth instead.
- Keep a small brush or compressed air can nearby to remove dust.
- Be gentle when peeling; do not apply excessive force that could damage the glass.
By following these precautions, you minimize the risk of further damage to the phone or the new protector.
Removing the Cracked Protector
- Locate the corner where the protector is easiest to lift—often the bottom right corner.
- Gently lift the corner with a fingernail or a plastic card.
- Work slowly around the edges, using a slight upward motion to avoid tearing the adhesive.
- If the protector is stuck, press a damp cloth for a few seconds to soften the adhesive.
- Once removed, wipe away any adhesive residue with a microfiber cloth dampened with a small amount of isopropyl alcohol (70 %).
Avoid using sharp objects to pry the protector; this can scratch the underlying display.
Cleaning the Screen
After removal, the screen may still have dust or oil. A clean surface ensures a perfect bond for the new protector.
- Spray a small amount of isopropyl alcohol on a clean microfiber cloth.
- Wipe the display in a circular motion to remove fingerprints and oils.
- Use a dry section of the cloth to remove excess moisture.
- Inspect the surface; it should appear uniform and free of streaks.
If you notice any scratches or damages, address them before applying a new protector.
Choosing a New Protector
When selecting a replacement, consider the following factors:
- Material type – Tempered glass offers high impact resistance; polymer protects against scratches but may not hold up to drops.
- Coating options – Anti‑glare, privacy, and oleophobic coatings provide added functionality.
- Adhesive quality – A strong, clear adhesive prevents bubbles and ensures long‑term adhesion.
For the Galaxy S22 Ultra, a high‑definition tempered glass protector with a 1 mm thickness provides excellent protection while preserving the display’s brightness.
Applying the New Protector
- Align the protector with the screen. Most protectors come with a small guide.
- Lift the protective film from the back side of the protector.
- Place the protector on the screen, keeping the center aligned.
- Press down from the center outward.
- Release any trapped air with a flat edge (e.g., a credit card) wrapped in a soft cloth.
If bubbles appear, use the same method to push them toward the edge. Avoid touching the clear side; the adhesive should bond automatically after contact.
Tips for a Perfect Fit
- Use a clean, dust‑free room; humidity can cause fogging under the protector.
- Wait a few minutes after removal before applying a new one. This allows the screen to cool down and reduces condensation.
- Check for alignment after the first few seconds; small shifts can be corrected before the adhesive fully sets.
Following these steps will give you a seamless, bubble‑free protector that protects the display and enhances its appearance.
Preventive Measures
Even with the best protector, accidents happen. Protecting your phone proactively can reduce the likelihood of cracks:
- Use a robust phone case that covers the corners and edges.
- Keep the phone out of reach of pets and children.
- Avoid exposing it to extreme temperatures; sudden cold or heat can weaken adhesives.
- Replace the protector after 6–12 months; the adhesive degrades over time, increasing the chance of cracks.
Common Questions
Can I repair a cracked protector?
Tempered glass cannot be repaired. The safest option is to replace it. Polymer protectors may be glued back together if the cracks are minor, but this is not recommended for optimal protection.
Will a new protector crack again?
Yes, if the phone is dropped repeatedly or exposed to strong impacts. The protector’s lifespan depends on usage patterns and environmental factors.
Does the protector affect screen sensitivity?
Modern tempered glass protectors are engineered to maintain the original touch sensitivity. Any decrease is usually negligible.
How to remove bubbles that appear after application?
Gently lift the bubble edge with a soft cloth, then press the bubble back toward the center. Use a small amount of alcohol to help the adhesive set.
Conclusion
A cracked screen protector on a Samsung Galaxy S22 Ultra does not have to be a permanent inconvenience. By carefully removing the damaged protector, thoroughly cleaning the display, selecting a high‑quality replacement, and applying it with precision, you restore both the phone’s protective layer and its visual clarity. Coupled with preventive measures—such as a sturdy case and careful handling—you can keep your device looking new for years.
The process is straightforward, requiring only a few tools and a little patience. Following this guide will help you eliminate the frustration of a cracked protector and ensure your Galaxy S22 Ultra remains safe and stylish.
Discussion (10)
Join the Discussion
Your comment has been submitted for moderation.
Random Posts

Solving a Persistent Stain Release Issue on Whirlpool WFW5620HW
Tired of spots on your clothes? Discover how to diagnose and fix the stubborn stain release problem on your Whirlpool WFW5620HW with our step-by-step guide.
9 months ago

De'Longhi DL150 Steam Iron Water Recirculation Failure Solution
Trouble with your DeLonghi DL150 steam iron? Learn why water recirculation fails, diagnose the issue, and follow our simple step by step solution to restore steady steam and wrinkle free clothes.
3 months ago

Resolving Lenovo Mirage Solo Bluetooth Pairing Issues
Fix Lenovo Mirage Solo Bluetooth glitches fast with this step by step guide. From simple checks to firmware hacks, reconnect your headset, controllers, and peripherals in minutes.
2 months ago
Lenovo SmartEyewear X Eye Tracking Error Troubleshoot
Get your Lenovo SmartEyewear X eye tracking back with our step-by-step guide. Diagnose glitches, reset settings, and restore smooth gaze navigation quickly.
3 months ago

Calibrating Noise‑Cancellation on Beats Studio Buds
Master Beats Studio Buds ANC: learn the science, step, by, step calibration, and troubleshooting to silence distractions and boost your listening experience.
10 months ago
Latest Posts

Fixing the Eufy RoboVac 15C Battery Drain Post Firmware Update
Fix the Eufy RoboVac 15C battery drain after firmware update with our quick guide: understand the changes, identify the cause, and follow step by step fixes to restore full runtime.
5 days ago

Solve Reolink Argus 3 Battery Drain When Using PIR Motion Sensor
Learn why the Argus 3 battery drains fast with the PIR sensor on and follow simple steps to fix it, extend runtime, and keep your camera ready without sacrificing motion detection.
5 days ago

Resolving Sound Distortion on Beats Studio3 Wireless Headphones
Learn how to pinpoint and fix common distortion in Beats Studio3 headphones from source issues to Bluetooth glitches so you can enjoy clear audio again.
6 days ago