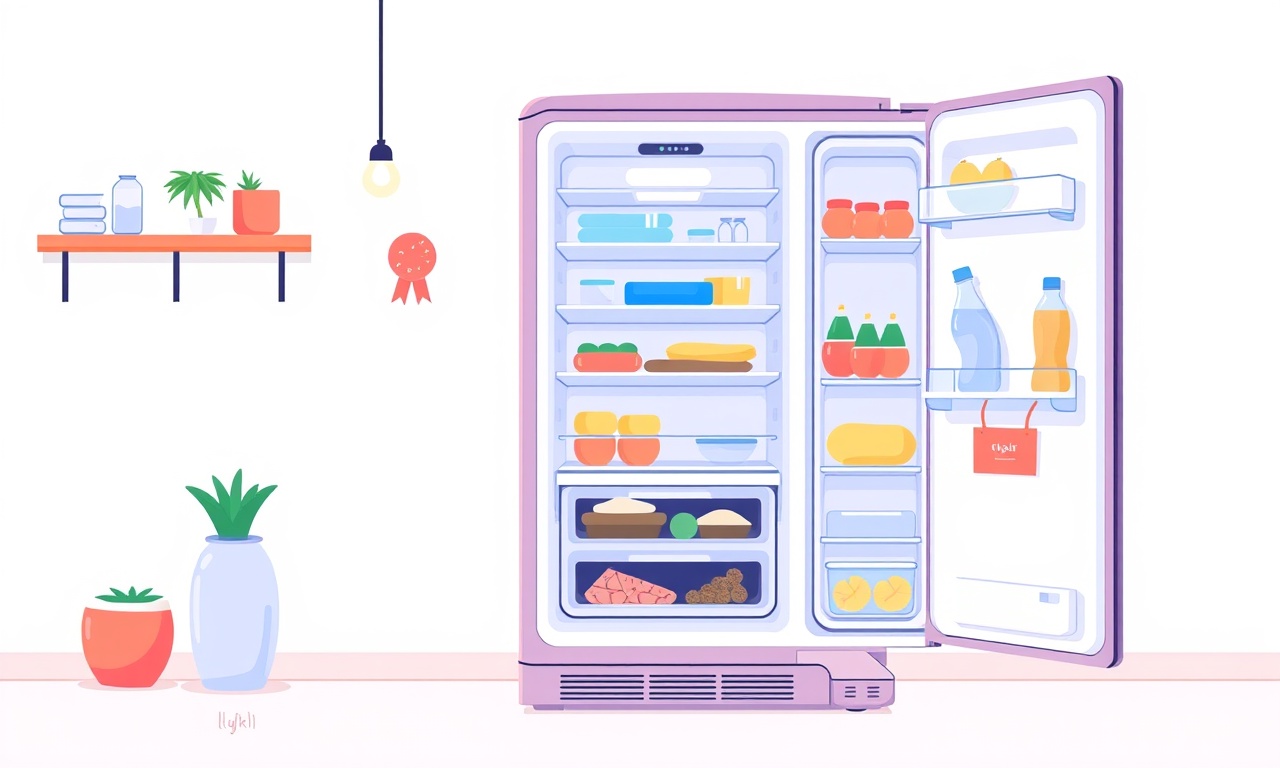
Fix GE Profile Series Refrigerator Model GNE27SSZSS No Frost Failure
Introduction
Refrigerators are the backbone of every kitchen, and a sudden loss of frost control can be frustrating. When a GE Profile Series refrigerator stops maintaining its no‑frost environment, the result is condensation, frost buildup, and food spoilage. Although the cause can vary—from a faulty defrost timer to a blocked condensate drain—many of the most common issues are solvable with a systematic approach. This guide walks you through diagnosing and fixing a no‑frost failure on a GE Profile Series model GNE27SSZSS, step by step, with practical tips and safety reminders.
Recognizing the Symptoms
Before you start disassembling any parts, you need to confirm that the problem is indeed a no‑frost failure rather than a simple temperature control issue. Here are the key symptoms:
- Frost Accumulation: Frost or ice crystals appear on the evaporator coils or within the freezer compartment, despite the unit’s “no‑frost” label.
- Condensation and Water Pools: Excessive moisture forms on the inner walls and may pool near the bottom of the fridge.
- Higher Energy Consumption: A unit that keeps defrosting unnecessarily will draw more power and may show a higher energy bill.
- Unstable Temperature: Food in the fridge or freezer may fluctuate or drop below the set temperature range.
If you notice these signs, proceed to the safety section before attempting any repairs.
Safety First
Electric appliances carry hazards. Use these precautions to protect yourself and your kitchen:
- Unplug the Unit: Before any work, disconnect the refrigerator from the mains supply. Check that the outlet is off by testing it with a voltage tester.
- Work in a Dry Environment: Keep the area free from liquids that could slip onto live components.
- Use Proper Tools: A flathead screwdriver, Phillips head screwdriver, socket set, and a non‑conductive putty knife are the most common tools needed. Avoid using metal tools that could short circuit circuits.
- Inspect Wiring: After unplugging, inspect all visible wiring for frays or damage. Replace any compromised cable before re‑installing.
- Follow Manufacturer Codes: The GNE27SSZSS model uses standard electrical specifications; do not alter the voltage rating.
Tools and Parts Checklist
Before you dive into the repair, gather the following items:
| Item | Purpose |
|---|---|
| Flathead screwdriver | Opening panels and loosening screws |
| Phillips head screwdriver | Removing the panel screws |
| Socket set | Tightening bolts on compressor or fan |
| Non‑conductive putty knife | Removing panels without scratching |
| Multimeter | Checking continuity and voltage |
| New defrost thermostat (if needed) | Replacing a faulty unit |
| New defrost heater element (if needed) | Replacing a burned element |
| New condensate drain tube (if clogged) | Re‑lining the drainage system |
| Cleaning brush | Removing frost and debris |
| Replacement gasket (if needed) | Sealing door |
If you encounter a component you cannot identify or replace, consult the official GE service manual for the GNE27SSZSS or contact a professional technician.
Step‑by‑Step Repair Guide
1. Access the Evaporator Coils
The first place to look for a no‑frost failure is the evaporator coils in the freezer section. A buildup of frost there indicates a problem with the defrost cycle.
- Remove the Freezer Shelf: Slide out the shelf and any bins. This clears the way to the back panel.
- Unscrew the Back Panel: Using a Phillips screwdriver, remove the screws that hold the rear panel in place. Keep them in a small container for later.
- Pull Back the Panel: Gently lift the panel to expose the evaporator coils. Use a non‑conductive putty knife if needed to avoid scratching the panel.
- Inspect the Coils: Look for excess frost or ice on the coils and the drain pan below. A clean, dry coil is the first indication that the defrost cycle is working properly.
2. Check the Defrost Thermostat and Heater
If the coils are frosted, the defrost thermostat or heater may be malfunctioning. These components work together to melt frost during the defrost cycle.
a. Test the Defrost Thermostat
- Locate the Thermostat: It sits near the back of the freezer, close to the coils.
- Set the Multimeter to Continuity: Connect the leads to the thermostat terminals.
- Check for Continuity: When the temperature is below the setpoint (usually around 10–12 °C), the thermostat should close the circuit. If there is no continuity, the thermostat is faulty and needs replacement.
b. Test the Defrost Heater
- Locate the Heater Element: It is a thin, serpentine wire wrapped around the evaporator coils.
- Set the Multimeter to Ohms: Connect to the heater terminals.
- Check Resistance: A healthy heater typically shows a resistance of about 20–30 ohms. A reading that reads infinite or zero indicates a broken or shorted heater.
If either the thermostat or heater fails the test, replace it with an identical part. Ensure the new part is installed in the exact orientation as the original.
3. Inspect the Defrost Timer or Control Board
Modern GE Profile refrigerators use a micro‑controller based control board instead of a mechanical timer. If the thermostat and heater are fine, the controller may be the culprit.
- Locate the Control Board: It sits in the back panel or under the floor panel of the fridge.
- Check for Visible Damage: Look for burn marks, cracked capacitors, or loose solder joints.
- Test the Board: Using a multimeter, verify that the board receives power during the defrost cycle. If not, a fault in the board will require replacement or repair by a qualified technician.
4. Verify the Condensate Drain
A blocked condensate drain can cause water to accumulate and subsequently freeze on the coils, disrupting the defrost cycle.
- Locate the Drain Tube: It exits near the back of the fridge, usually through the rear panel.
- Clear the Drain: Use a small brush or a thin, flexible pipe cleaner to remove debris. A common fix is to flush the tube with warm water.
- Test Drainage: After cleaning, press a small piece of tape across the drain outlet to ensure water flows freely. If the drain remains blocked, replace the tube.
5. Check the Door Gasket
A broken or misaligned door gasket can allow warm air to enter, preventing the refrigerator from maintaining a frost‑free environment.
- Inspect the Gasket: Look for cracks, warping, or missing segments.
- Clean the Gasket: Use warm soapy water and a soft brush to remove grime.
- Replace if Necessary: If the gasket fails the pressure test, replace it with a new GE Profile Series gasket.
6. Reassemble the Refrigerator
Once all components have been inspected and repaired or replaced, reassemble the unit carefully.
- Reattach the Back Panel: Screw the panel back into place, ensuring it is snug but not overtightened.
- Reinstall the Freezer Shelf: Slide the shelf back into the freezer.
- Plug the Unit Back In: Restore power to the refrigerator.
7. Perform a Functional Test
After reassembly, let the refrigerator run for at least 24 hours before checking its performance.
- Temperature Check: Use a fridge thermometer to monitor the temperature inside the fridge and freezer.
- Observe Frost: Inspect the evaporator coils after a day of operation. There should be no frost buildup.
- Monitor Power Consumption: If the unit consumes less power, it indicates the defrost cycle is functioning correctly.
Common Troubleshooting Tips
Even after a successful repair, issues can reappear if the underlying problem was not fully addressed. Keep these pointers in mind:
- Check the Ambient Temperature: The refrigerator works best between 68 °F and 72 °F. Placing the fridge in an area that is too cold or too hot can cause frost issues.
- Avoid Overloading: Overfilling the fridge or freezer can impede airflow, leading to localized cooling problems.
- Ensure Proper Ventilation: Keep the area around the fridge free of obstructions. Ventilation ports should not be blocked.
- Inspect the Power Supply: A fluctuating voltage can damage electronic controls. Consider using a surge protector.
- Use a Dedicated Thermometer: Regularly monitor the temperature with a digital thermometer to detect subtle shifts.
When to Call a Professional
If, after following the steps above, the refrigerator still fails to maintain a frost‑free environment, you might be facing a deeper electrical or mechanical issue. Situations that warrant professional help include:
- Control Board Failure: Replacing the micro‑controller board often requires specialized diagnostic equipment.
- Compressor Problems: Compressor replacement is a complex task that requires handling high pressure refrigerant.
- Severe Wiring Damage: Faulty or exposed wiring needs to be repaired by an electrician to meet safety standards.
A qualified technician can diagnose and resolve these issues efficiently, preventing further damage to the appliance.
Final Thoughts
Fixing a no‑frost failure in a GE Profile Series refrigerator involves a methodical approach: identifying the symptom, inspecting the defrost system, clearing the condensate drain, and ensuring a tight seal around the door. By following the steps outlined here, you can restore your fridge’s efficiency and extend its lifespan without immediately resorting to a costly replacement.
Remember, safety is paramount. If you’re unsure about any step or discover an electrical fault you cannot handle, contact a licensed appliance repair professional. With patience and the right tools, many no‑frost issues can be resolved quickly, keeping your kitchen fresh and your energy bills under control.
Discussion (10)
Join the Discussion
Your comment has been submitted for moderation.
Random Posts

Solving a Persistent Stain Release Issue on Whirlpool WFW5620HW
Tired of spots on your clothes? Discover how to diagnose and fix the stubborn stain release problem on your Whirlpool WFW5620HW with our step-by-step guide.
9 months ago

De'Longhi DL150 Steam Iron Water Recirculation Failure Solution
Trouble with your DeLonghi DL150 steam iron? Learn why water recirculation fails, diagnose the issue, and follow our simple step by step solution to restore steady steam and wrinkle free clothes.
3 months ago

Resolving Lenovo Mirage Solo Bluetooth Pairing Issues
Fix Lenovo Mirage Solo Bluetooth glitches fast with this step by step guide. From simple checks to firmware hacks, reconnect your headset, controllers, and peripherals in minutes.
2 months ago
Lenovo SmartEyewear X Eye Tracking Error Troubleshoot
Get your Lenovo SmartEyewear X eye tracking back with our step-by-step guide. Diagnose glitches, reset settings, and restore smooth gaze navigation quickly.
3 months ago

Calibrating Noise‑Cancellation on Beats Studio Buds
Master Beats Studio Buds ANC: learn the science, step, by, step calibration, and troubleshooting to silence distractions and boost your listening experience.
10 months ago
Latest Posts

Fixing the Eufy RoboVac 15C Battery Drain Post Firmware Update
Fix the Eufy RoboVac 15C battery drain after firmware update with our quick guide: understand the changes, identify the cause, and follow step by step fixes to restore full runtime.
5 days ago

Solve Reolink Argus 3 Battery Drain When Using PIR Motion Sensor
Learn why the Argus 3 battery drains fast with the PIR sensor on and follow simple steps to fix it, extend runtime, and keep your camera ready without sacrificing motion detection.
5 days ago

Resolving Sound Distortion on Beats Studio3 Wireless Headphones
Learn how to pinpoint and fix common distortion in Beats Studio3 headphones from source issues to Bluetooth glitches so you can enjoy clear audio again.
6 days ago