Fixing a Noisy Spray Arm on a LG LDX5540ST Dishwasher
Introduction
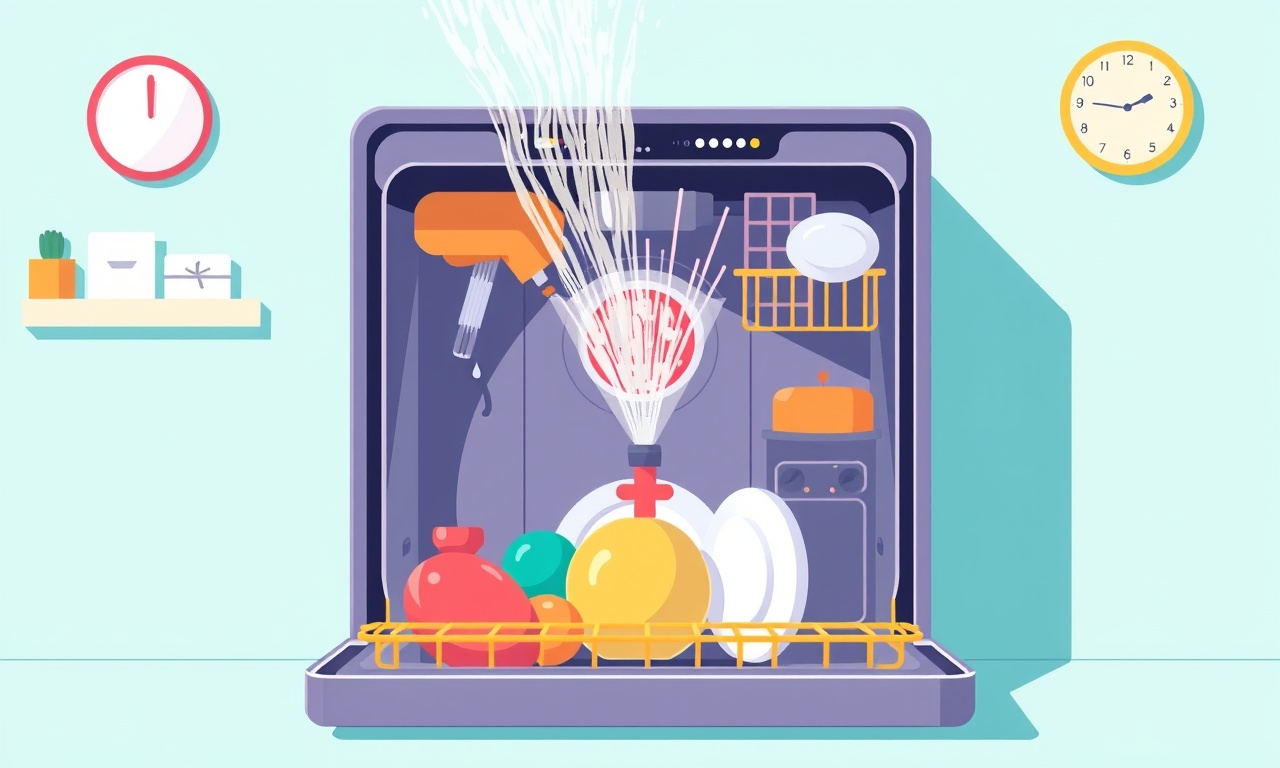
A dishwasher that rattles or produces a persistent “whoosh” can quickly become a source of frustration. The most common culprit in LG models such as the LDX5540ST is a faulty or poorly seated spray arm. Because the spray arm is responsible for circulating water around the interior, a misaligned or damaged arm can cause vibrations, leaks, and reduced cleaning performance. The good news is that most spray‑arm problems can be resolved with a simple DIY repair.
Below is a detailed, step‑by‑step guide to locate, inspect, clean, and replace a noisy spray arm on an LG LDX5540ST dishwasher. The instructions assume you have a basic toolbox and are comfortable working with household appliances. If at any point you feel uncertain, consider calling a professional.
Why a Noisy Spray Arm Happens
A spray arm can become noisy for several reasons:
- Debris buildup: Food particles, mineral deposits, or detergent residue block the spray nozzles.
- Wear and tear: Over time the internal fan‑wheel can bend or become damaged.
- Loose mounting: The arm may shift out of alignment, causing it to hit the walls of the dishwasher or the bottom rack.
- Mis‑installation: If the arm is not seated correctly during reassembly, the circulation path is disturbed.
- Faulty bearings: The spray arm relies on smooth rotation; worn bearings create squeaks or rattles.
Identifying the root cause will guide you toward the proper fix.
Safety First
- Unplug the appliance. Turn off the power at the circuit breaker or unplug the dishwasher from the wall outlet.
- Disconnect the water supply. Locate the water shut‑off valve behind the unit and turn it clockwise until it stops.
- Drain any remaining water. Tilt the dishwasher and use a towel or small container to absorb residual liquid.
- Wear protective gloves. This protects your hands from sharp edges and hot surfaces.
These precautions prevent electric shock, water damage, and accidental injuries.
Gather the Tools You’ll Need
- A 4‑inch adjustable wrench or an Allen key set (usually 8‑mm for LG).
- A Phillips screwdriver.
- A pair of needle‑nose pliers.
- A soft brush or a small toothbrush.
- A small bucket or container for water.
- Optional: a non‑abrasive cleaning sponge.
Having everything ready before you start saves time and reduces frustration.
Step 1: Locate the Spray Arm
The LG LDX5540ST has two spray arms:
- Upper spray arm: Inside the upper rack, near the top of the door.
- Lower spray arm: Mounted on the dishwasher’s base, just above the water inlet.
For most noise issues, the lower spray arm is the culprit because it sits in direct contact with the water flow and is more susceptible to debris buildup. However, we will inspect both.
Step 2: Remove the Lower Spray Arm
-
Open the dishwasher door and pull out the bottom rack to give yourself room to work.
-
Look for the mounting bracket. It is a small metal plate with a set screw or a clip.
-
Release the bracket using the adjustable wrench or pliers. Hold the bracket firmly while you loosen the set screw.
Tip: Some models use a sliding clip that you pull to the side; others use a screw that must be turned counter‑clockwise. -
Lift the spray arm off the bracket. It may tilt upward due to its design. Keep a small container handy to catch any water that drips out.
Step 3: Inspect for Visible Damage
- Check the nozzles: Look for blockages or discoloration. A clogged nozzle may have a small lump of food or mineral buildup.
- Examine the fan‑wheel: The small fan inside the arm should spin freely. If it feels stiff, it may be bent or damaged.
- Look for cracks: A cracked arm can vibrate and produce noise.
If you notice severe cracks or a broken fan‑wheel, replacement is required. For minor blockages or slight bends, cleaning and alignment can fix the problem.
Step 4: Clean the Nozzles and Fan‑Wheel
-
Use a small brush to gently scrub the nozzles. If mineral deposits are present, soak the arm in a mixture of warm water and a few drops of vinegar for 30 minutes.
Rationale: Vinegar is acidic and dissolves calcium buildup. -
Remove any stubborn debris with needle‑nose pliers or a paperclip. Be careful not to damage the nozzle holes.
-
Dry the arm thoroughly with a clean towel. Any remaining moisture can cause short circuits or corrosion.
Step 5: Lubricate the Bearings (If Needed)
Some LG dishwashers use a small amount of light machine oil on the spray arm’s bearing to keep it spinning smoothly. If the arm feels gritty or has a grinding sound:
-
Apply a few drops of oil to the bearing’s shaft.
Do not over‑lubricate; excess oil can contaminate the wash water. -
Spin the arm manually to distribute the oil evenly.
A gentle rotation should feel smooth and free of resistance.
Step 6: Re‑install the Spray Arm
- Align the spray arm with the mounting bracket. Ensure that the fan‑wheel is flush against the bracket and that the nozzles face the center of the dishwasher interior.
- Secure the bracket. Tighten the set screw or clip until the arm is snug but not over‑tightened. A tight grip prevents rattling but excessive force can damage the arm or bracket.
- Close the bottom rack. Snap it back into place so the dishwasher door can close properly.
Step 7: Inspect the Upper Spray Arm (Optional)
Even if the lower arm is fixed, an upper arm may still be noisy. The upper arm is usually simpler to access:
- Remove the upper rack.
- Unscrew the upper spray arm’s mounting screw using the Allen key.
- Lift the arm and inspect for blockages or damage.
- Clean or replace as needed following the same steps above.
- Re‑attach and secure the arm.
Step 8: Reconnect the Water Supply
Before powering the dishwasher back on, ensure the water shut‑off valve is turned on and that no leaks are present at the spray arm’s inlet.
- Screw the water line back onto the inlet.
- Tighten gently to avoid over‑tightening and damaging the connection.
Step 9: Test the Dishwasher
-
Plug the dishwasher back in or flip the circuit breaker to restore power.
-
Run a short cycle (typically a “quick wash” or “sanitize” program) to check for noise.
Listen for any rattles or whirrs that were previously present. -
Observe the spray pattern. You should see a clear, even spread of water hitting the dishes.
If the noise has disappeared, the repair is successful. If the dishwasher still sounds off, proceed to the troubleshooting section below.
Common Mistakes to Avoid
- Over‑tightening the mounting screw: This can crush the spray arm or strip the bracket threads.
- Leaving debris in the nozzles: Even a small obstruction can cause vibration.
- Using the wrong oil: Heavy oils or motor oil can contaminate the wash water and leave residue on dishes.
- Forgetting to drain: Water left in the machine can cause leaks when the door opens.
- Re‑installing the arm upside down: Misalignment results in uneven spray distribution and noise.
Troubleshooting Table
| Symptom | Likely Cause | Fix |
|---|---|---|
| Persistent rattling during the wash | Loose spray arm | Tighten mounting, realign |
| High-pitched whine when the cycle starts | Clogged nozzles | Clean thoroughly |
| Squeaking at the start and end of the cycle | Damaged fan‑wheel | Replace spray arm |
| Water leaking from the bottom of the dishwasher | Bent spray arm | Realign or replace |
| Dishwasher shuts off mid‑cycle | Electrical short from oil | Ensure no oil in water path |
If you encounter a symptom not covered above, consult the user manual or contact LG customer support for guidance.
When to Replace the Spray Arm
While cleaning and lubricating often resolve noise issues, certain conditions warrant a full replacement:
- Cracked or shattered spray arm: A cracked arm cannot rotate properly and will generate continuous noise.
- Bent fan‑wheel: If the fan wheel is not straight, it will wobble and cause vibration.
- Worn bearings: Visible play or grinding indicates worn components.
Replacing the spray arm is straightforward: purchase the correct part number for your model, remove the old arm following the steps above, and install the new one. Most LG parts are compatible across similar models, but always verify the part number against your dishwasher’s model and serial number.
Maintenance Tips to Prevent Future Noise
- Run a rinse cycle once a month: This removes mineral deposits before they accumulate.
- Use high‑quality detergent: Cheap detergents can leave residue that clogs nozzles.
- Check water hardness: If your water is hard, consider installing a water softener to reduce mineral buildup.
- Inspect spray arms quarterly: A quick visual check can catch debris before it becomes a problem.
- Avoid overloading: Place items to allow water to reach all areas; a full rack can block spray arm movement.
By following these simple habits, you’ll extend the life of your dishwasher and keep it running quietly.
FAQ
Q1: Does the spray arm need to be removed to fix a squeaking noise?
A1: Usually yes. The noise often originates from the spray arm’s bearings or blocked nozzles, which are only accessible after removal.
Q2: Can I use any oil for lubrication?
A2: Use a light machine oil or a silicone-based spray that is food‑grade. Avoid heavy oils that can contaminate the wash water.
Q3: I replaced the spray arm, but the noise persists. What else could be wrong?
A3: Check the spray arm’s mounting bracket for cracks, inspect the spray arm’s fan‑wheel for damage, and confirm the nozzles are clean. Also, ensure the spray arm is seated correctly.
Q4: Is it safe to use vinegar to clean the spray arm?
A4: Yes, vinegar is safe and effective for mineral deposits. Do not use harsh chemicals that could damage the plastic components.
Q5: How long does a typical repair take?
A5: With the right tools and a clear guide, the entire process usually takes between 30 and 45 minutes.
Final Thoughts
A noisy dishwasher can be more than an annoyance; it often signals a small, fixable problem. By carefully following the steps outlined above, you’ll restore your LG LDX5540ST to quiet, efficient operation. Remember to work safely, inspect the spray arm for damage, clean thoroughly, and reassemble with precision. A well‑maintained spray arm not only reduces noise but also ensures the best cleaning performance for your dishes.
Good luck, and enjoy the peace and quiet of a properly functioning dishwasher!
Discussion (4)
Join the Discussion
Your comment has been submitted for moderation.
Random Posts

Reassessing the Audio Jack Dropout on LG Velvet 2
Explore why the LG Velvet 2's 3.5mm jack glitches, what triggers audio dropouts, user fixes, and LG's stance: essential insight for current and future Android phones.
1 year ago

Philips HP700 Fan Stalls Quietly Even At Low Speed Why This Happens And What To Do
Discover why your Philips HP700 quietly stalls at low speed, spot early signs, and fix the issue to keep steady airflow.
2 weeks ago

How to Stop Sharp LC-40M from Producing Audio Sync Issues While Gaming
Fix your Sharp LC-40M so game audio stays in sync. Learn quick settings tweaks, cable checks, and audio-output fixes that keep sound matching action for a flawless gaming experience.
6 months ago

Solve Arlo Pro 4 Wireless Connection Problems
Discover quick fixes for offline Arlo Pro 4 cameras. Check power, Wi, Fi, firmware, reset steps, and more get your live feed back up fast.
4 months ago

Panasonic D45 Dryer Timer Skips Final Drying Cycle
Discover why your Panasonic D45 dryer skips its final cycle, learn the symptoms, root causes, and easy fixes to keep clothes dry, save energy, and avoid extra runs.
5 months ago
Latest Posts

Fixing the Eufy RoboVac 15C Battery Drain Post Firmware Update
Fix the Eufy RoboVac 15C battery drain after firmware update with our quick guide: understand the changes, identify the cause, and follow step by step fixes to restore full runtime.
5 days ago

Solve Reolink Argus 3 Battery Drain When Using PIR Motion Sensor
Learn why the Argus 3 battery drains fast with the PIR sensor on and follow simple steps to fix it, extend runtime, and keep your camera ready without sacrificing motion detection.
5 days ago

Resolving Sound Distortion on Beats Studio3 Wireless Headphones
Learn how to pinpoint and fix common distortion in Beats Studio3 headphones from source issues to Bluetooth glitches so you can enjoy clear audio again.
6 days ago