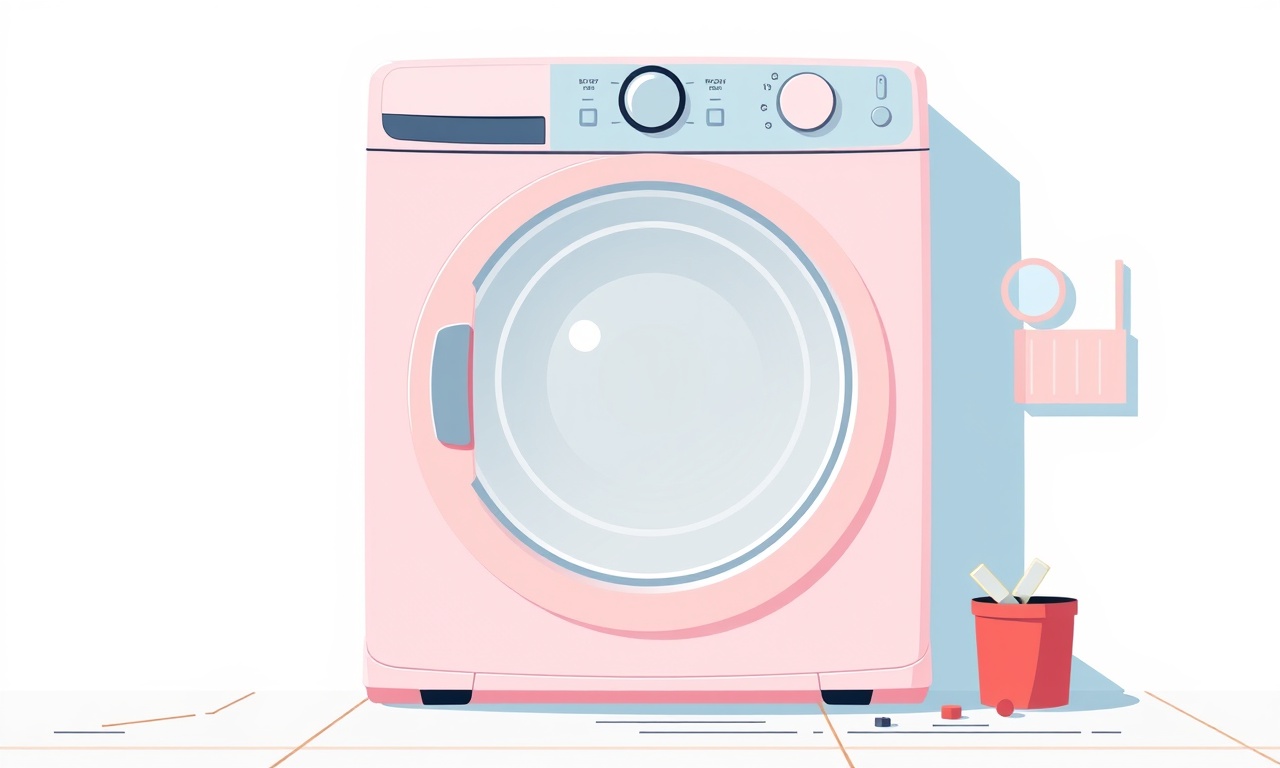
Fixing a Stuck Door Seal in Whirlpool WFW5800HW
When a door seal on a Whirlpool WFW5800HW starts to feel stuck, it can quickly turn a routine wash into a frustrating puzzle. Whether the seal has become jammed with detergent residue, lint, or a piece of clothing, the fix is usually straightforward if you follow a clear, step‑by‑step approach. Below is a comprehensive guide that walks you through diagnosing the problem, gathering the right tools, safely removing the stuck seal, cleaning and replacing it, and finally testing the machine to ensure everything works as intended.
Understanding the Problem
A stuck door seal can manifest in several ways:
- Resistance when opening: The door feels unusually tight or refuses to open altogether.
- Visible blockage: You can see a foreign object caught in the seal’s crevices.
- Leakage: Water leaks around the door during a cycle, indicating the seal is not forming a proper seal.
Knowing what caused the issue—whether it’s a buildup of detergent, a foreign object, or a damaged seal—helps you choose the right course of action.
Tools and Materials You’ll Need
Before you begin, assemble the following items to keep the repair smooth:
- A small flat‑head screwdriver
- A Phillips‑head screwdriver
- A plastic putty knife or a similar flat tool
- A clean rag or microfiber towel
- A soft brush (such as a toothbrush) or a vacuum with a narrow nozzle
- Rubbing alcohol or a mild cleaning solution
- A new door seal kit compatible with Whirlpool WFW5800HW
- A bucket of warm, soapy water
- Optional: a towel to keep the floor dry
These items are usually found around most households, but if you don’t have a compatible seal kit, you can purchase one online or from a local appliance parts store.
Safety First
Before touching any internal components, make sure to disconnect the appliance:
- Unplug the washer: Locate the power cord on the back of the machine and detach it from the outlet.
- Turn off the water supply: If you have a dedicated water shut‑off valve for the washer, turn it to the “off” position. This prevents any accidental spillage while you work.
- Prepare the area: Lay down a towel or a small bucket to catch any liquid that may escape during the repair. Keep the work surface clean and free of obstructions.
Taking these precautions reduces the risk of electric shock or damage to the machine.
Step 1: Gaining Access to the Door Seal
- Open the washer door: If the door is stuck, use a flat‑head screwdriver or a putty knife to gently pry it open. Insert the tool along the seam where the door meets the housing and apply light pressure. Avoid using excessive force, which could break the seal further.
- Inspect the seal: Once the door is open, look for any visible obstruction. Common culprits include small pieces of plastic, cloth, or fabric. In many cases, a simple removal of the blockage will restore proper function.
Step 2: Removing the Obstruction
- Use a brush or vacuum: Gently scrub the seal with a soft brush to loosen lint and debris. If you have a vacuum with a narrow nozzle, you can carefully suck out any foreign objects that have wedged into the seal.
- Apply rubbing alcohol: Dampen a rag with rubbing alcohol and wipe the seal’s interior. This dissolves any detergent residue and helps free the seal from sticking.
If the seal remains stubbornly stuck after cleaning, it may be damaged or warped. In that case, proceed to replacement.
Step 3: Detaching the Old Seal
- Locate the hinge screws: The door seal is typically held in place by a few screws around the perimeter. Remove these screws carefully with a Phillips‑head screwdriver.
- Slide the seal out: Once the screws are removed, gently slide the seal away from the washer’s front panel. If resistance remains, double‑check that all screws are fully disengaged.
During removal, keep the screws and any washers in a small container so you don’t lose them.
Step 4: Preparing the Replacement Seal
- Clean the seal track: Use a rag dampened with soapy water to wipe the inside of the washer’s front panel where the seal sits. Removing any leftover grime ensures a tight seal.
- Inspect the new seal: Compare the replacement kit’s components with the old seal. Verify that the rubber is the correct thickness and that the mounting tabs match the washer’s design.
Step 5: Installing the New Seal
- Align the seal: Position the new seal’s edge flush with the washer’s front panel. The seal should sit evenly against the rim.
- Secure the screws: Re‑insert the hinge screws you removed earlier. Tighten them gradually, turning each screw in a slight cross‑pattern to distribute pressure evenly. Avoid overtightening, as this can crack the seal.
- Check for alignment: After all screws are snug, gently pull on the seal to confirm it is seated properly and free of gaps.
Step 6: Re‑assembling and Testing
- Close the washer door: Snap the door back into place. If it opens and closes smoothly, you’ve successfully restored the seal’s mobility.
- Reconnect power and water: Plug the washer back into the outlet and turn on the water supply.
- Run a short cycle: Select a quick rinse or wash cycle without detergent. Observe the machine’s door during the cycle. The door should remain closed, and there should be no leakage.
- Verify door operation: After the cycle ends, open the door to ensure it still opens without resistance.
If you notice any leaks or if the door remains difficult to open, double‑check the seal alignment or consider inspecting the washer’s door latch.
Preventative Maintenance Tips
Keeping your Whirlpool WFW5800HW in top condition involves a few simple habits:
- Clean the seal regularly: Every few months, wipe the seal’s interior with a damp rag to remove detergent buildup.
- Use the right detergent: Excessive powdered detergent can leave residue on the seal. Consider using high‑efficiency (HE) detergent formulated for low‑spin machines.
- Avoid overloading: A cramped washer can force the door to flex, stressing the seal.
- Check for foreign objects: Before starting a wash, look through the detergent drawer and pockets for small items that could get caught in the seal.
By integrating these practices into your routine, you reduce the likelihood of a stuck door seal in the future.
Common Questions
What if the seal is cracked or severely damaged?
A cracked seal usually requires a full replacement. If the damage is extensive, it’s best to consult a professional technician, as they can assess whether other internal components are affected.
Can I use a DIY seal kit from a different model?
Using an incompatible seal may lead to poor fit or leakage. Always choose a kit specifically rated for the Whirlpool WFW5800HW.
How often should I replace the door seal?
A well‑maintained seal can last several years. However, if you notice persistent leakage, odd noises, or difficulty opening the door, it’s time to replace it.
Will a stuck door seal affect the washer’s warranty?
If the machine is still under warranty and the seal issue is due to a manufacturing defect, contact Whirlpool support for a repair. DIY replacements on an active warranty might void coverage, so check the terms.
Conclusion
A stuck door seal on your Whirlpool WFW5800HW doesn’t have to be a source of ongoing frustration. With the right tools, a careful approach, and a few minutes of patience, you can restore your washer’s performance and avoid costly repairs. Regular maintenance and mindful use will keep the seal—and the machine—running smoothly for years to come.
Discussion (10)
Join the Discussion
Your comment has been submitted for moderation.
Random Posts

Analyzing iPhone 13 Pro Max Apple Pay Transaction Declines After Software Update
After the latest iOS update, iPhone 13 Pro Max users see more Apple Pay declines. This guide explains the technical cause, how to diagnose the issue, and steps to fix payment reliability.
2 months ago

Dyson AM15 Mist Not Spreading What Causes It And How To Repair
Find out why your Dyson AM15 Mist isn’t misting, learn the common causes, and follow our step, by, step guide to restore full misting performance quickly.
2 months ago

Adjusting the Neato Botvac D6 for Unexpected Cleaning Pause
Learn why your Neato Botvac D6 pauses, diagnose the issue, and tweak settings for smooth, uninterrupted cleaning.
11 months ago

Quelling LG OLED G1 Picture Loop at Startup
Stop the LG OLED G1 picture loop that stutters at startup, follow these clear steps to diagnose software glitches, adjust settings, and restore a smooth launch every time.
4 months ago

Resolving Room Acoustics Calibration on Samsung HW Q990T
Calibrate your Samsung HW, Q990T to your room's acoustics and unlock true cinema-quality sound, every dialogue and subtle score becomes crystal clear.
1 month ago
Latest Posts

Fixing the Eufy RoboVac 15C Battery Drain Post Firmware Update
Fix the Eufy RoboVac 15C battery drain after firmware update with our quick guide: understand the changes, identify the cause, and follow step by step fixes to restore full runtime.
5 days ago

Solve Reolink Argus 3 Battery Drain When Using PIR Motion Sensor
Learn why the Argus 3 battery drains fast with the PIR sensor on and follow simple steps to fix it, extend runtime, and keep your camera ready without sacrificing motion detection.
5 days ago

Resolving Sound Distortion on Beats Studio3 Wireless Headphones
Learn how to pinpoint and fix common distortion in Beats Studio3 headphones from source issues to Bluetooth glitches so you can enjoy clear audio again.
6 days ago