Fixing Noisy Belt in Shark Navigator Lift-Away XL
Understanding the Noisy Belt Problem
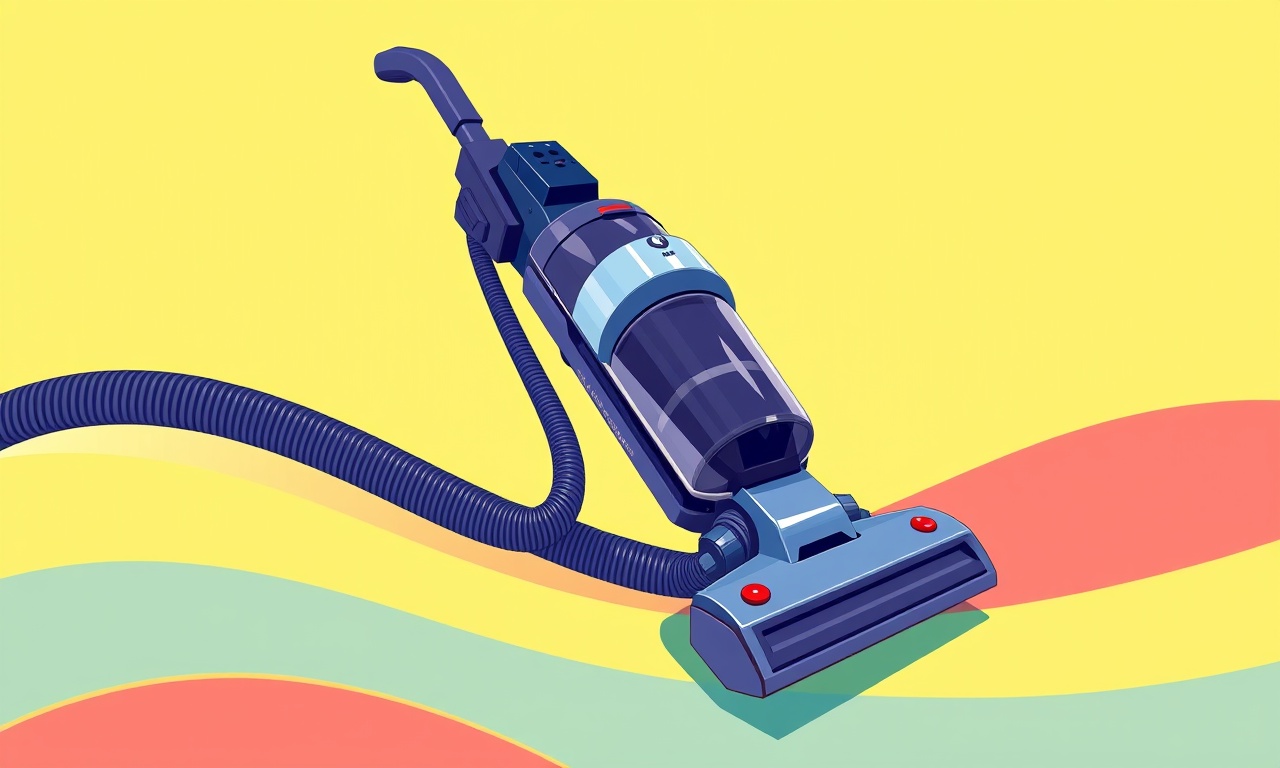
The Shark Navigator Lift‑Away XL is designed to make cleaning effortless, but even the best machines can develop issues over time. A common complaint is a persistent, high‑pitched noise that seems to come from the motor housing. Most often, this sound is caused by a worn, stretched, or mis‑aligned belt that drives the motor. While the vacuum still runs, a noisy belt can shorten the lifespan of the motor and reduce suction power. Addressing the problem early saves you from a costly repair and restores the quiet operation you expect.
Why the Belt Becomes Noisy
Several factors contribute to belt wear. The belt is made of rubber and a small amount of synthetic material; it flexes constantly during vacuum operation. Exposure to dust, pet hair, and debris can accelerate wear, especially in the grooves of the pulley. When the belt loses tension, it slides slightly on the pulley, creating a rubbing or squeaking noise. In some models, the belt is also subject to friction against the motor shaft if it is not seated correctly. Over time, the material thins and may develop small cracks that exacerbate the noise.
Recognizing the Symptoms
A quiet, healthy belt produces a low, steady hum from the motor. When the belt is noisy, you may notice:
- A high‑pitched squeal or whining that increases with speed
- A rhythmic thumping or clacking that corresponds to the belt’s turns
- A grinding sound if the belt has become cracked or torn
- A sudden drop in suction when the noise peaks
If you hear any of these, it is time to check the belt.
Tools You’ll Need
Before you start, gather the following items. Having everything ready prevents interruptions and reduces the risk of accidentally damaging parts.
- A Phillips‑head screwdriver (size #1 or #2)
- A flat‑head screwdriver or plastic pry tool
- A clean, lint‑free cloth
- Replacement belt compatible with the Shark Navigator Lift‑Away XL (usually Model 140-0049 or 140-0050)
- Optional: a small pair of needle‑nose pliers
The replacement belt is inexpensive and can be found at most electronics stores or online. Make sure you purchase a belt specifically designed for your vacuum model.
Preparing the Vacuum
- Disconnect the power – Unplug the vacuum from the outlet and detach the power cord from the unit.
- Remove the dust bag – Pull the dust bag out from the main body and set it aside.
- Flip the unit – Place the vacuum upside down on a clean work surface. This will expose the motor housing and make access easier.
If your model has a detachable head, separate it from the main unit by twisting it counter‑clockwise until it comes loose. This step is optional but helps in locating the belt.
Locating the Belt
The belt loops around the motor pulley and is secured by a tension arm. In the Shark Navigator Lift‑Away XL, the belt runs along the side of the motor housing. You’ll see a small plastic latch that keeps the belt in place.
If the belt is wrapped around the pulley in a counter‑clockwise direction, it should sit snugly against the tension arm. A worn belt may be loose or have a gap where it should be continuous.
Removing the Old Belt
- Use the flat‑head screwdriver or pry tool to release the tension arm latch.
- Gently pull the belt off the pulley. The belt may resist if it has become sticky from dust; use a clean cloth to wipe any grime from the pulley before removal.
- Inspect the old belt for cracks, fraying, or thinning. If you see any damage, proceed to replacement.
Replacing the Belt
- Take the new belt and lay it over the pulley, ensuring the edges line up with the grooves on the pulley.
- The belt should cross over the tension arm and sit flush against the motor housing.
- Slide the tension arm latch back into place. Make sure it clicks securely and the belt is held firmly.
Test the belt by turning the motor manually. It should move smoothly without resistance. If it still feels loose, adjust the tension arm until the belt is snug.
Reassembling the Vacuum
- Flip the unit back over so the dust bag is inside the main body.
- Reattach the detachable head by twisting it clockwise until it locks.
- Insert the dust bag, making sure it sits properly in its slot.
- Plug the vacuum back in and turn it on to test the noise.
If the noise has vanished and suction is normal, you have successfully fixed the belt.
Troubleshooting Common Issues
Even after a belt replacement, some users may still hear a faint hum or low‑level squeak. Here are a few additional checks.
- Check the motor pulley – If the pulley is damaged, it may cause the belt to slip. Inspect for dents or uneven surfaces.
- Inspect the tension arm – The tension arm may have become bent or loose. Tighten it with a screwdriver if necessary.
- Clean the motor housing – Dust can accumulate around the motor and affect belt movement. Wipe the area with a dry cloth.
- Verify correct belt orientation – Some belts have an embossed side that should face the motor. If installed incorrectly, it can cause friction.
If after these steps the noise persists, it may be time to contact Shark customer support or a certified repair technician. The motor itself could be failing, which requires professional diagnostics.
Preventing Future Belt Noise
Routine maintenance can keep the belt quiet for longer. Follow these guidelines:
- Perform regular cleaning – Empty the dust bag and vacuum any debris from the motor housing.
- Inspect annually – Once a year, remove the dust bag and inspect the belt for wear. Replace it if you notice thinning or fraying.
- Use the vacuum at recommended speeds – Over‑speeding the motor can increase belt wear. Stick to the settings indicated in the user manual.
- Avoid overloading – Don’t run the vacuum on high‑height settings for long periods without a pause, as this stresses the motor and belt.
By staying proactive, you reduce the likelihood of noisy operation and extend the life of your Shark Navigator Lift‑Away XL.
When to Seek Professional Help
If you encounter any of the following, consider professional assistance:
- The motor fails to start after a belt replacement.
- The vacuum shows unusual vibrations or wobbling.
- There is a burning smell coming from the motor housing.
- The belt replacement was performed incorrectly, and the belt keeps slipping.
Professional technicians have the tools and experience to diagnose motor issues safely and can replace internal components if needed.
Summary of Key Steps
- Disconnect power and detach the dust bag.
- Flip the unit and locate the belt on the motor pulley.
- Release the tension arm latch and remove the old belt.
- Place the new belt over the pulley and secure it with the tension arm.
- Reassemble the unit and test for noise.
Follow these steps each time you notice a high‑pitched squeal, and your Shark Navigator Lift‑Away XL will continue to deliver quiet, efficient cleaning.
Discussion (10)
Join the Discussion
Your comment has been submitted for moderation.
Random Posts

Reassessing the Audio Jack Dropout on LG Velvet 2
Explore why the LG Velvet 2's 3.5mm jack glitches, what triggers audio dropouts, user fixes, and LG's stance: essential insight for current and future Android phones.
1 year ago

Philips HP700 Fan Stalls Quietly Even At Low Speed Why This Happens And What To Do
Discover why your Philips HP700 quietly stalls at low speed, spot early signs, and fix the issue to keep steady airflow.
2 weeks ago

How to Stop Sharp LC-40M from Producing Audio Sync Issues While Gaming
Fix your Sharp LC-40M so game audio stays in sync. Learn quick settings tweaks, cable checks, and audio-output fixes that keep sound matching action for a flawless gaming experience.
6 months ago

Solve Arlo Pro 4 Wireless Connection Problems
Discover quick fixes for offline Arlo Pro 4 cameras. Check power, Wi, Fi, firmware, reset steps, and more get your live feed back up fast.
4 months ago

Panasonic D45 Dryer Timer Skips Final Drying Cycle
Discover why your Panasonic D45 dryer skips its final cycle, learn the symptoms, root causes, and easy fixes to keep clothes dry, save energy, and avoid extra runs.
5 months ago
Latest Posts

Fixing the Eufy RoboVac 15C Battery Drain Post Firmware Update
Fix the Eufy RoboVac 15C battery drain after firmware update with our quick guide: understand the changes, identify the cause, and follow step by step fixes to restore full runtime.
5 days ago

Solve Reolink Argus 3 Battery Drain When Using PIR Motion Sensor
Learn why the Argus 3 battery drains fast with the PIR sensor on and follow simple steps to fix it, extend runtime, and keep your camera ready without sacrificing motion detection.
5 days ago

Resolving Sound Distortion on Beats Studio3 Wireless Headphones
Learn how to pinpoint and fix common distortion in Beats Studio3 headphones from source issues to Bluetooth glitches so you can enjoy clear audio again.
6 days ago