Frigidaire FDT45 Dryer Door Seal Issues Repair Guide
Understanding Frigidaire FDT45 Dryer Door Seals
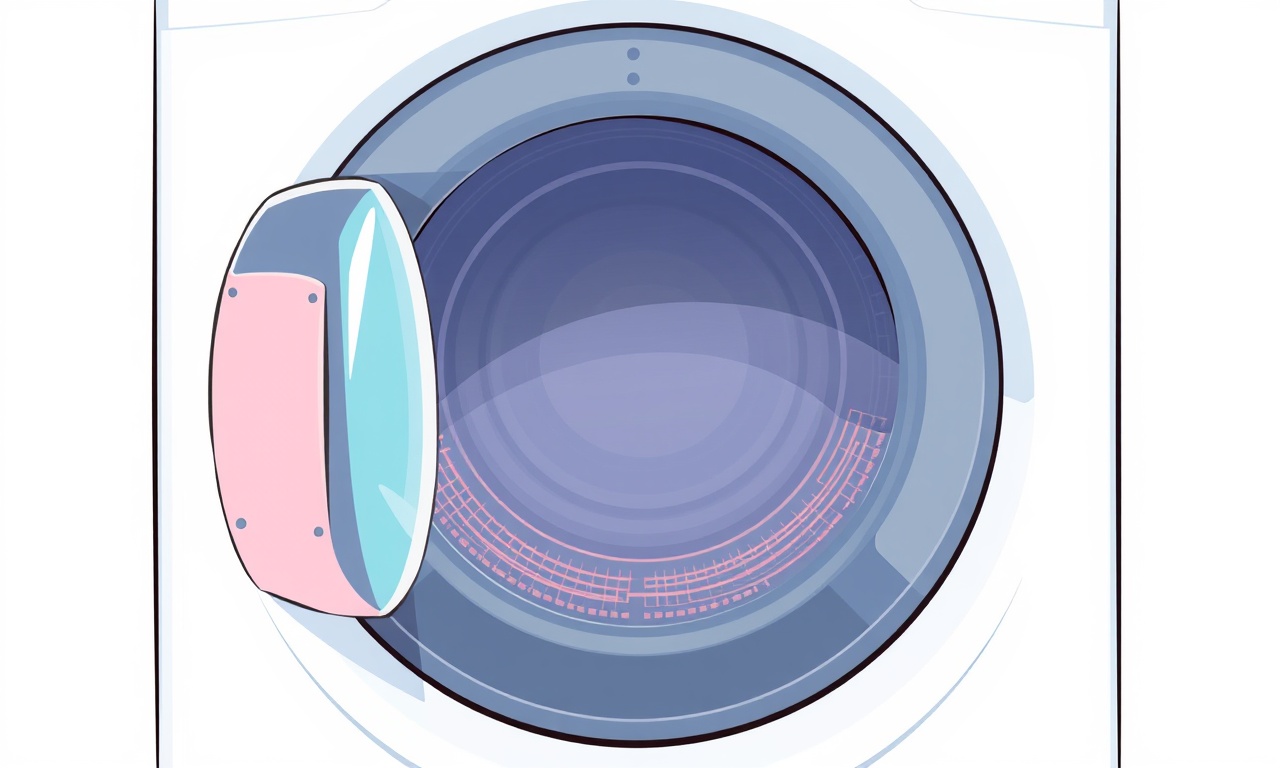
The door seal is the first line of defense that keeps hot air inside the dryer drum while preventing lint and moisture from escaping. When it begins to fail, you may notice a variety of problems: the dryer runs longer than usual, it fails to heat properly, or lint builds up around the door edge. This guide walks you through identifying, repairing, and replacing the door seal on a Frigidaire FDT45 dryer, ensuring your appliance runs safely and efficiently again.
Why Door Seals Matter
- Safety – A compromised seal can allow hot air to escape, increasing the risk of fire or burns.
- Efficiency – A proper seal keeps heat inside, reducing drying time and energy usage.
- Longevity – Maintaining the seal prevents excessive wear on other components like the motor and drum bearings.
When the seal starts to degrade, it may appear warped, cracked, or discolored. In some cases, the seal can become stuck to the metal rim of the door, making it difficult to separate. Recognizing these signs early can save you time and money.
Common Symptoms of Seal Failure
- Extended Drying Cycles – The dryer needs more time to complete a cycle.
- Heat Loss – The drum is noticeably cooler than before.
- Lint Accumulation – Lint drips onto the floor or onto the door frame.
- Strange Noises – A squealing or whirring sound during operation.
- Visible Damage – Cracks, holes, or uneven edges on the seal.
If you notice one or more of these issues, it’s time to inspect the seal.
Tools & Safety Precautions
Before starting any repair, gather the following tools:
- Flathead screwdriver
- Phillips head screwdriver
- Replacement door seal kit for Frigidaire FDT45
- Mild detergent or a specialized dryer lint cleaner
- Soft brush or compressed air
- Safety goggles and gloves
- A clean towel or microfiber cloth
Safety Steps
- Unplug the Dryer – Disconnect the appliance from the electrical outlet. This is the most critical safety measure.
- Let It Cool – Ensure the dryer is completely cool before opening the door. Hot components can cause burns.
- Work in a Well‑Ventilated Area – This reduces the risk of inhaling lint particles.
- Use Proper Lighting – Adequate light helps you see fine details on the seal.
Removing the Door
- Open the dryer door fully.
- Locate the screws holding the door frame to the dryer body. These are typically positioned along the top edge and sometimes on the sides.
- Using the flathead screwdriver, gently pry the door from the frame. If resistance is felt, apply a light tapping with a rubber mallet to release any stuck seal material.
- Once free, carefully lift the door away, keeping it parallel to the frame to avoid damaging the rubber seal.
- Set the door aside on a towel to keep the seal clean.
Inspecting the Seal
- Visual Check – Look for any cracks, holes, or unevenness. A warped seal indicates it no longer sits flush against the door rim.
- Flex Test – Gently press the seal with your fingers. It should flex slightly but not snap back with force. A brittle seal is a sign it must be replaced.
- Check for Residue – Inspect the seam for accumulated lint or dust. Hardened residue can cause the seal to stick and lose its elasticity.
If the seal appears damaged or fails any of the tests, you’ll need to replace it.
Cleaning the Seal
Even if the seal remains intact, cleaning can improve performance:
- Apply a mild detergent or a dedicated dryer lint cleaner to a soft brush.
- Scrub along the length of the seal, paying special attention to the edges where lint tends to accumulate.
- Use compressed air to blow away any remaining debris.
- Wipe the seal dry with a microfiber cloth.
After cleaning, proceed to replacement if necessary. A clean, undamaged seal should remain in place and function properly.
Replacing the Seal
Step‑by‑Step
- Unplug the Dryer – Confirm the appliance remains disconnected throughout the replacement process.
- Remove the Old Seal – Depending on the model, the seal may be held in place by a metal clip or a simple tuck. Carefully pry the old seal from the rim. Keep any clips or screws you find.
- Prepare the New Seal – Remove the new seal from its packaging. Ensure it is oriented correctly – most seals have a “right side up” indicator. Place the new seal into the door rim, aligning it evenly.
- Secure the Seal – If the original model used a metal clip, snap the new seal into the same position. If a screw or other fastener is involved, replace it. Tighten gently—over‑tightening can crack the seal.
- Check Alignment – Close the door partially to see if the seal sits flush against the frame. It should create a tight, continuous line along the edge.
If the seal does not align properly, double‑check its orientation or verify that no lint obstructs the seam. Once satisfied, move on to reinstalling the door.
Reinstalling the Door
- Align the door with the frame, ensuring the hinge pins line up correctly.
- Gently push the door into place, allowing the rubber seal to press firmly against the door rim.
- Replace the screws that hold the door to the dryer body, tightening them to the manufacturer’s specification.
- Verify that the door swings freely without rubbing against the frame.
Testing the Dryer
- Plug the dryer back into the outlet.
- Run a short, empty cycle. Observe the dryer’s operation for any unusual noises or heating issues.
- After the cycle completes, check the door for proper closure and seal integrity. The seal should feel smooth and should not have any visible gaps.
- If everything functions correctly, you have successfully repaired the door seal.
Maintenance Tips
- Monthly Inspection – Check the seal for cracks or excessive wear.
- Clean After Each Use – Use a lint brush to remove lint from the seal edges.
- Avoid Harsh Chemicals – Stick to mild detergents; strong chemicals can degrade rubber.
- Keep the Door Slightly Open – When not in use, allow the door to stay slightly ajar to prevent moisture buildup on the seal.
Troubleshooting Common Issues
| Problem | Likely Cause | Fix |
|---|---|---|
| Dryer still runs longer than usual | Seal is still leaking | Replace the seal again; ensure correct installation |
| Seal feels hard and stiff | Old seal or chemical damage | Replace with a new seal; clean thoroughly before installation |
| Seal is stuck to the door rim | Hardened lint or seal material | Use compressed air or a soft brush to loosen; replace if necessary |
| Noise during operation after repair | Improper alignment of the seal | Recheck alignment; make sure the seal sits flush with the rim |
Frequently Asked Questions
Q: How often should I replace the seal on my FDT45?
A: The seal can last 3–5 years under normal use. Replace it sooner if you see visible cracks or significant wear.
Q: Can I use a generic dryer seal instead of a Frigidaire part?
A: While generic seals may fit, they may not provide the same durability or fitment. It’s best to use a genuine Frigidaire replacement.
Q: Is it safe to continue drying clothes with a damaged seal?
A: Not recommended. A compromised seal can lead to overheating, lint fires, or reduced drying efficiency. Repair promptly.
Q: My door seal seems to be warped. How do I fix it?
A: Warped seals generally require replacement. There is no reliable method to re‑elasticize them.
Q: Can I replace the seal myself, or should I call a technician?
A: This guide is designed for a DIY approach. If you feel uncomfortable working with electrical appliances, seek professional assistance.
Final Thoughts
Replacing or repairing the door seal on a Frigidaire FDT45 dryer is a straightforward task that can dramatically improve the machine’s performance and safety. By following the steps outlined above—gathering the right tools, taking safety precautions, carefully removing the door, inspecting and cleaning the seal, and finally installing a new seal—you’ll restore your dryer’s efficiency and extend its lifespan. Regular maintenance and early detection of seal problems are key to keeping laundry day running smoothly.
Discussion (6)
Join the Discussion
Your comment has been submitted for moderation.
Random Posts

Rebooting Google Nest Hub (3rd Gen) to Resolve App Sync Glitches
Stuck with delayed notifications, unresponsive tiles, or stale smart, home data? A simple reboot of your Nest Hub 3rd Gen clears cache, resets processes, and restores smooth app sync.
3 months ago

Fixing Bluetooth Signal Drops on Apple AirPods Pro
Tired of AirPods Pro disconnecting during walks or workouts? Learn why Bluetooth drops happen, how to spot them, and quick fixes - no coding required - to keep audio flowing.
11 months ago

Fixing the Duplexer Failure on a Brother MFC‑J805DW
Learn how to diagnose and replace a faulty duplexer on your Brother MFC, J805DW, restoring double, sided printing with step, by, step instructions for tech, savvy users.
10 months ago

Solving Apple iPhone 13 Pro Camera Rolling Shutter With External Lens
Stop the slanted look from rolling shutter when adding external lenses to your iPhone 13 Pro by tweaking camera settings, choosing the right lens, and using proper stabilization.
9 months ago

Restoring Bandwidth on Amazon Eero Mesh 6 Pro After a Firmware Update
After an Eero Mesh 6 Pro firmware update, bandwidth often drops. This guide explains why the change occurs and walks you through quick steps to restore full speed and a stable connection for work and play.
8 months ago
Latest Posts

Fixing the Eufy RoboVac 15C Battery Drain Post Firmware Update
Fix the Eufy RoboVac 15C battery drain after firmware update with our quick guide: understand the changes, identify the cause, and follow step by step fixes to restore full runtime.
5 days ago

Solve Reolink Argus 3 Battery Drain When Using PIR Motion Sensor
Learn why the Argus 3 battery drains fast with the PIR sensor on and follow simple steps to fix it, extend runtime, and keep your camera ready without sacrificing motion detection.
5 days ago

Resolving Sound Distortion on Beats Studio3 Wireless Headphones
Learn how to pinpoint and fix common distortion in Beats Studio3 headphones from source issues to Bluetooth glitches so you can enjoy clear audio again.
6 days ago